

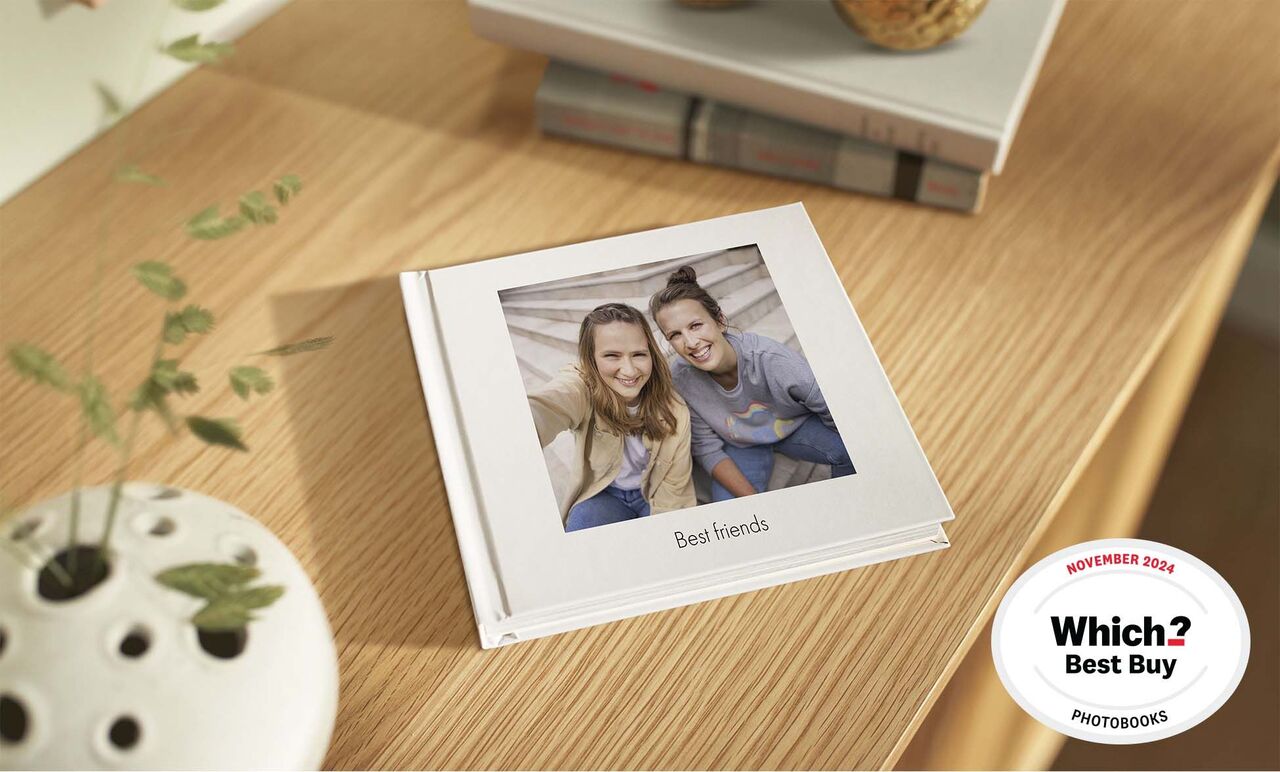


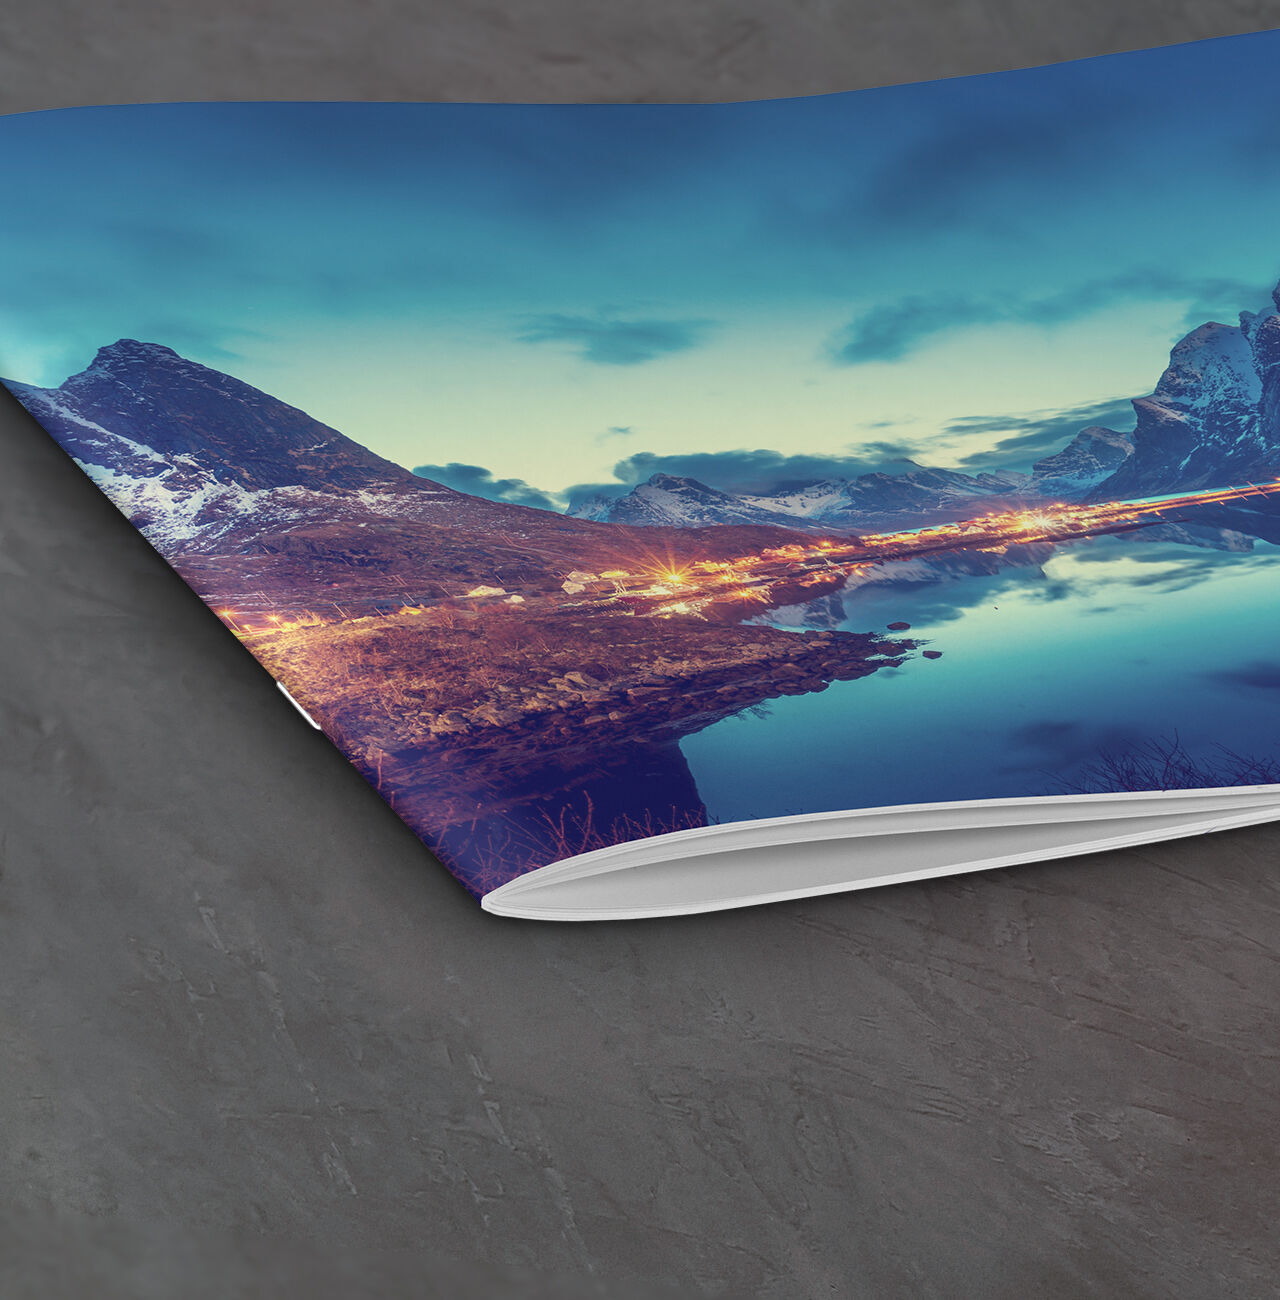
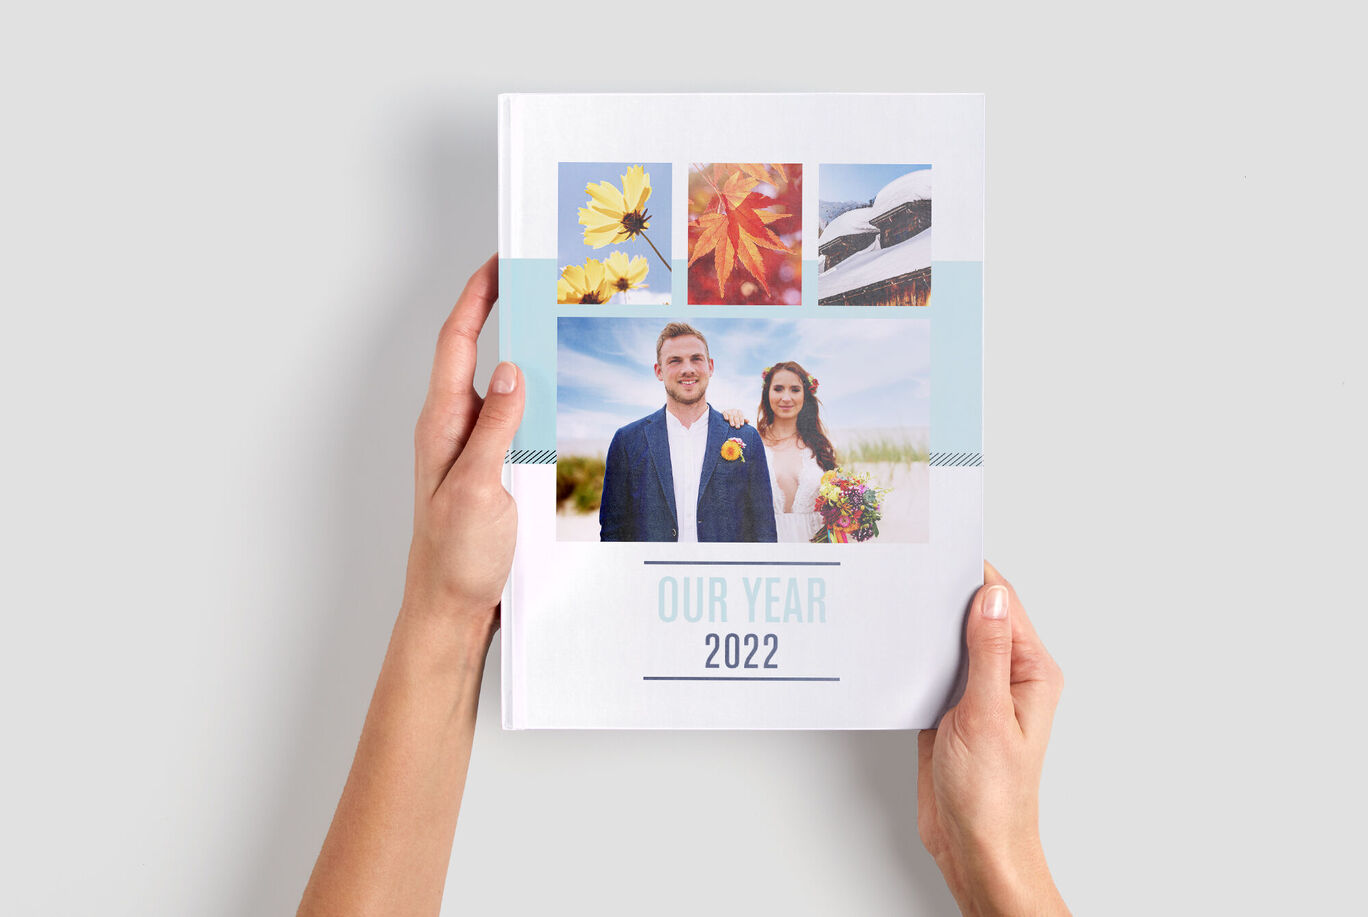
Small Square Photo Book
A little photo book for big moments
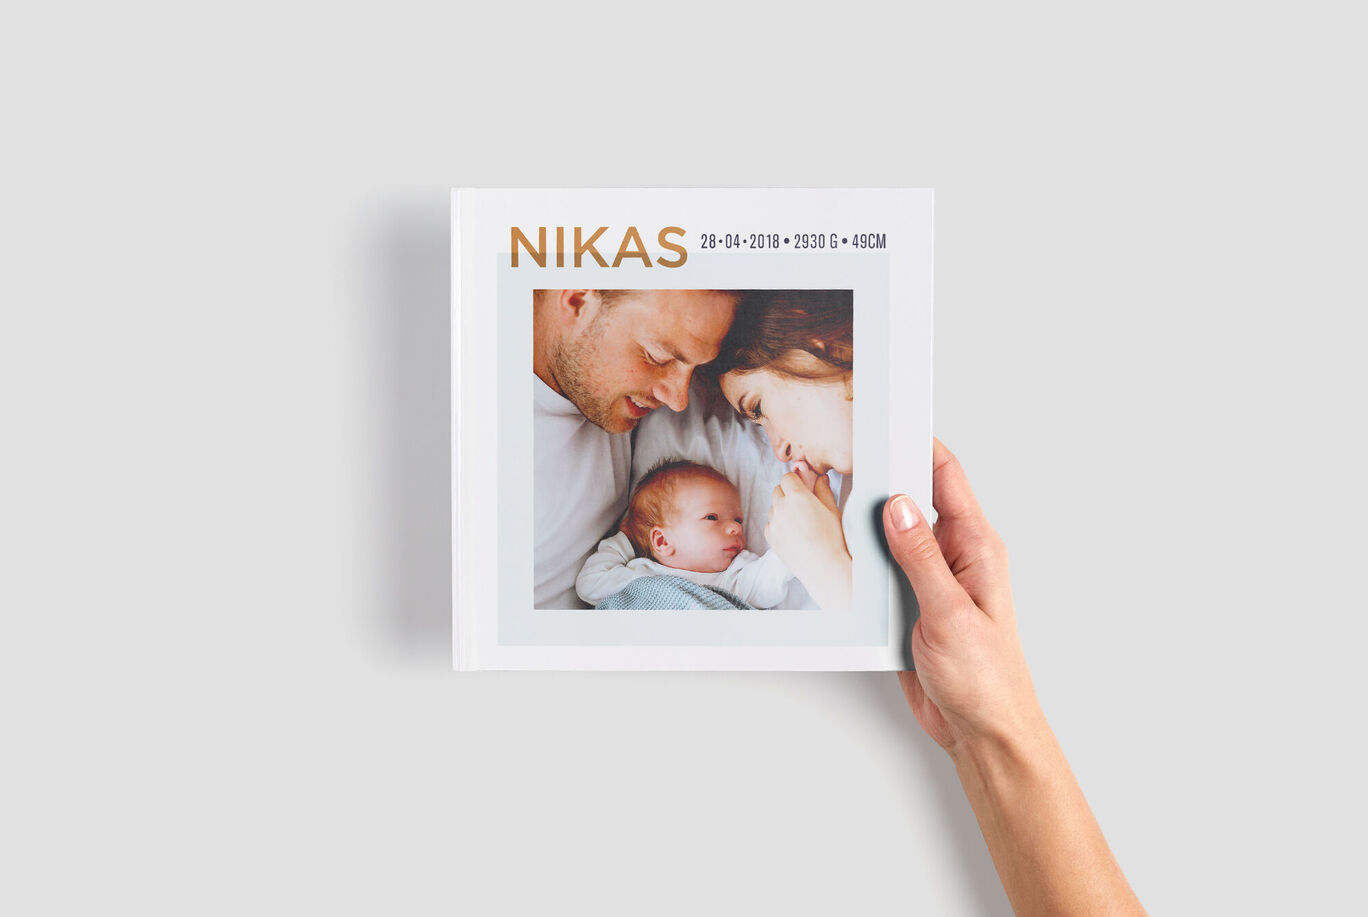
- Approx. 15 x 15 cm
- Can be designed quickly and easily, for every occasion
- High-quality finish
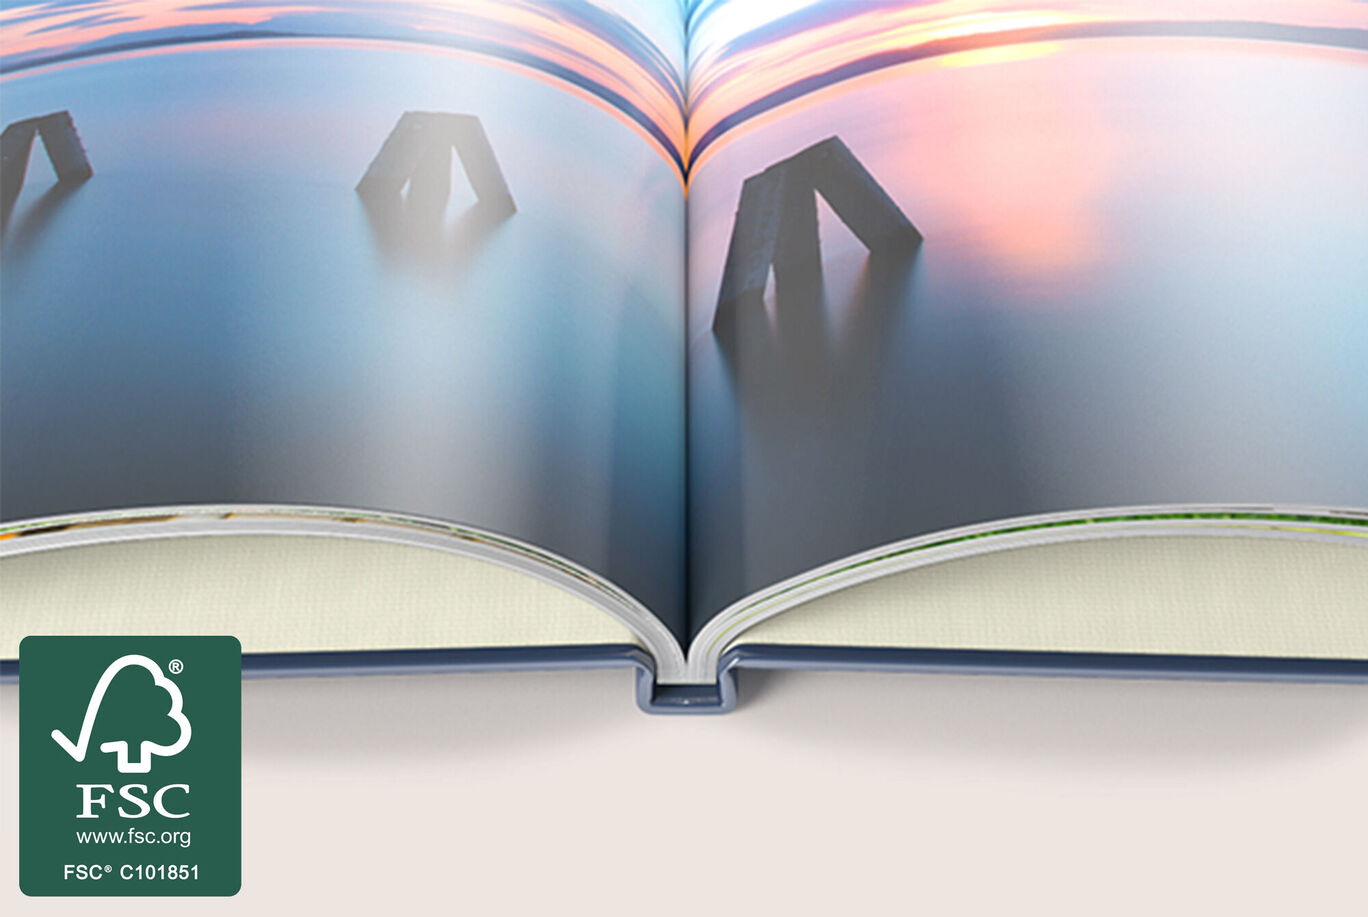
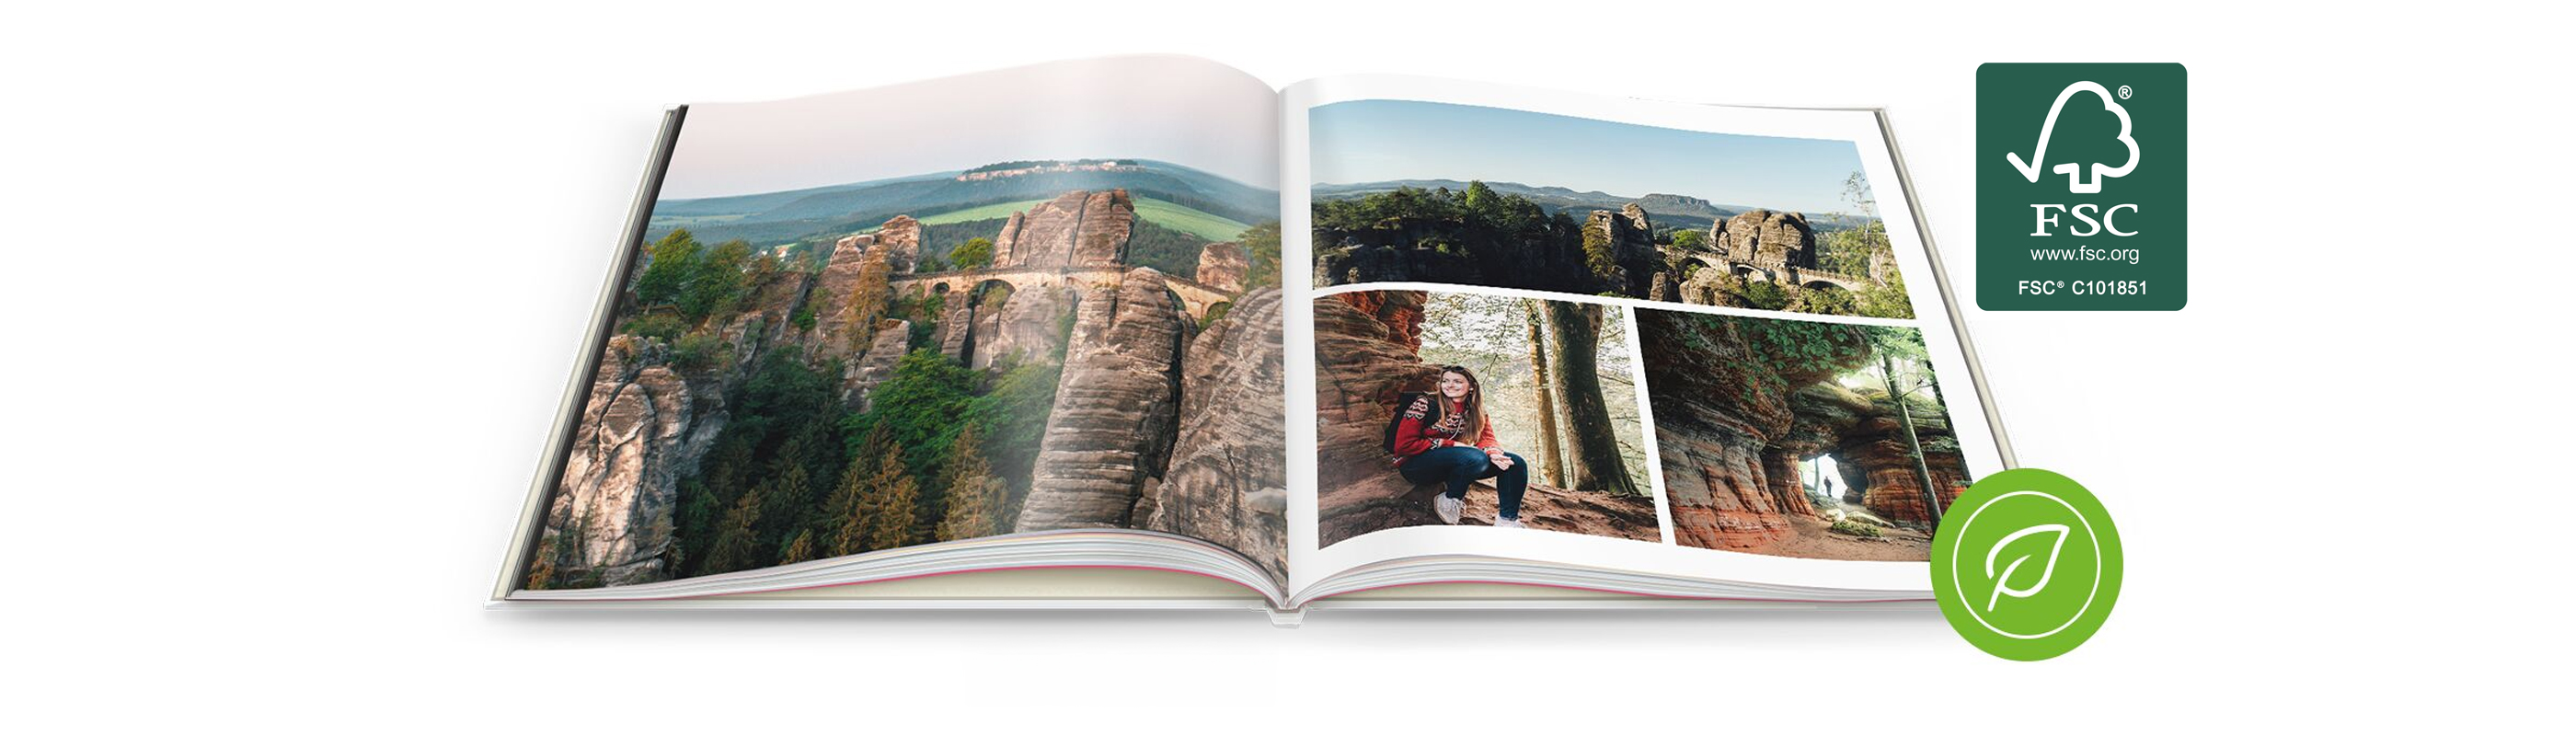
- FSC®-certified
Get started
Product Features
Format:
Approx. 15x15cm
Number of pages: 26 to 202
Cover:
Hardcover, Softcover or Booklet
Add Highlights: Gold, Silver, Rose Gold or Gloss
Paper types and bindings:
FSC® certified paper from sustainable forestry
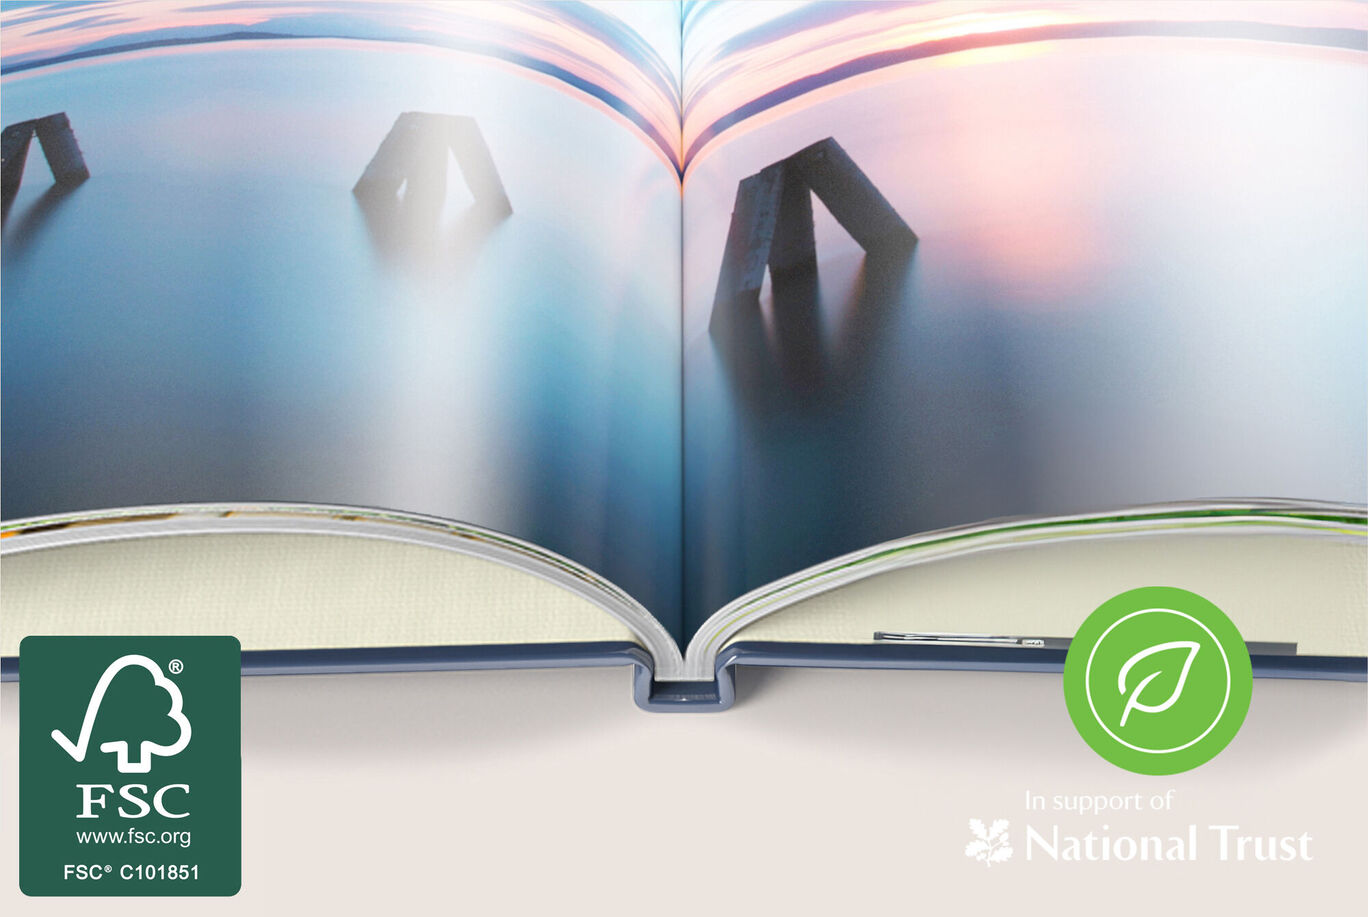
Digital printing with adhesive binding - Classic, High Gloss or True Matte paper
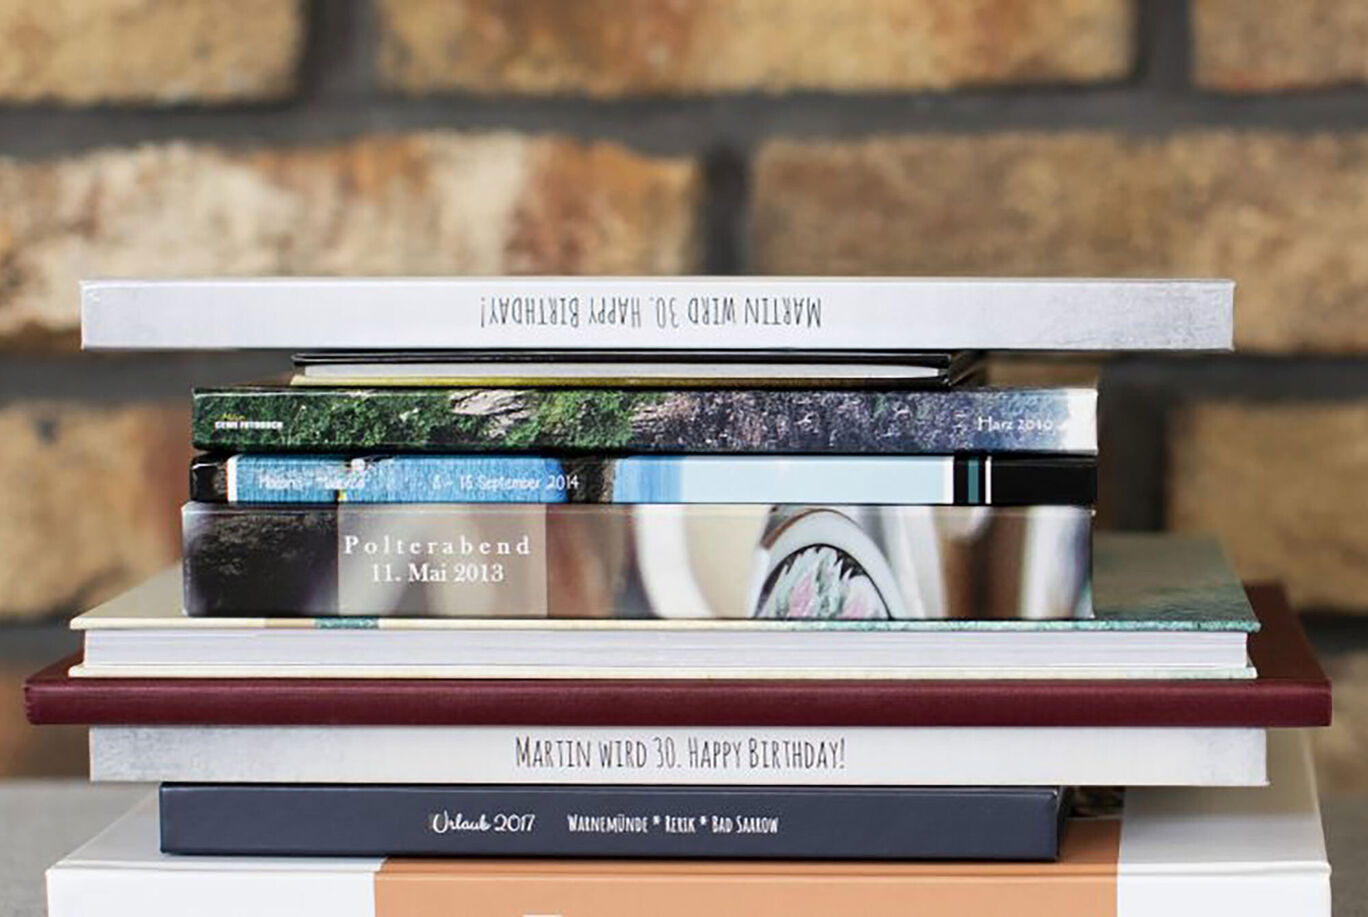
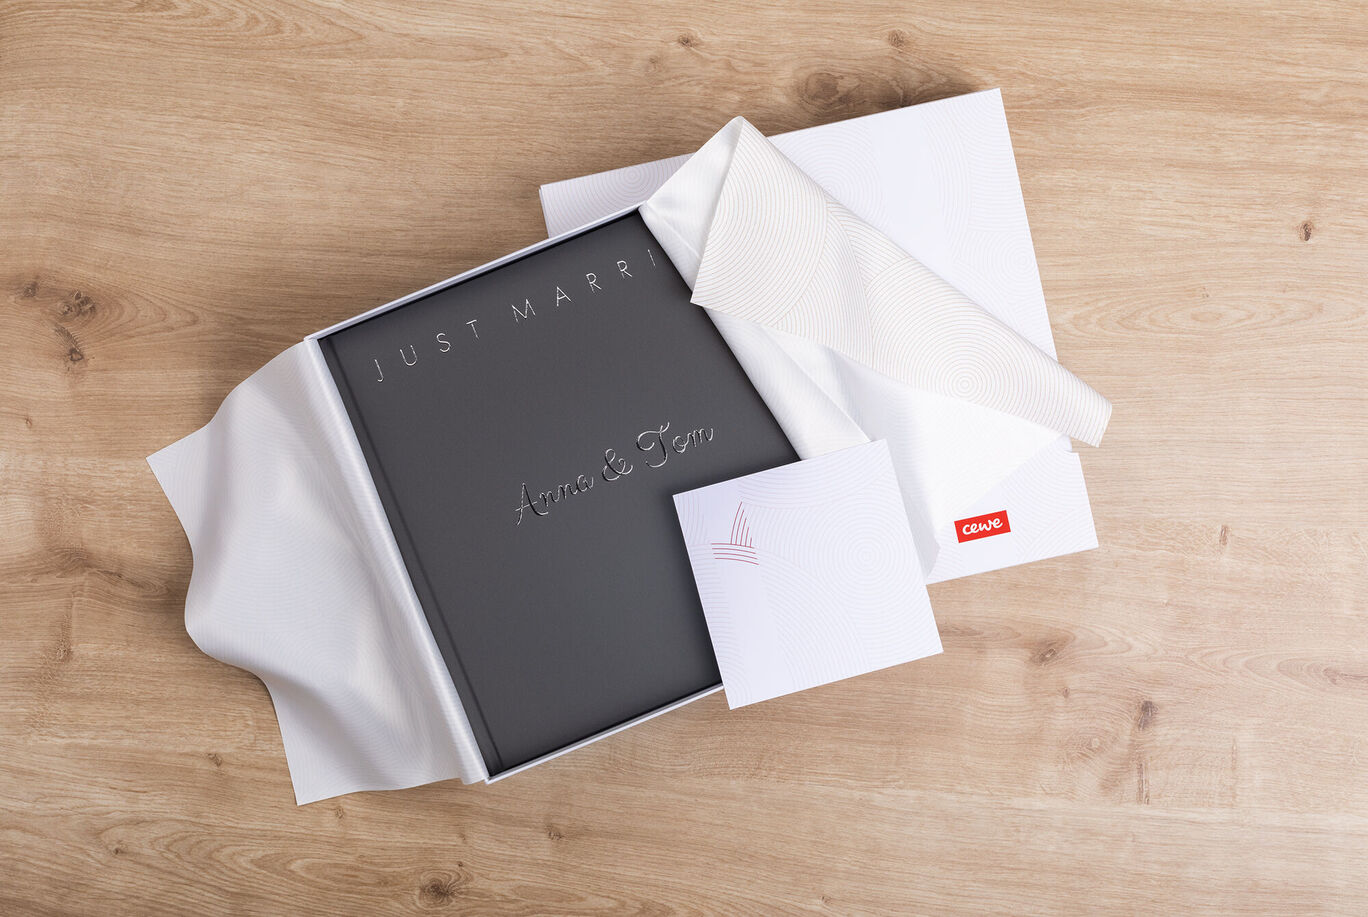
A very special finishing touch for your CEWE PHOTOBOOK
Delight your loved ones, or treat yourself!
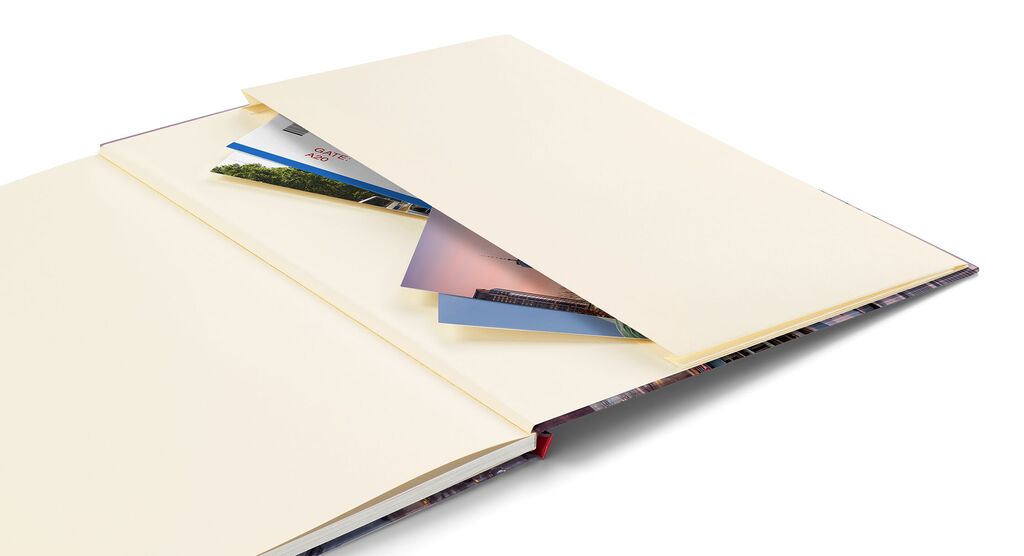
A little treasure chest for your most important keepsakes
Add a Memento Pocket to your CEWE PHOTOBOOK to unlock the ability to store flat souvenirs like maps, menus, receipts, cards and tickets - all collected directly inside your book, keeping your precious memories safe in one place.
This special pocket is integrated on the inside of your photo book's back cover. It is made from the same paper as the endpaper and takes up around 70% of the cover area. It complements the colour, feel and design of your photo book beautifully.
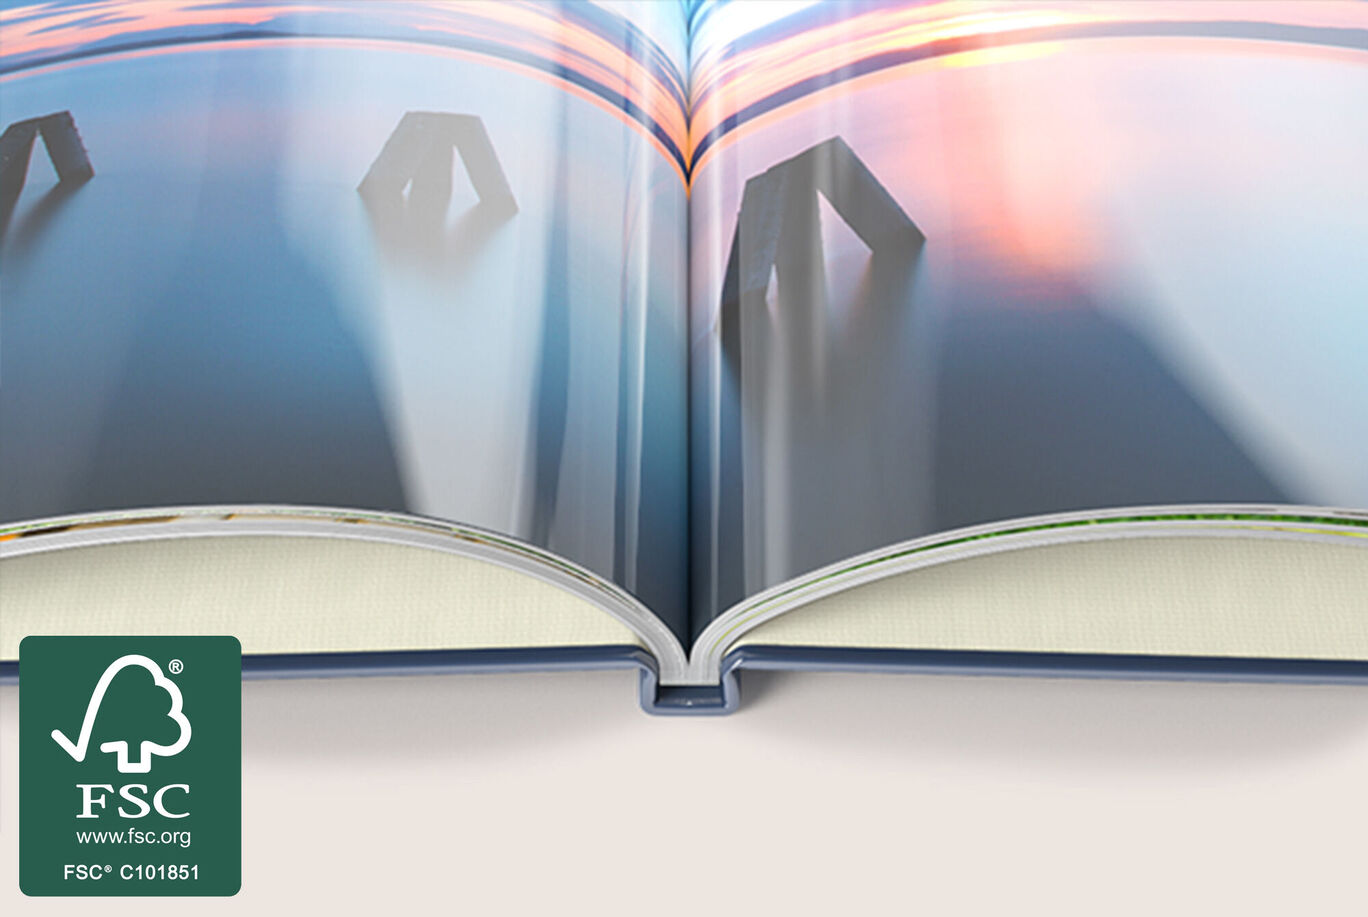
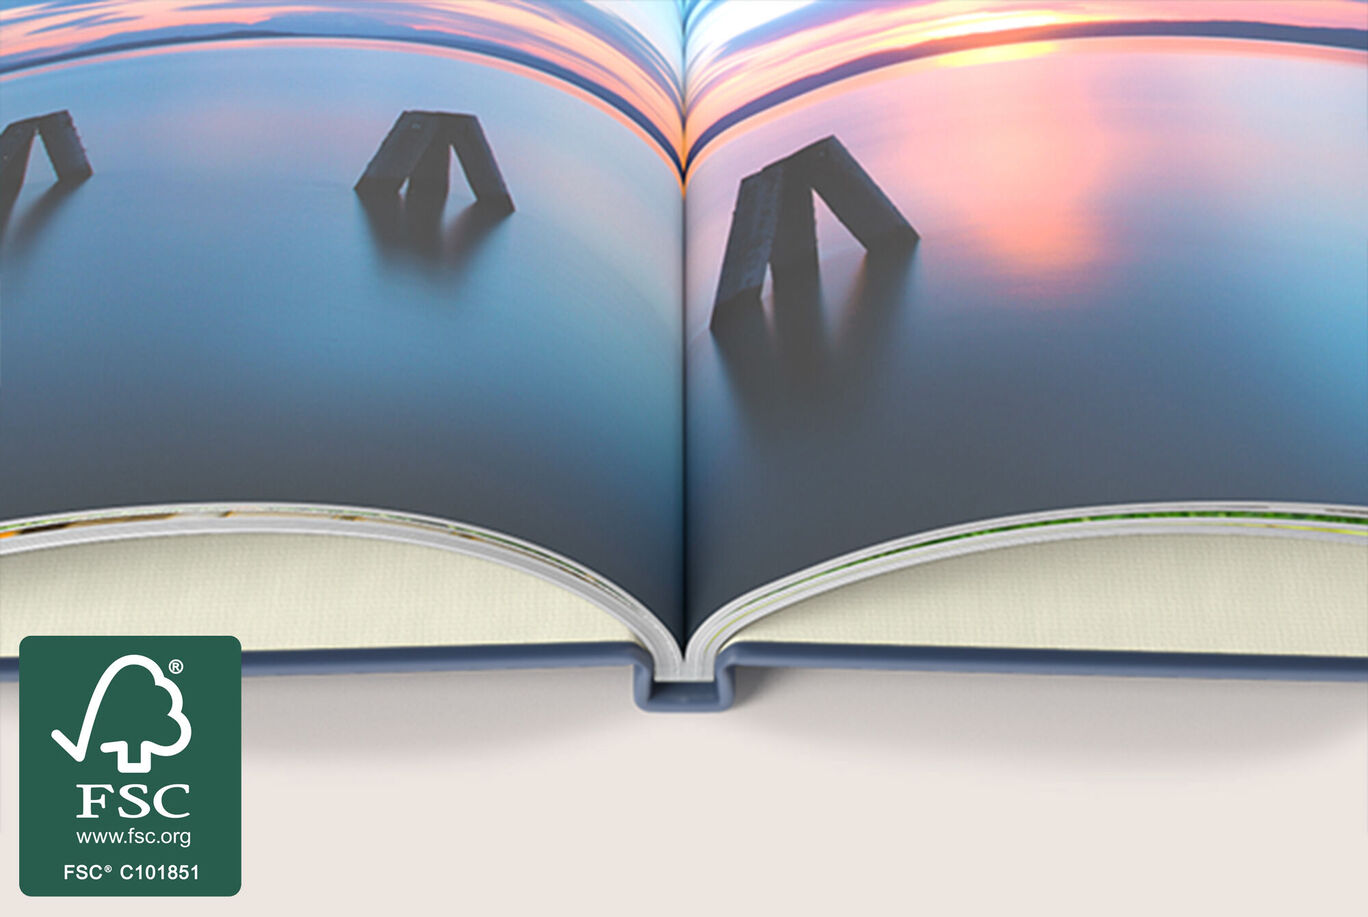
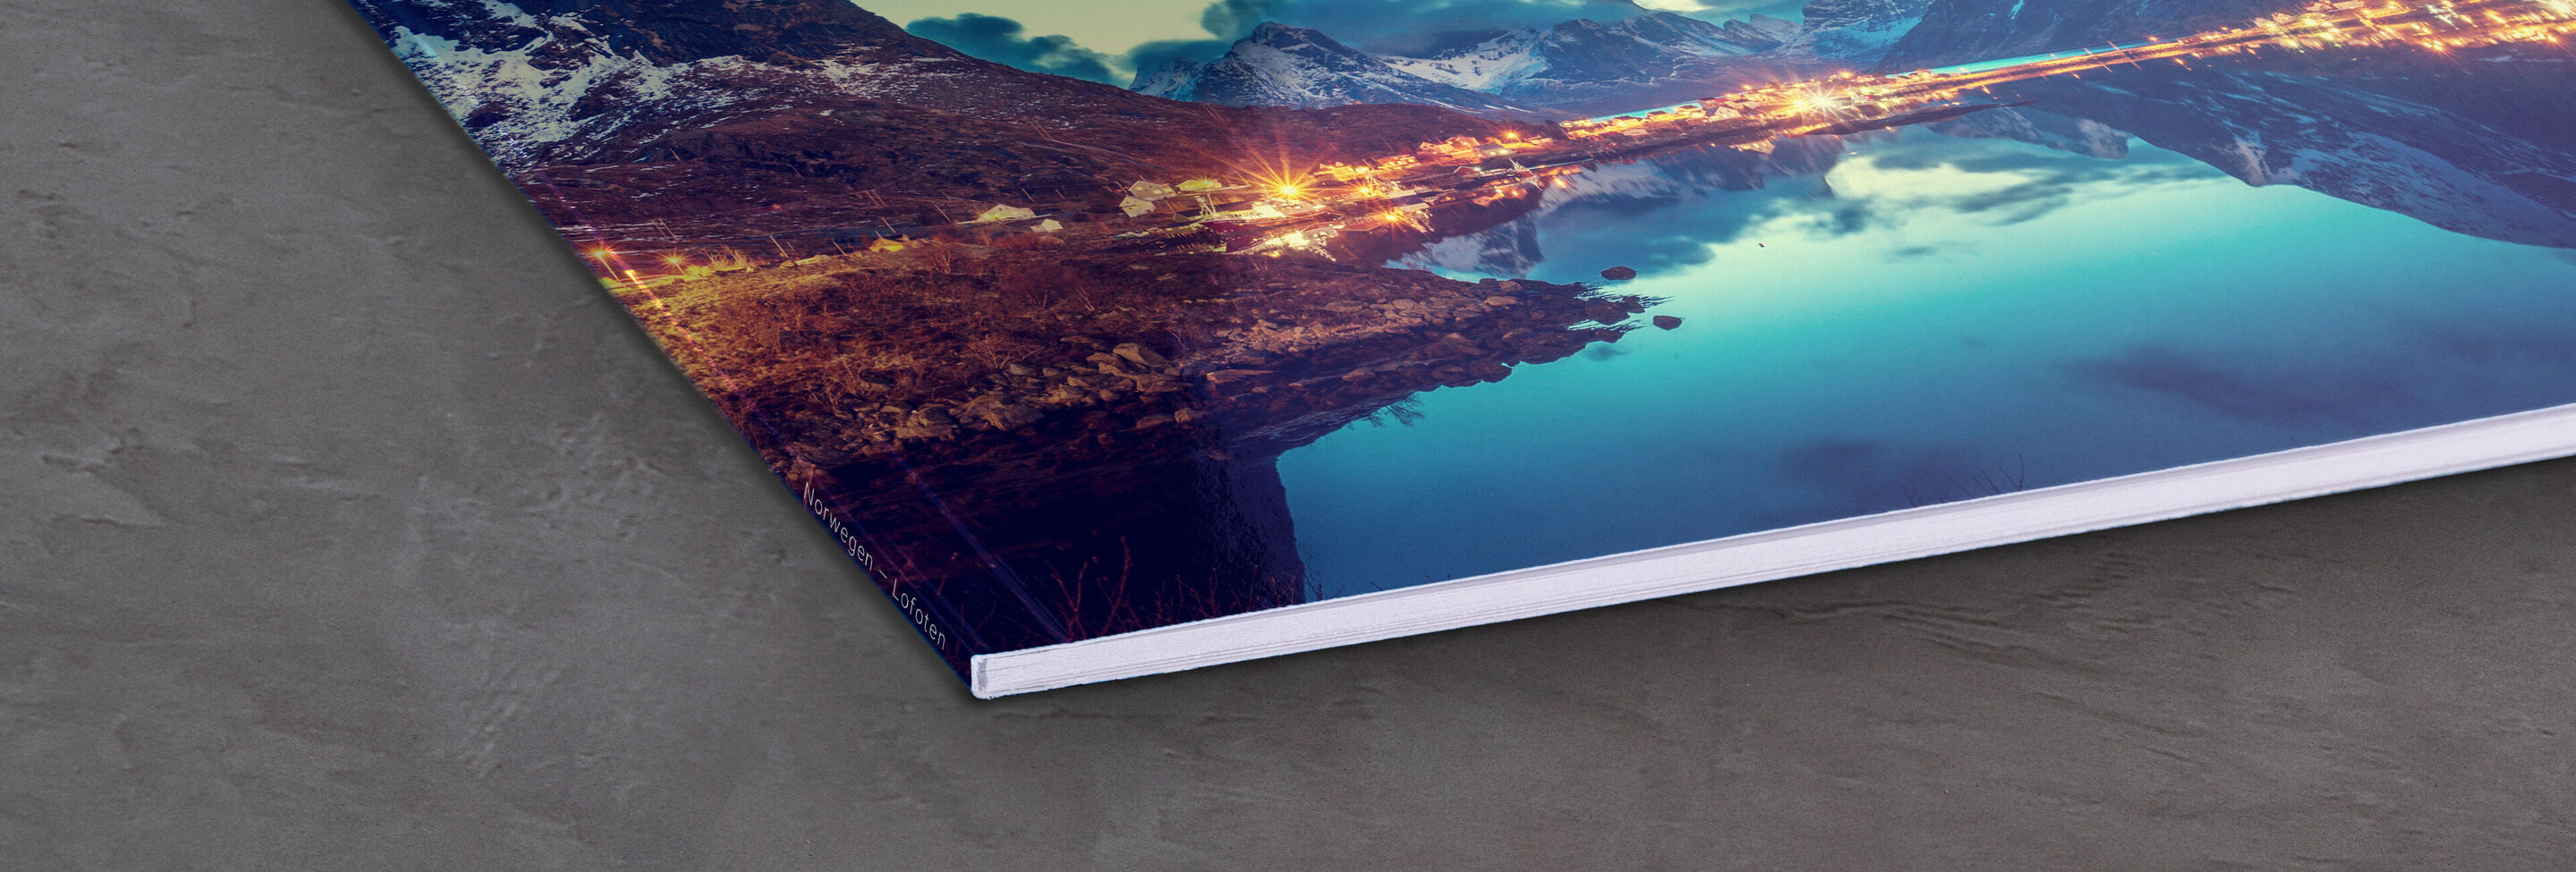
Paper types for our small photo albums
Discover our paper choices for your mini photo book, from luminous gloss to smooth matte finishes.
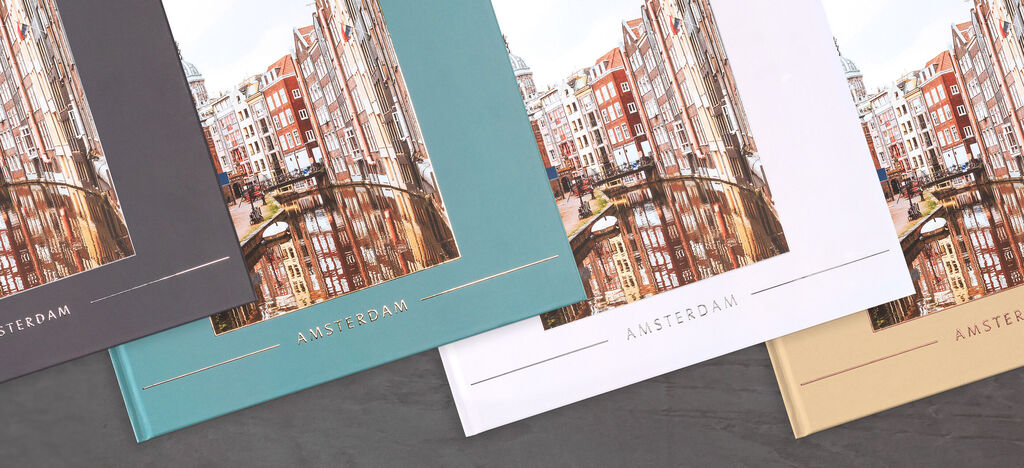
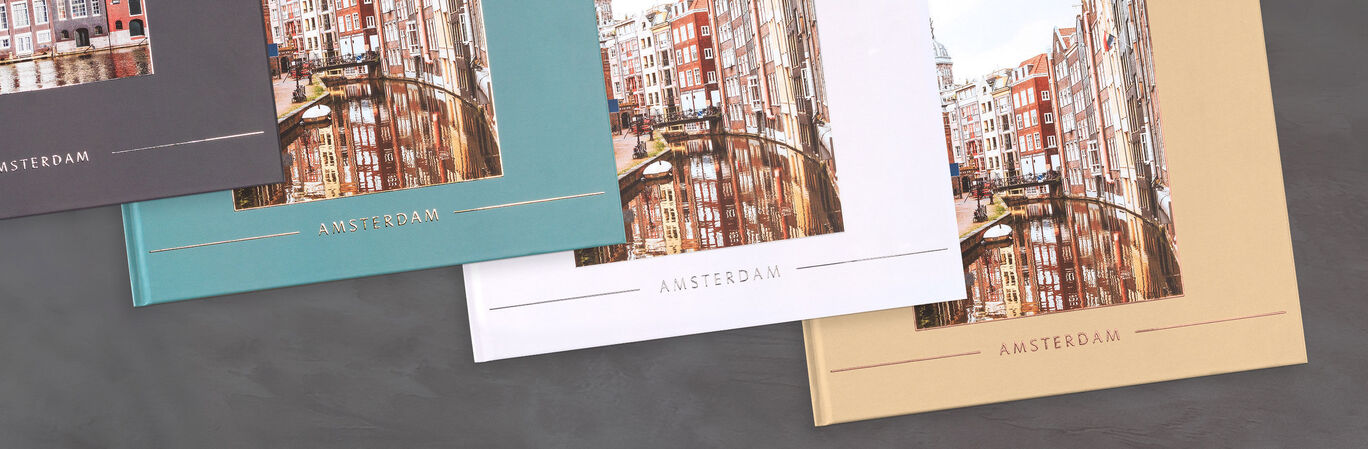
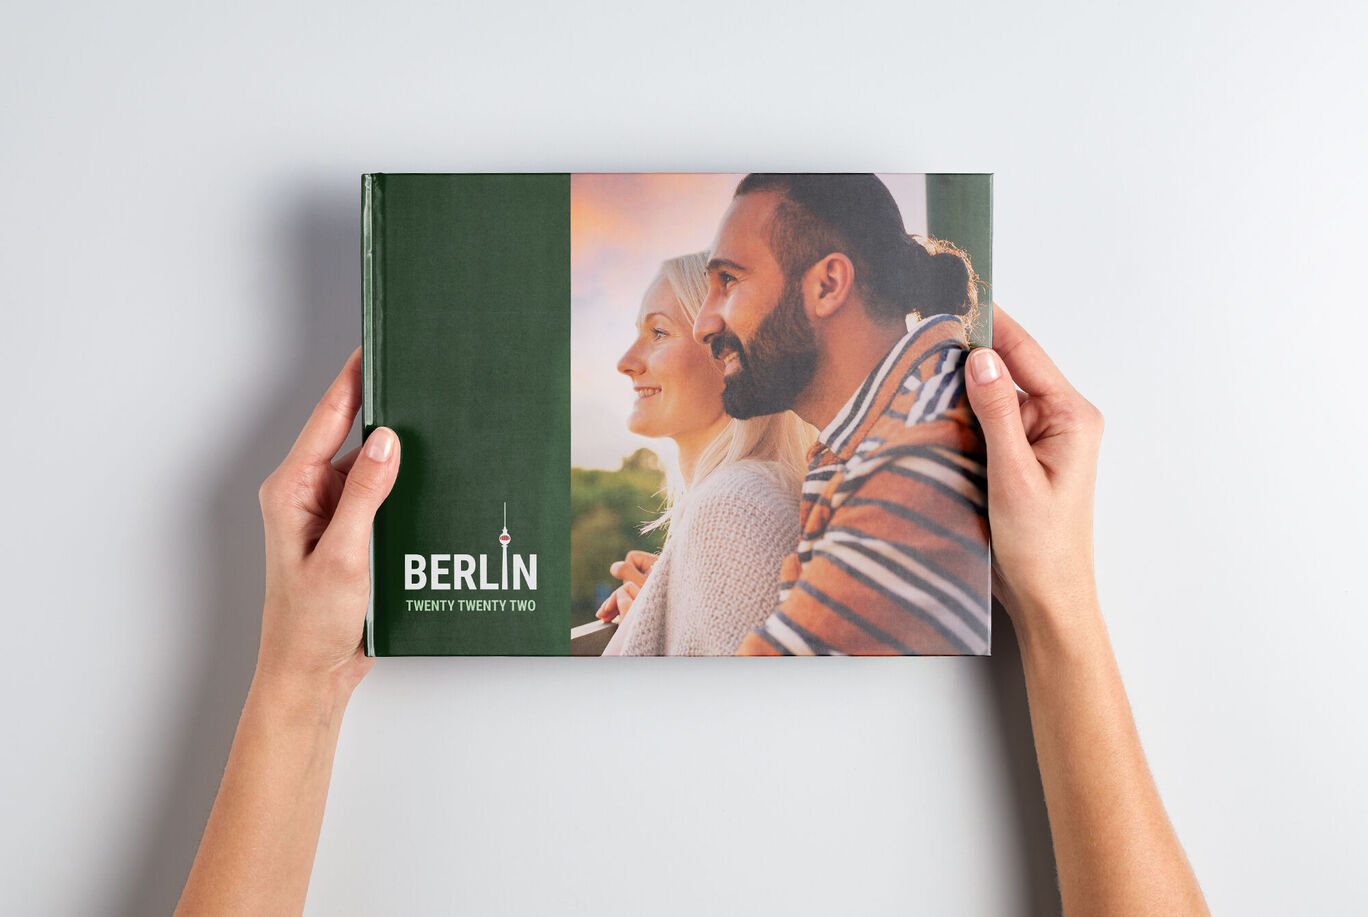
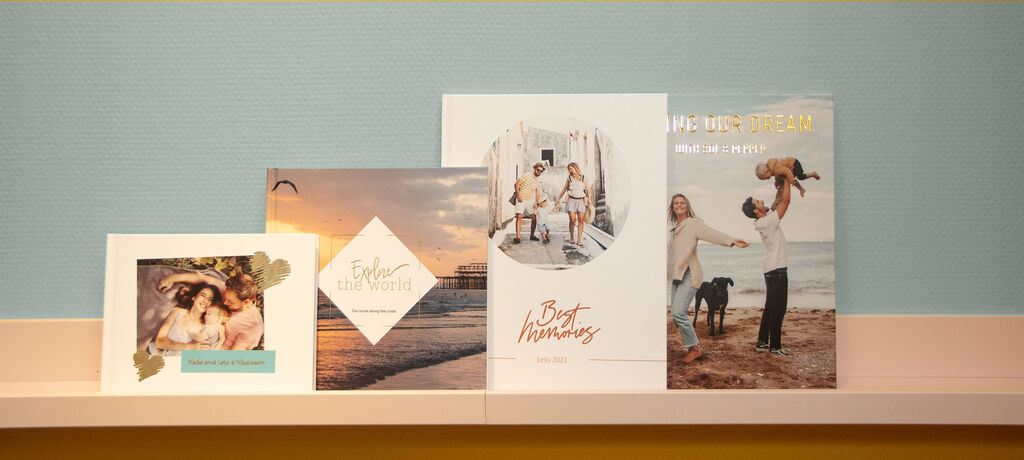
Cover types
Make your masterpiece stand out with one of our stylish photo book covers.
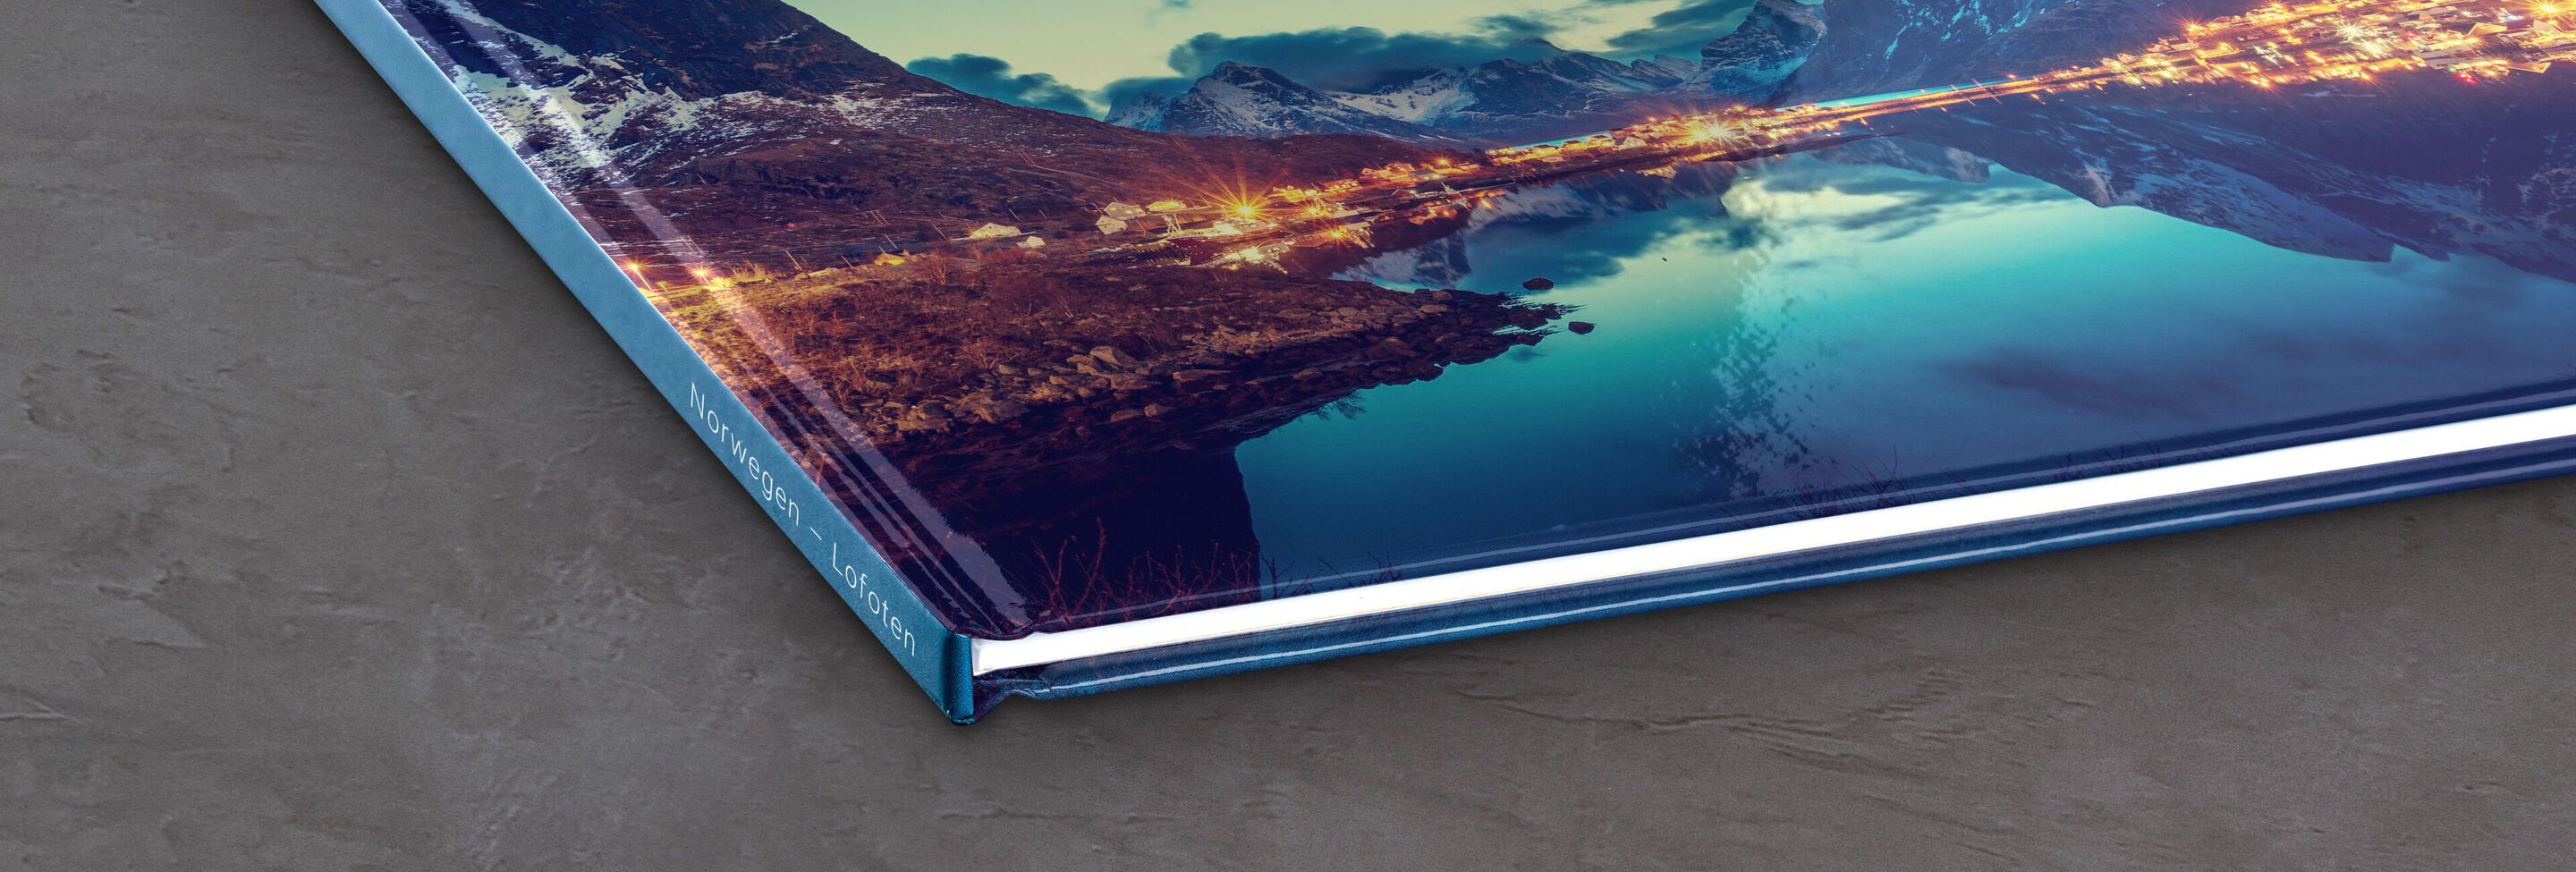
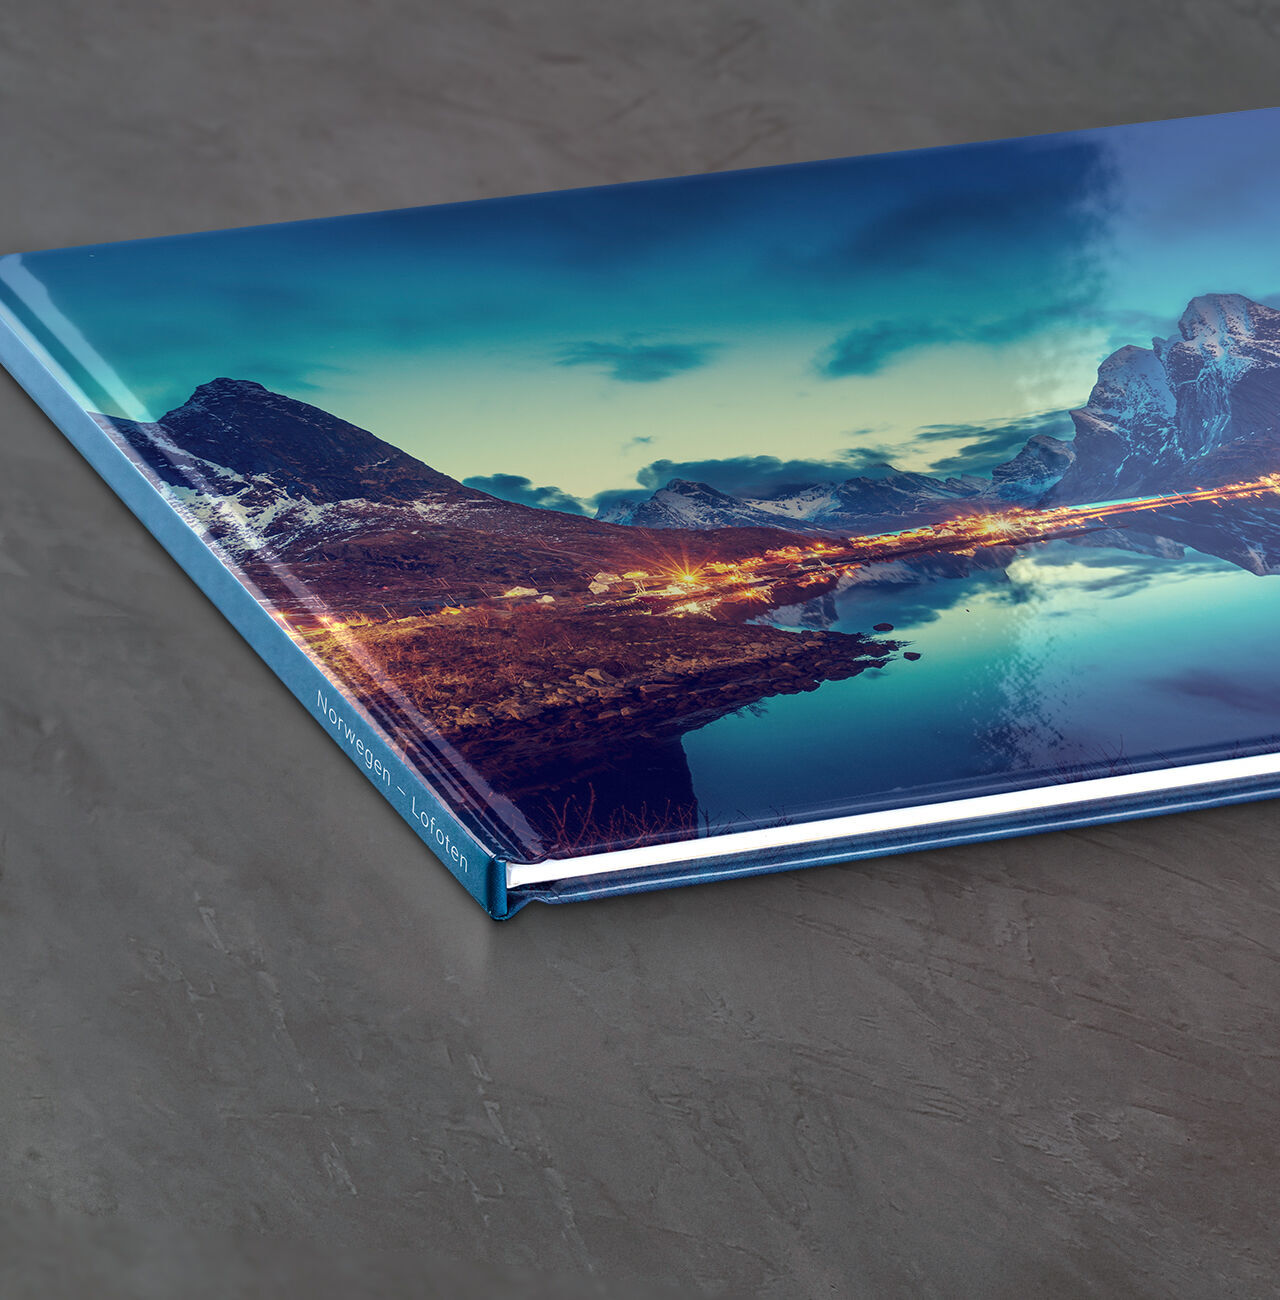
Choose a traditional, durable, hard-backed cover to protect your photo book.
- High quality
- Customisable spine
- Gold, Silver or Gloss Highlights available
- Available with up to 202 pages
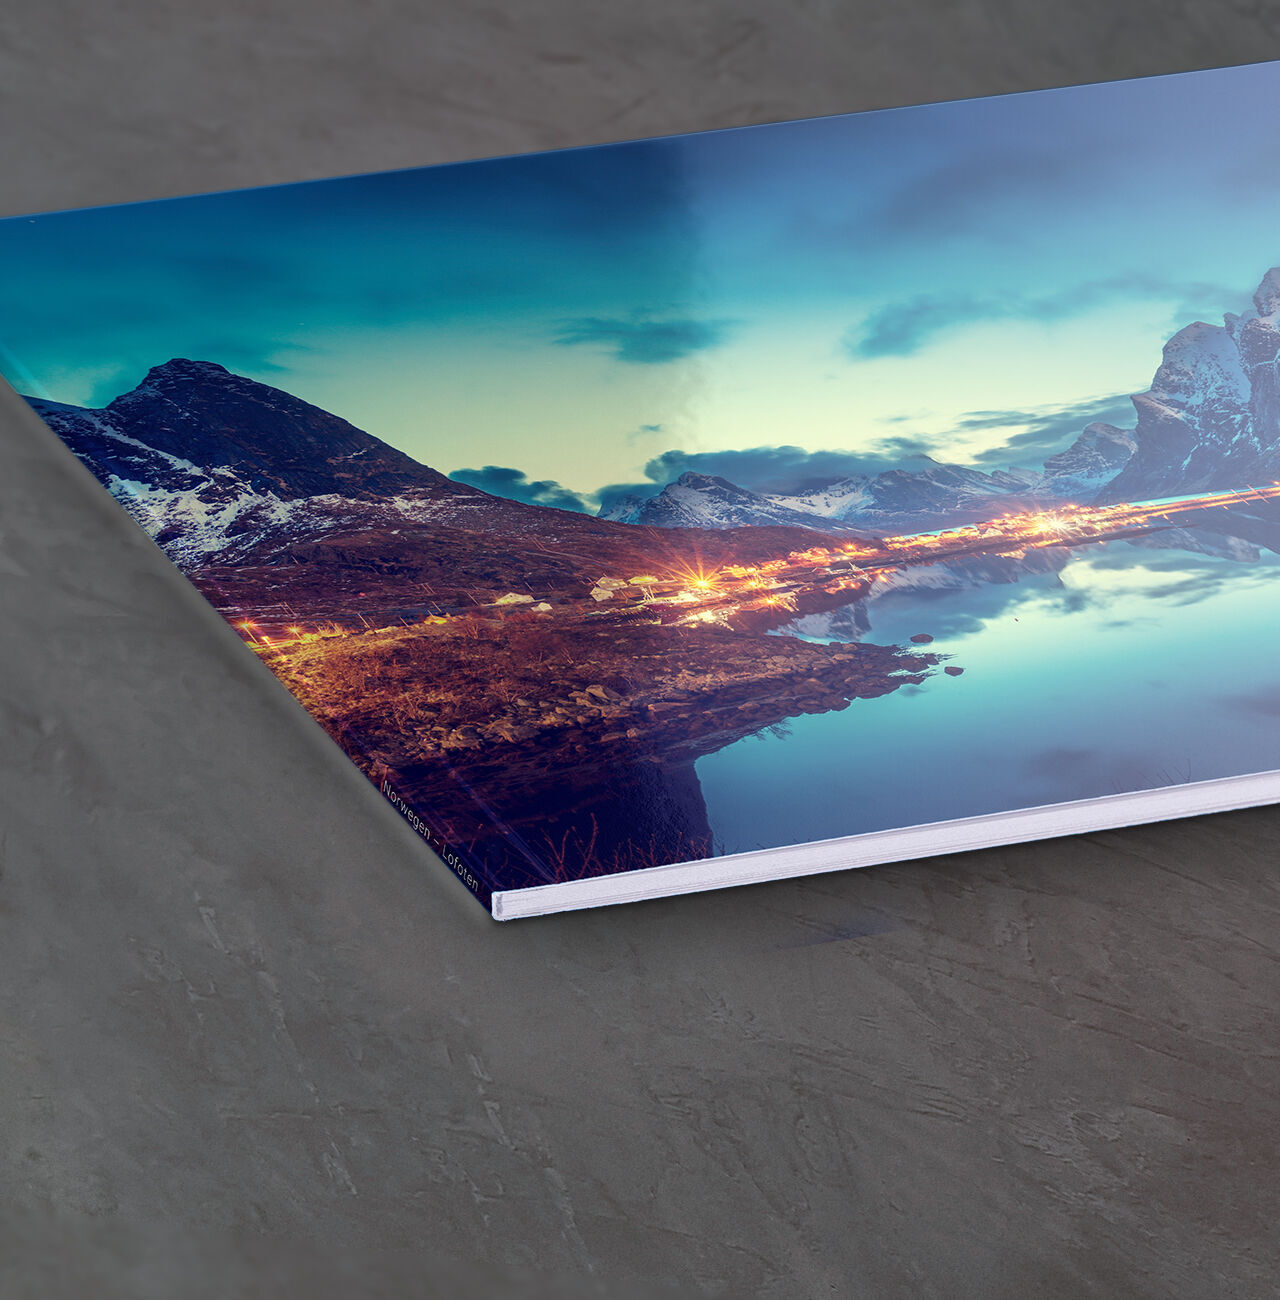
Our flexible, lightweight softcover photo books are perfect for carrying on the go, making your photo book incredibly versatile and easy to flick through.
- Flexible, Laminated Cover
- Personalised Softcover
- Personalised Spine
- Available with up to 130 pages
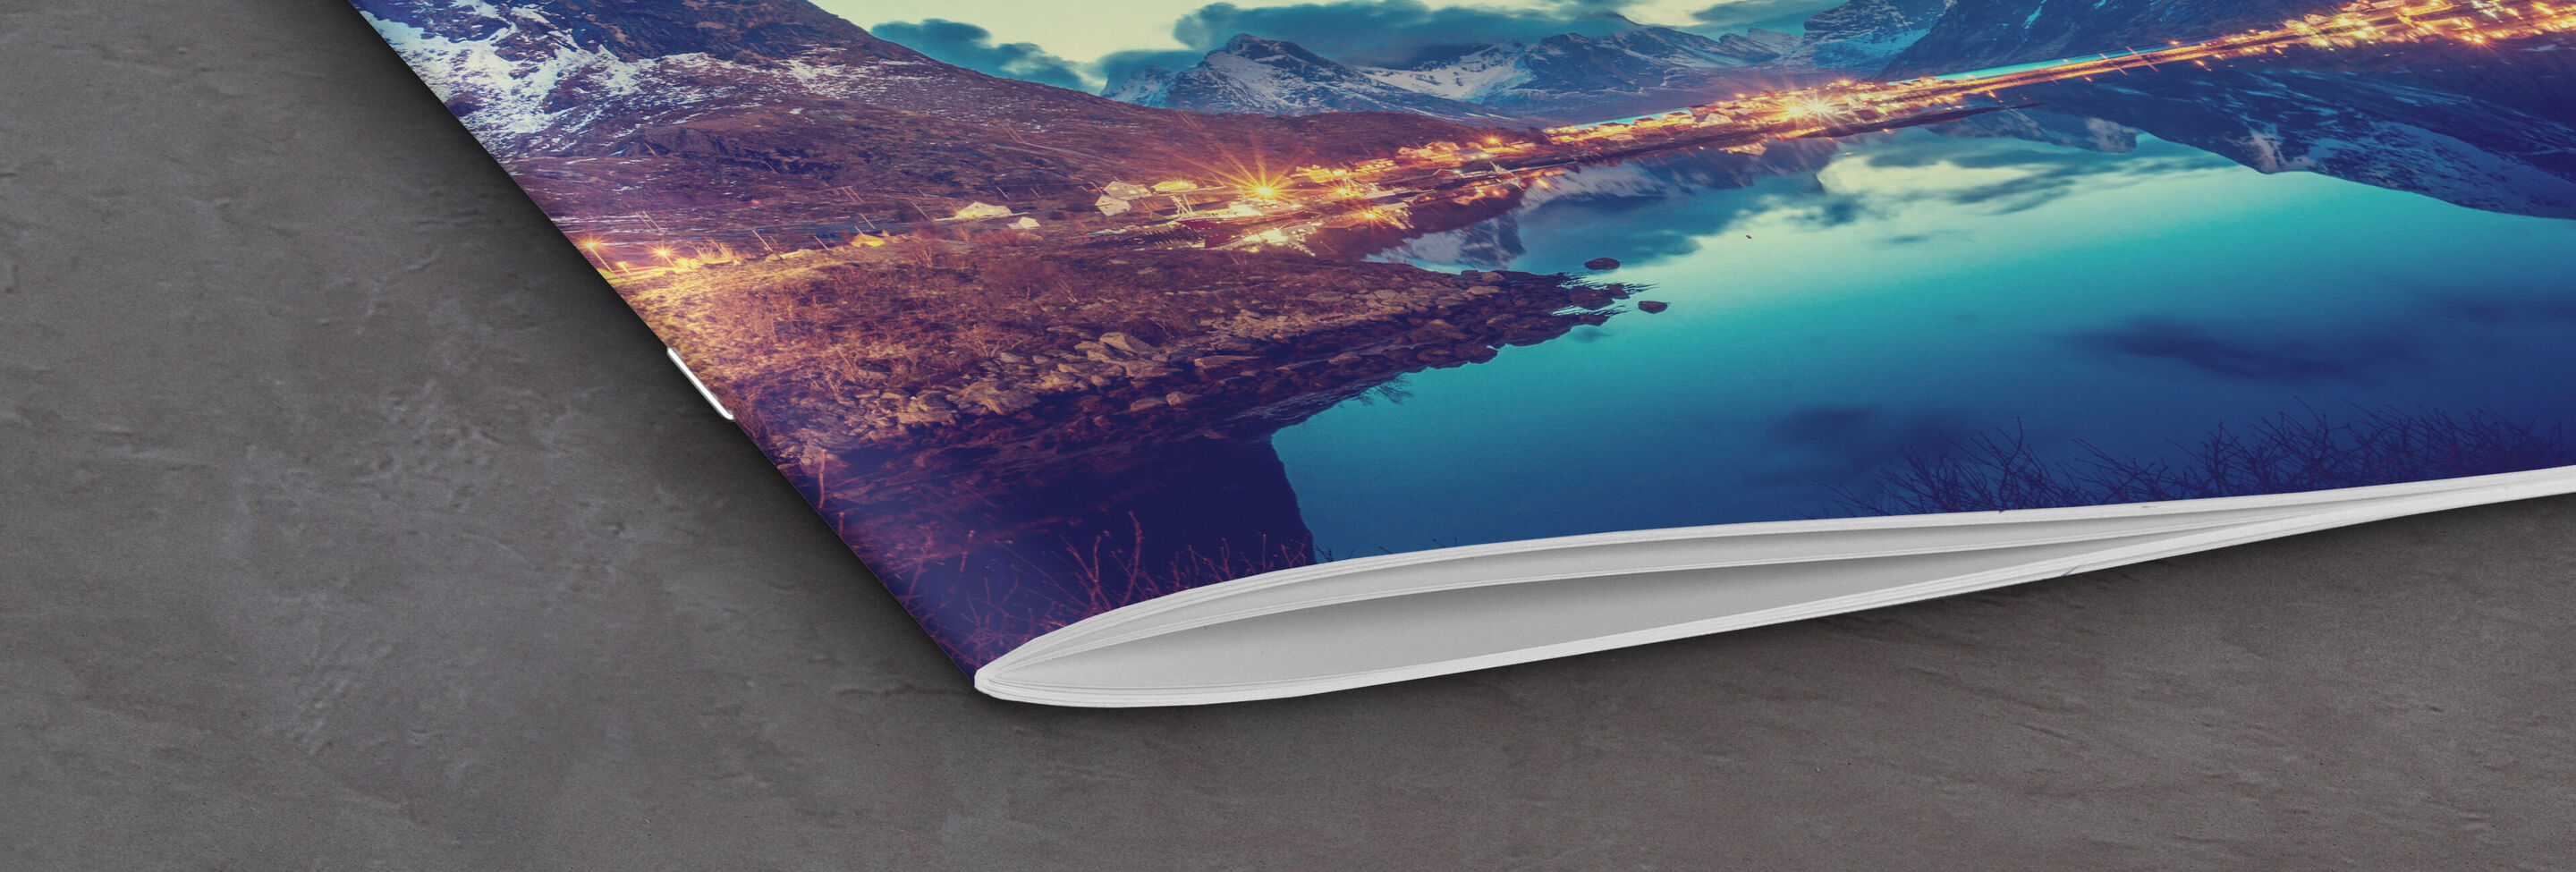
Just like a brochure, the pages inside the booklet cover fold into each other and are held together by staples.
- Cover with staple binding
- Pages fold into each other, just like a brochure
- Available with up to 50 pages
Highlights for your Hardcover CEWE PHOTOBOOK
Add a special touch to your hardcover with metallic or glossy accents to your text and clipart
What our customers think about us

FAQs about the personalised Small Square Photo Book
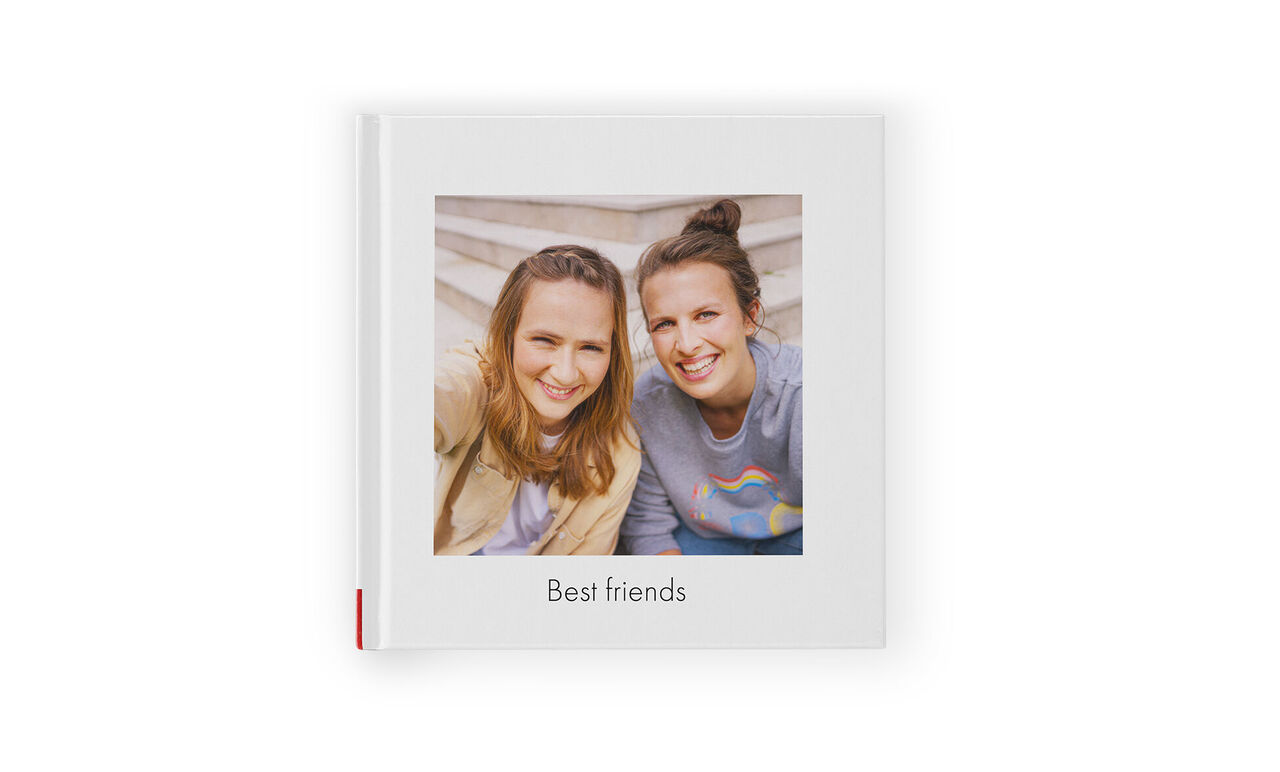
What size is the Small Square Photo Book?
The Small Square Photo Book is approximately 15 x 15 cm. This format is loved by our customers who create it to celebrate their friendship for a birthday or anniversary and even those looking to document the timeline of an event, such as the stages of pregnancy.
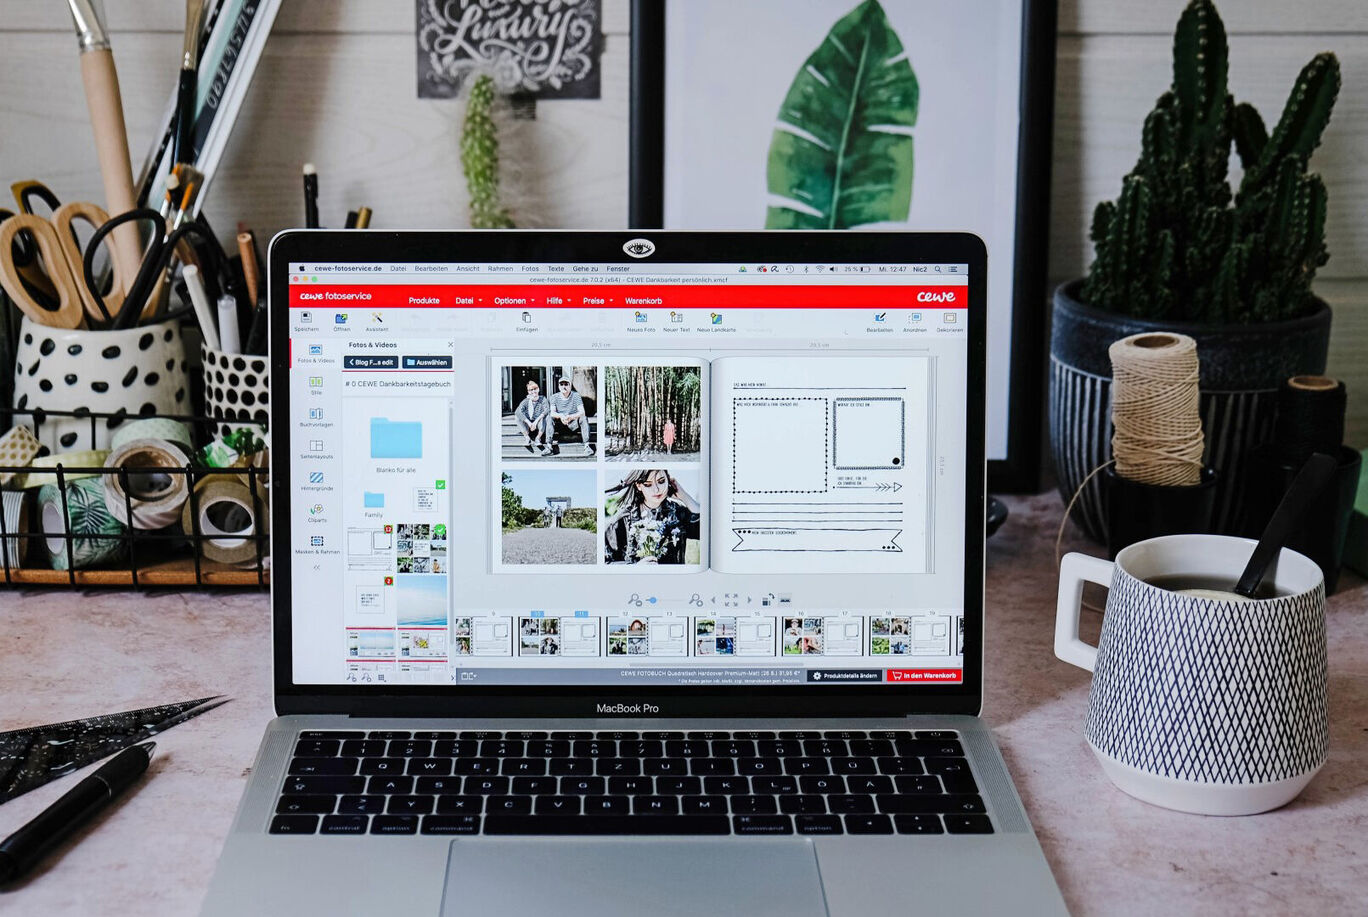
What is the easiest way to create a photo book with CEWE?
You can create a CEWE PHOTOBOOK on any device, and you'll always be able to customise your book's features and themes no matter the way you choose to create it. We recommend using our CEWE Creator Software (if you’re on a computer) or the CEWE Mobile App (if you’re on your phone or tablet).
On your computer Our recommended way of designing a photo book if you are on a computer is through the CEWE Creator Software which is full of useful features such as Smart Quality Indicator (to help you choose your best photos), the Assistant (which will create a book in minutes) and extra personalisation features such as adding maps and videos. The Creator software also benefits of our widest range of book templates which will make it especially easy to make a book that looks professional.
On your phone or tablet If you're on the go, we recommend creating with the CEWE Mobile App. You'll be able to connect it directly to the photos on your phone, and turn your image folders into real-life albums with just a few taps. You'll also be able to use the Smart Photo Distribution, which will automatically create layouts and fill them with your image selections, for photo books created in minutes!
How can I personalise my Small Square Photo Book?
You can personalise your Small Square Photo Book with standard and premium designs to suit an occasion, change book templates, edit your images, swapping photo layouts, using smart background colours, adding and editing text and fonts. You'll also be able to customise the spine of the book, add metallic or glossy embossing to your cover, choose from classic and photographic papers, classic and layflat binding and different cover options. Add videos and maps to help tell the full story and make a photo book as personal as your adventures.
Get inspired with our blog and tutorials
More photo books you'll love
Enjoy 10% off Europe’s most loved photo book
- Plus, receive a 10% welcome discount on your first CEWE PHOTOBOOK.
Please check your email
Please confirm your subscription by clicking the link in the email you will receive shortly.
You can cancel your subscription at any time by clicking the unsubscribe button, or by changing your preferences in your Account.
We're sorry
Unfortunately, we were not able to sign you up for our newsletter. Please try again later.


