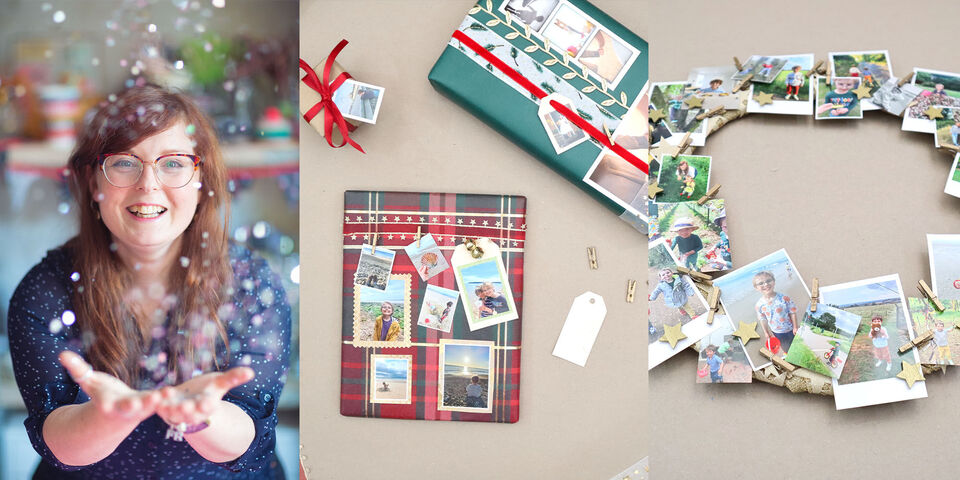
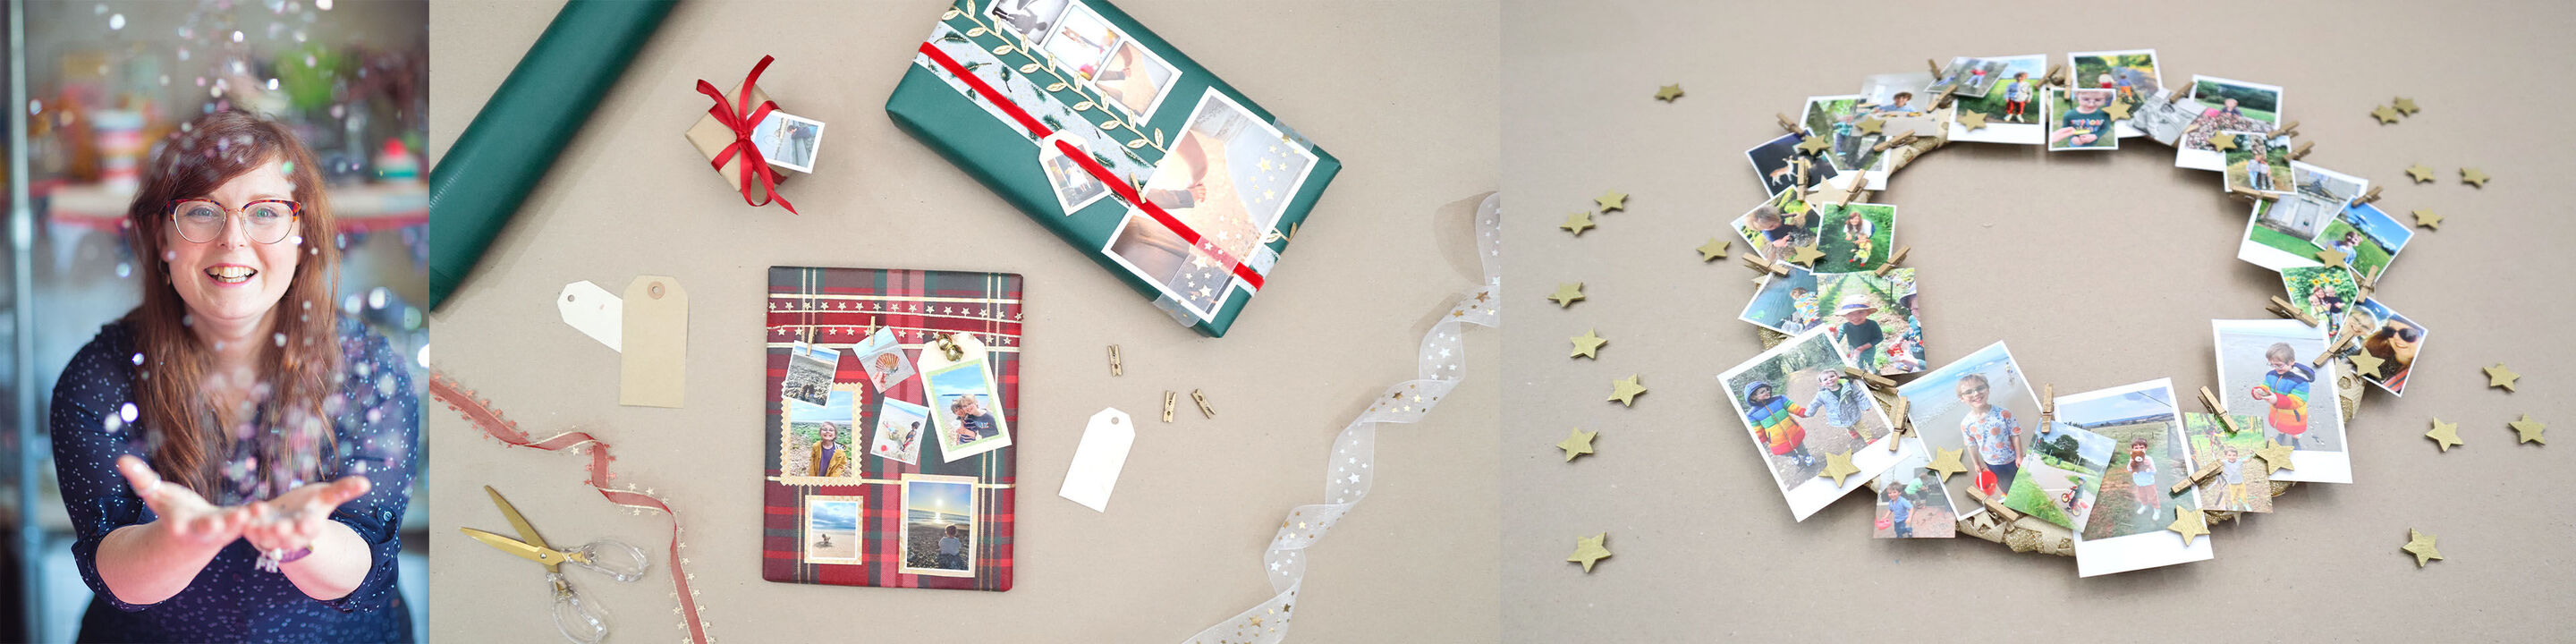
Tell a story with Instant Photos this Christmas with CEWE & The Crafty Lass
Create something special this festive season by using CEWE Instant Photos to add a personal touch to decorations, crackers, cards and gift wrap.
Learn how to use your photos to create a magical Christmas
What would you like to create first?

How to make a photo wreath
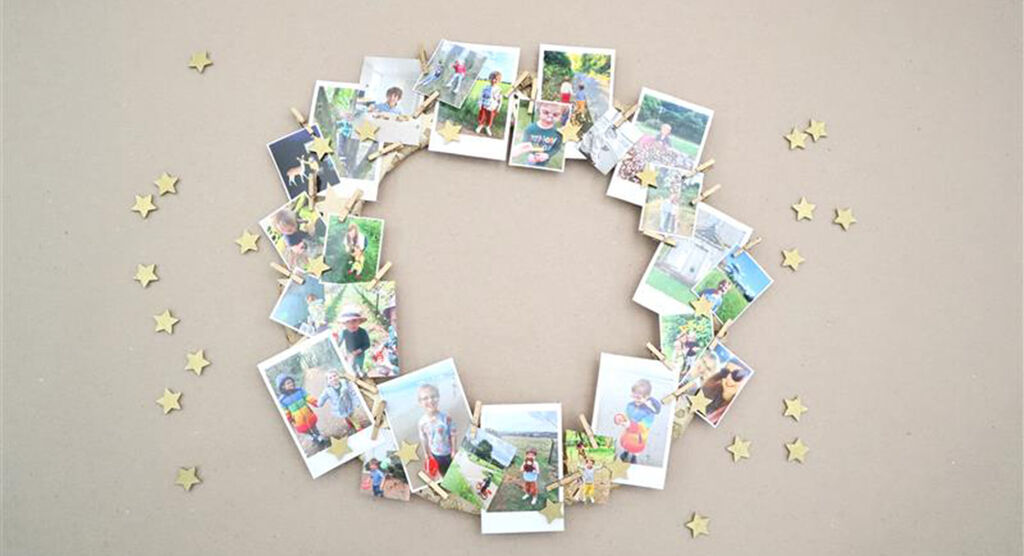
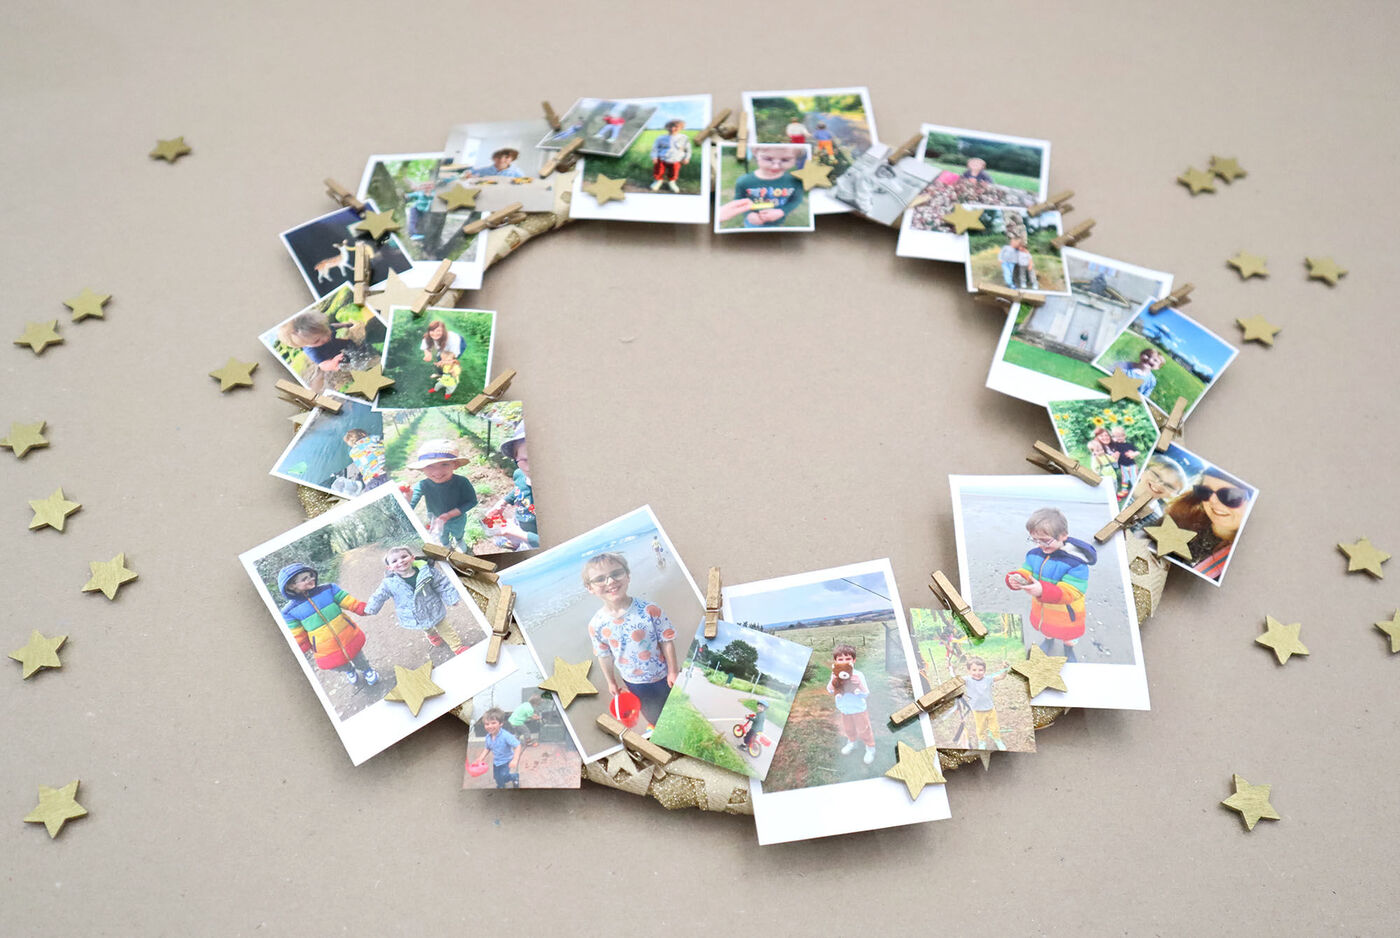
Photo wreath
Use mini photo prints around a wreath base using small pegs or tape, before adding ribbon and a trim to add a touch of colour and festive detail.
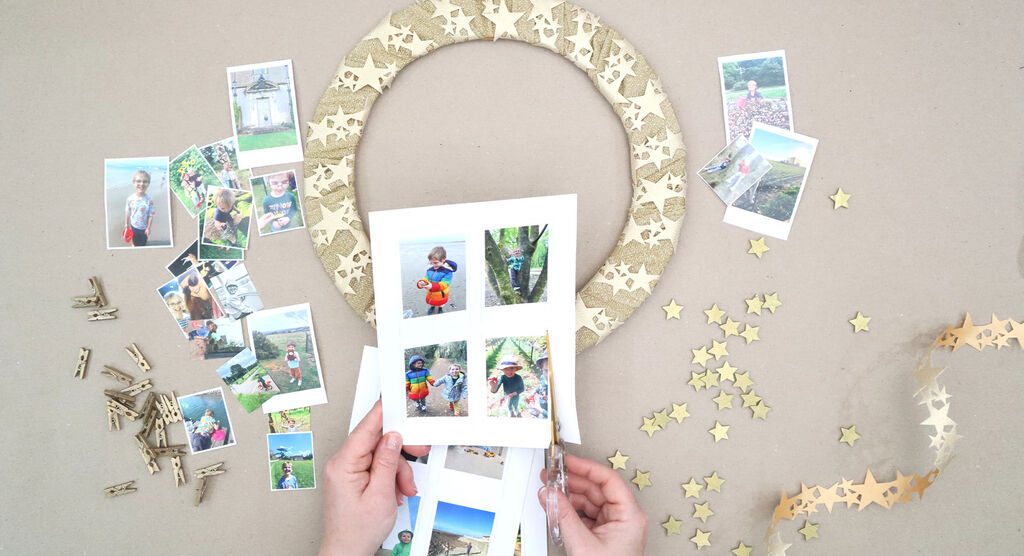
Step 1
Wrap a metal wreath ring using gold fabric to provide a 'base' or use a wooden or rattan wreath.
Choose a mix of small photo sizes, I've chosen to use mainly smaller images to include lots of moments and memories.
Adding ribbon or trim adds extra colour and detail. It may not always be seen but it also means extra places to attach photos with small wooden clips or to tuck photos under.

Step 2
Attach photos using glue or double sided tape – clips would allow you to easily remove and frame the photos afterwards, or add to a book or photo album. It doesn't matter where you add the photos as long as securely attached on.
Vary the direction the photos are placed to add variety to the wreath and don't be afraid to move photos around the wreath as you create if you feel photos may work better elsewhere!
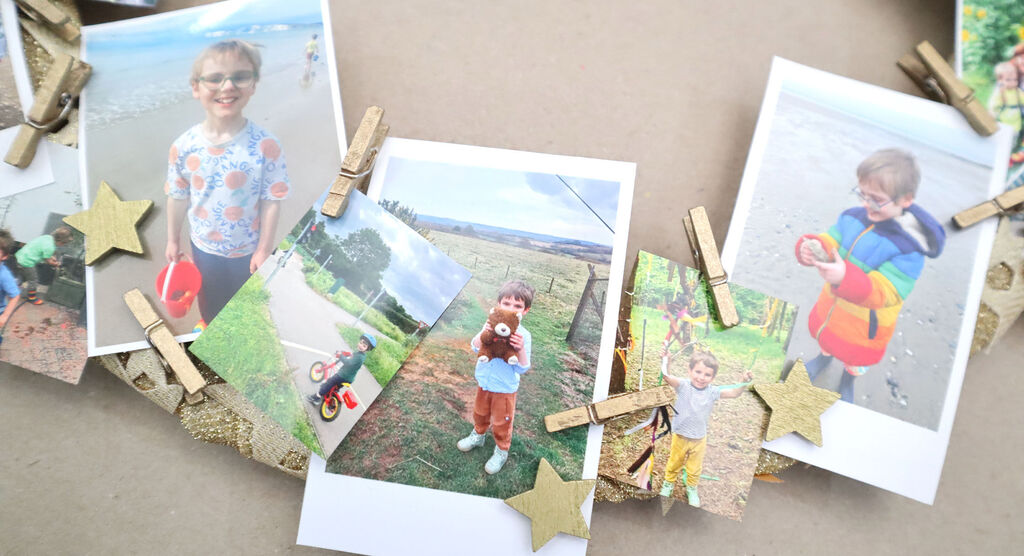
Step 3
Add additional decorations between the photos - be careful if adding anything with glue so the photos aren't damaged – particularly if you plan to reuse the photos.
Hang your finished wreath somewhere indoors using a ribbon wrapped around the wreath, or place on a shelf or mantelpiece – keep away from open fire and naked flames!
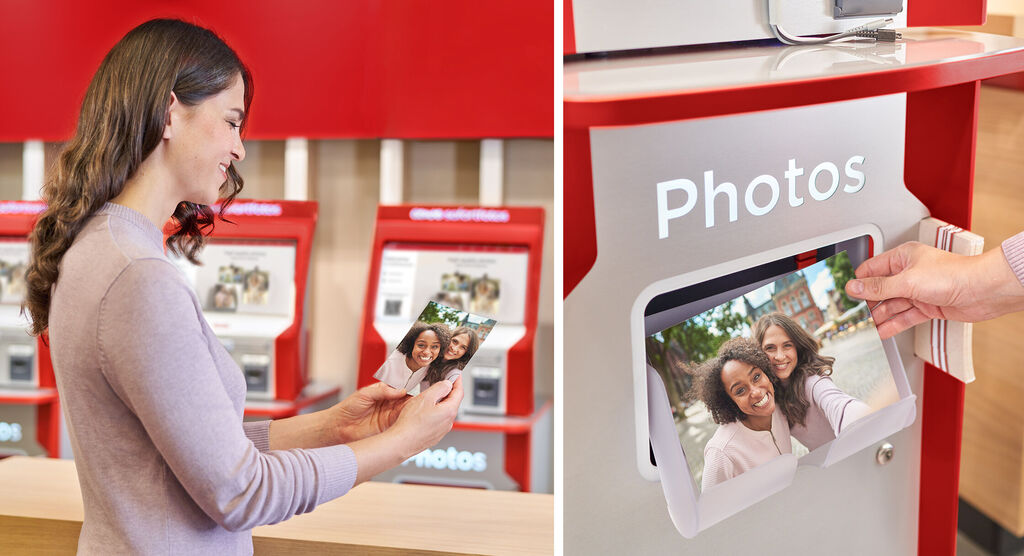
Now print your photos!
Print your photos at a CEWE Photostation in one of our retail partner branches near you.
How to personalise gift wraps and tags
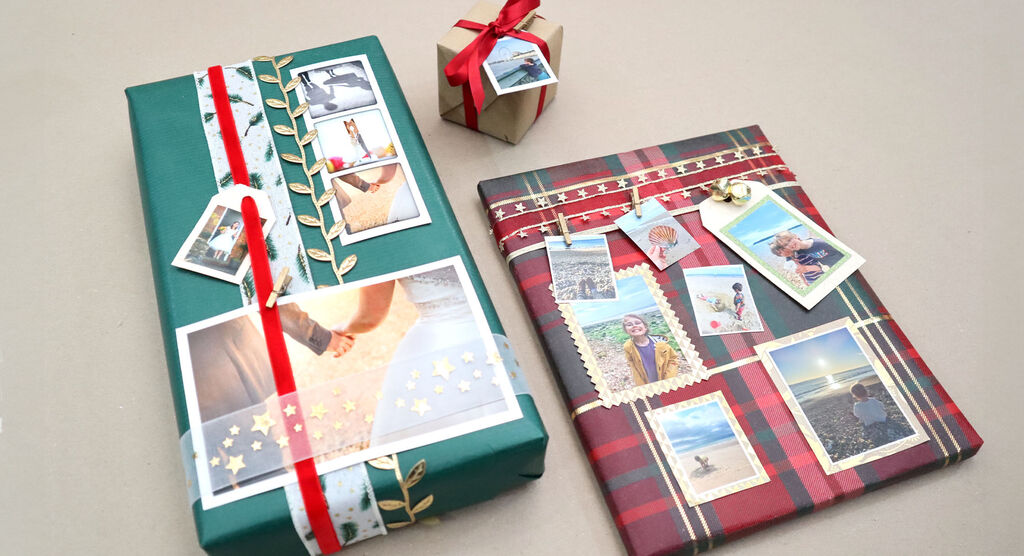
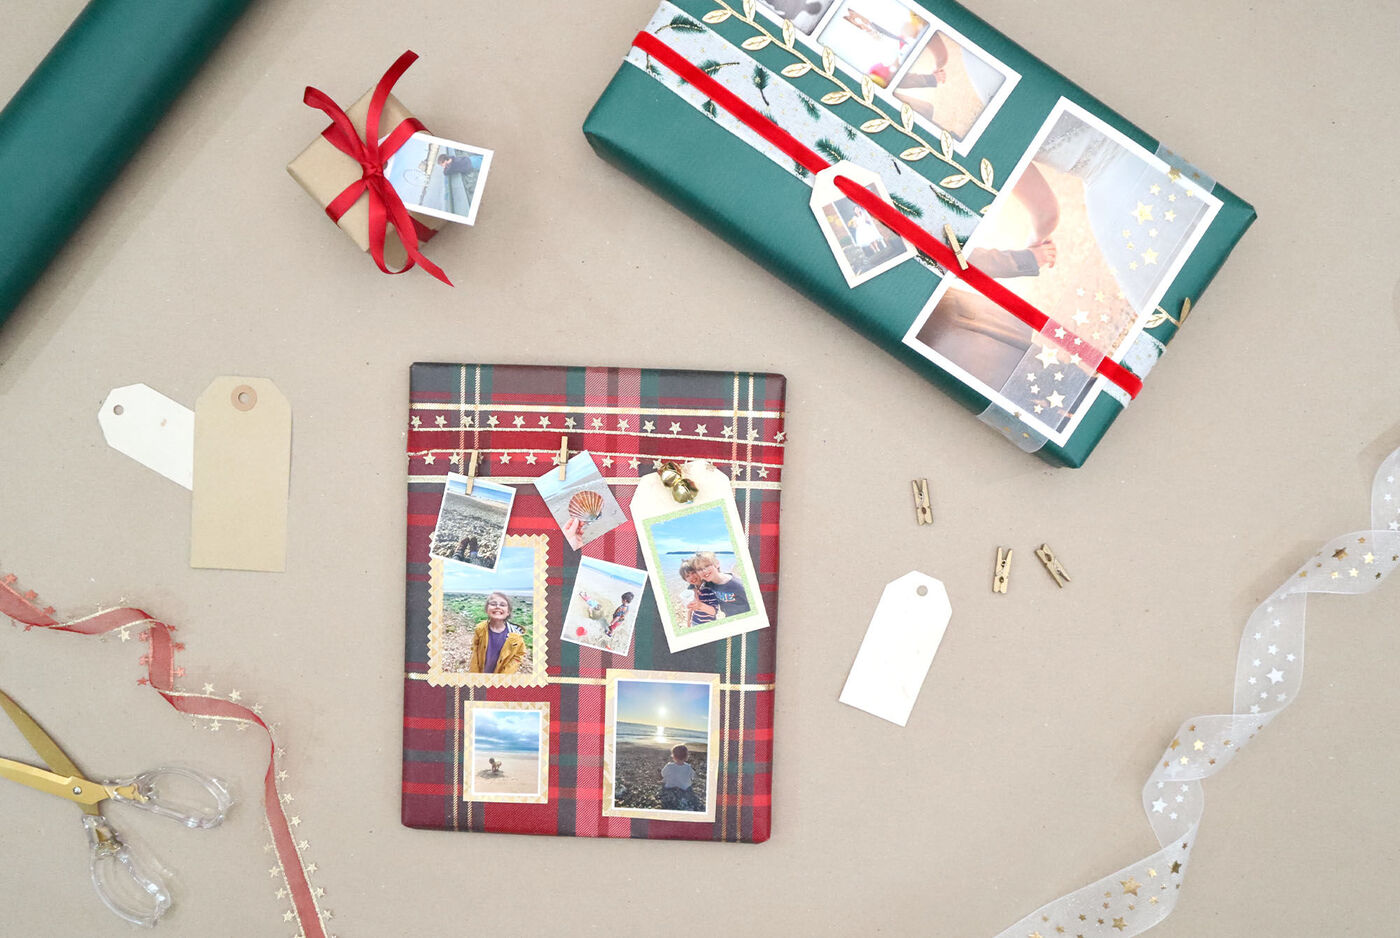
Gift wrap and tags
Add your special memories onto pre-wrapped gifts using CEWE Photo Strips and double-sided tape or small wooden pegs.
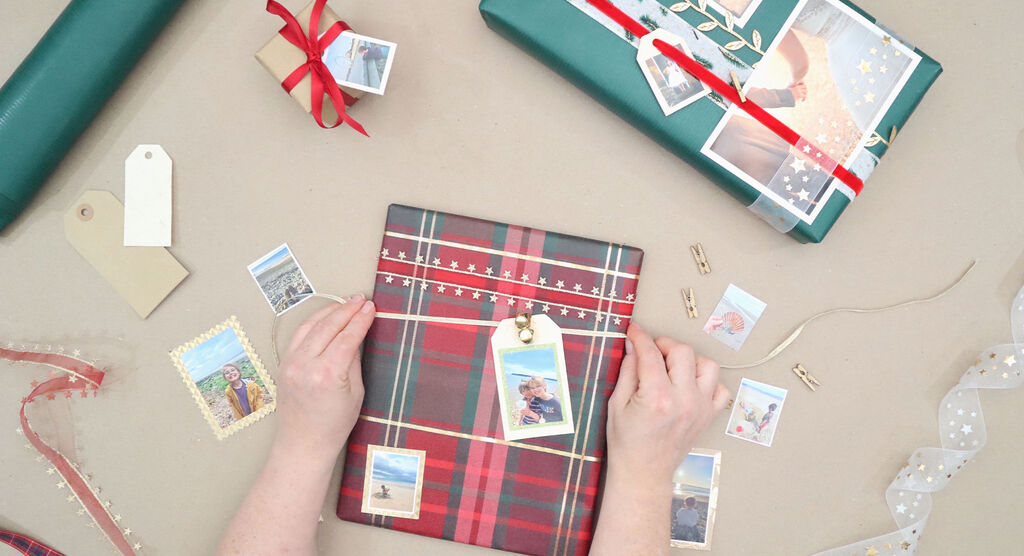
Step 1
Print a selection of photos with varying sizes and festive backgrounds or text.
Photos don't need to necessarily be 'festive' -maybe the images capture special moments or people or perhaps they mean something in relation to the gift inside!
Add photos on to giftwrap using double sided tape or small wooden pegs, adding ribbons or trims adds decorative details but also allows places for pictures and tags to be attached with small wooden pegs.
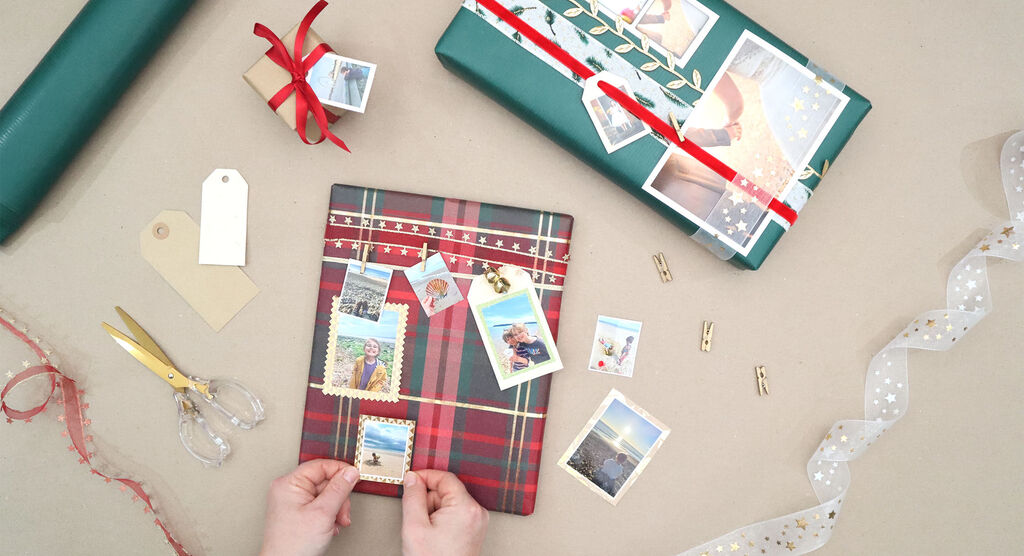
Step 2
Use sharp scissors to cut the photo out nice and straight – or choose to use pinking shears or pattern scissors for decorative edge detail.
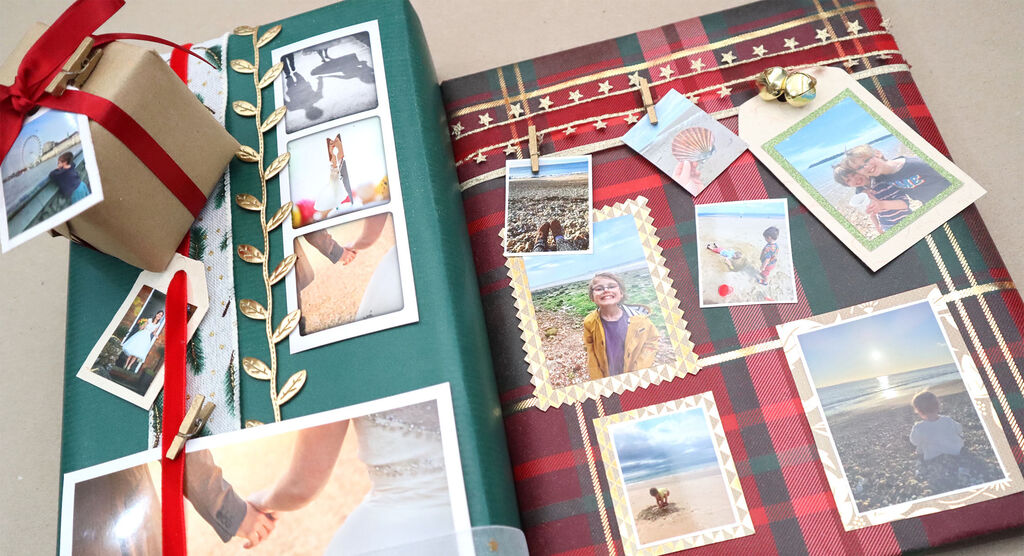
You could add just one stand out photo, or several small ones like a 'gallery' or scrapbook! Think of your present as a blank 'canvas' to add photos.
Step 3
Use with whatever wrapping paper you prefer - plain or decorative - but be wary of anything too busy - you want the photos to be the stand out feature!
Recipient could keep the photos to frame, turn into the fillable baubles or add them to a photo album!
Now print your photos!
Print your photos at a CEWE Photostation in one of our retail partner branches near you.
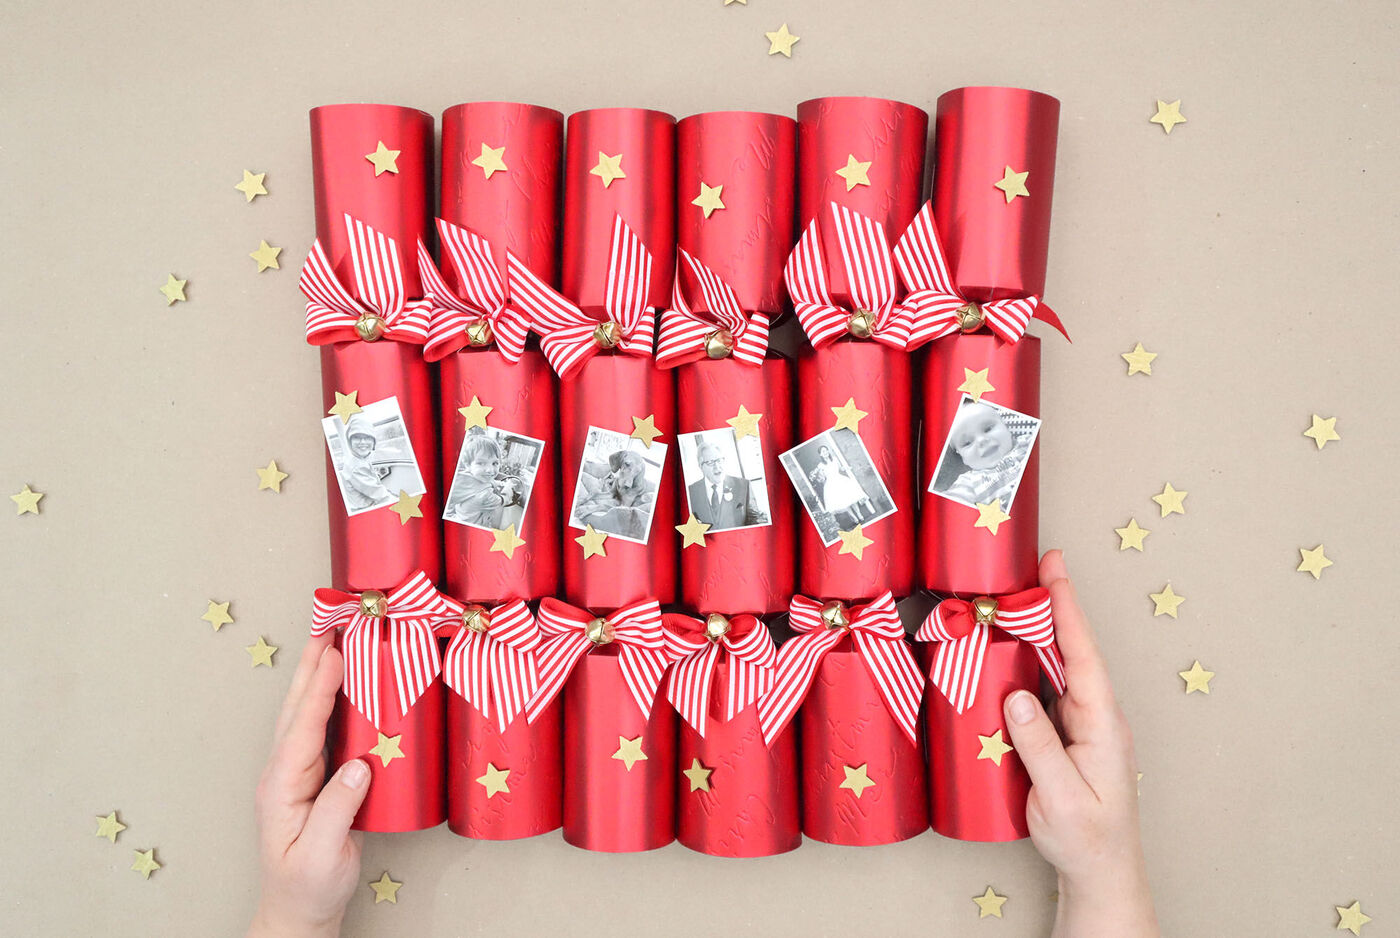
DIY Christmas crackers
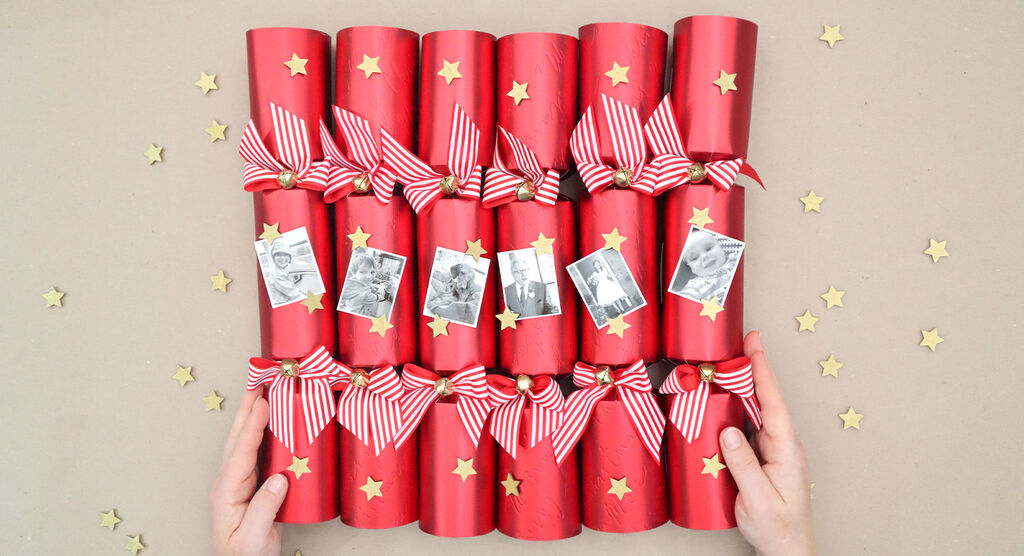
DIY Christmas crackers
Attach small images of your favourite memories to the cracker centre using tape, add gold stars for sparkle, and include names or small gifts inside for an extra-special handmade touch.
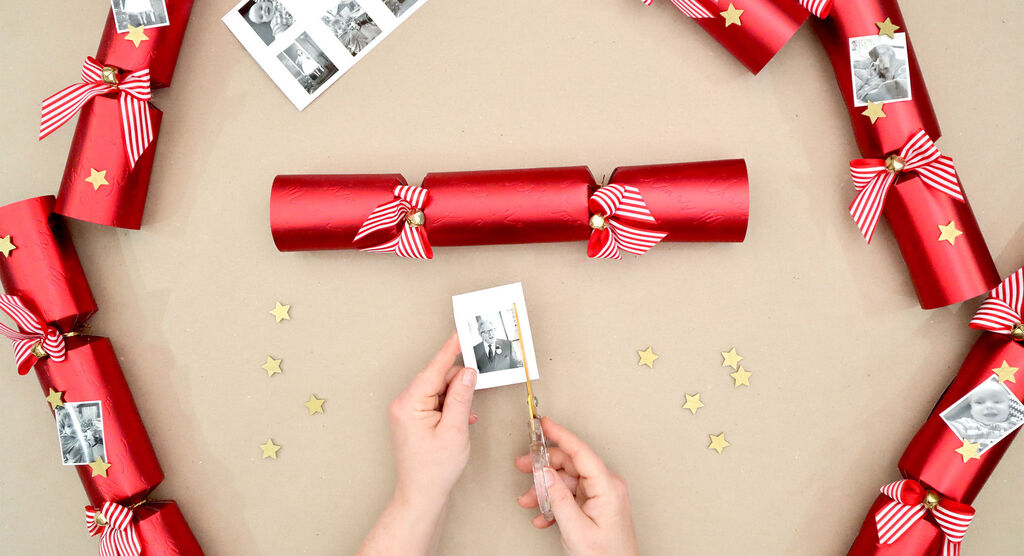
Step 1
Choose small photos to print in strip format so they fit nicely on to the cracker. I have chosen black and white as a real stand out contrast to these red crackers.
Add the cut out photos directly on to crackers using double sided tape or small foam sticky pads. I have chosen to put them in the middle of the cracker centre so they are the main feature.
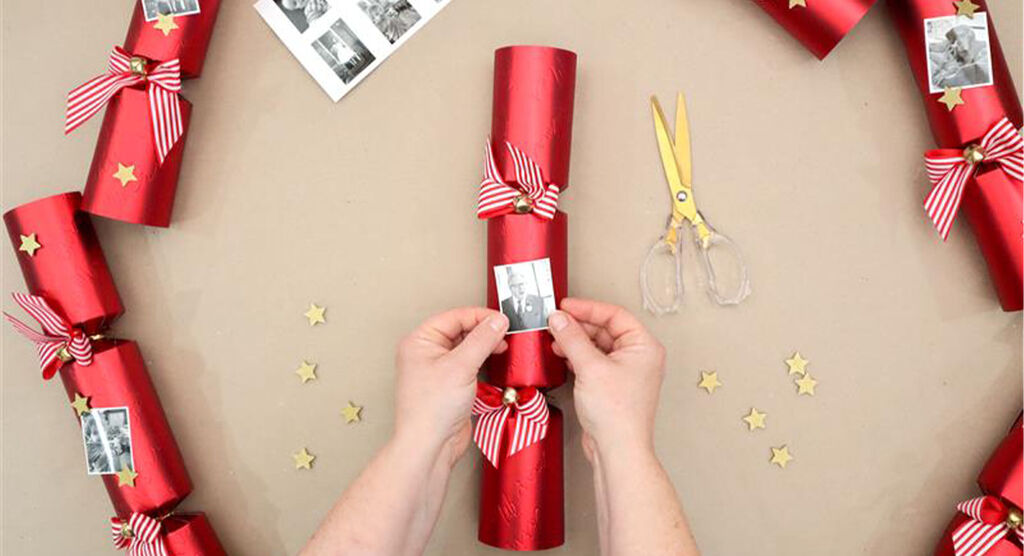
Step 2
I have chosen some small wooden gold stars to 'frame' each picture. Then additionally added more wooden stars across the cracker to tie everything together.
If making your own crackers, could add a small personalised gift for the recipient in the photo inside like a cracker 'present'.
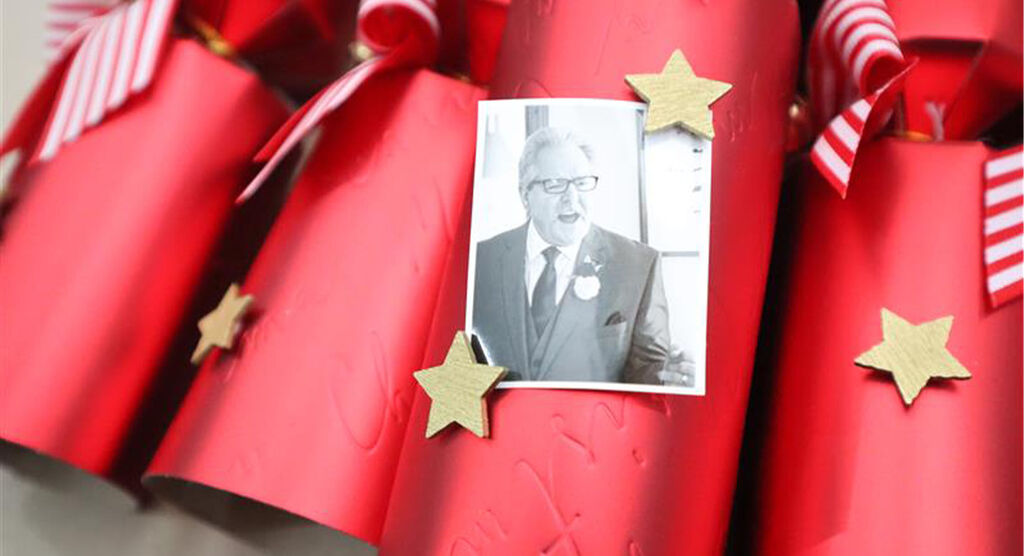
Step 3
Crackers could act as a place 'name' with the photo - or perhaps you could add the recipient name in stickers on to the cracker. Alternatively use the ‘add text’ function when you print you photos.
Recipient could remove photo before cracker pulling to keep rather than it going in recycling!
Now print your photos!
Print your photos at a CEWE Photostation in one of our retail partner branches near you.

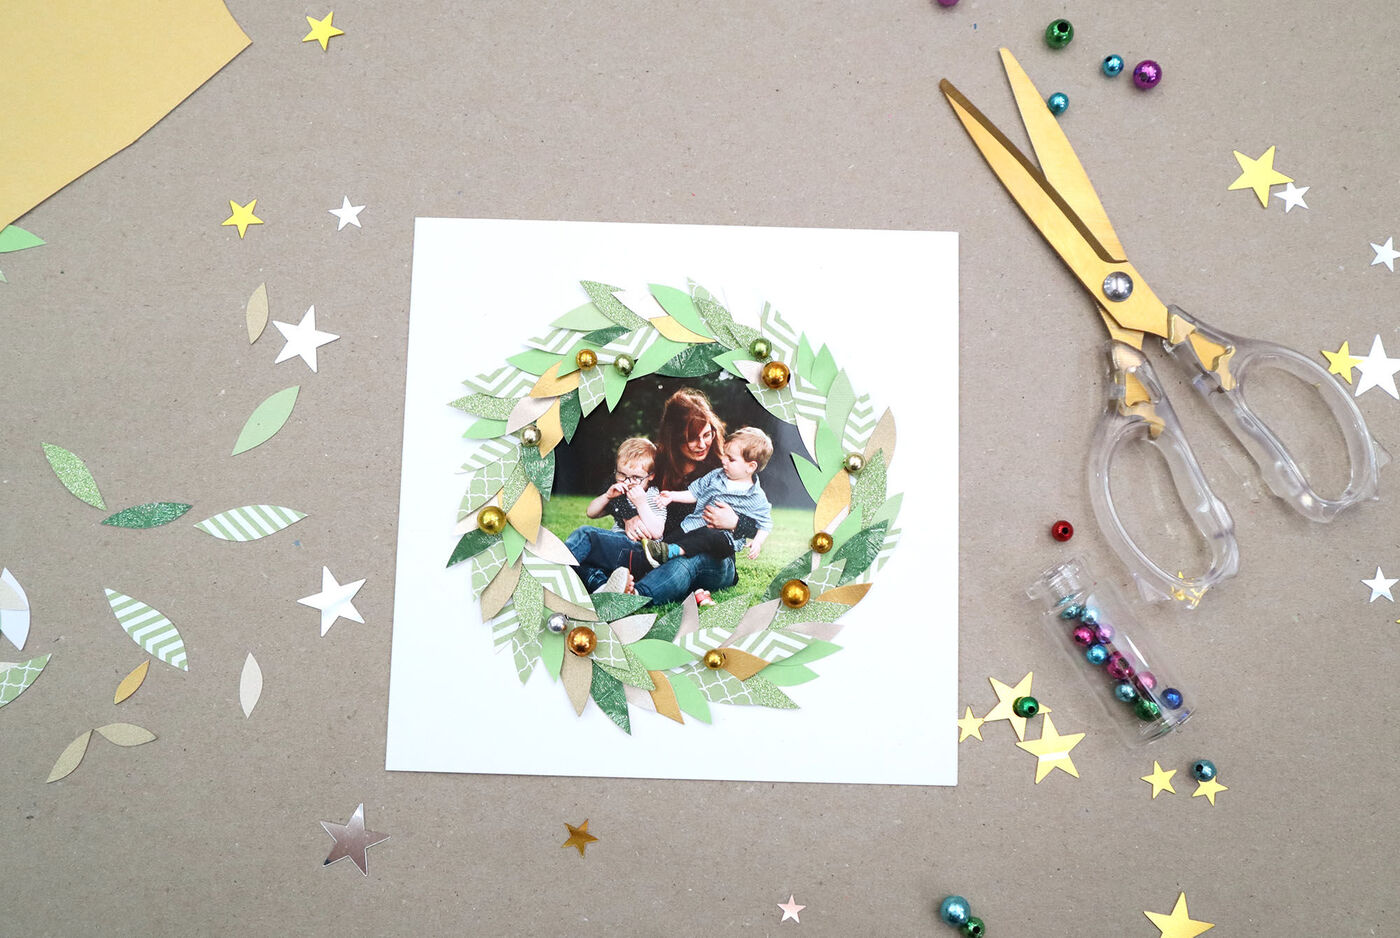
DIY creative Christmas cards
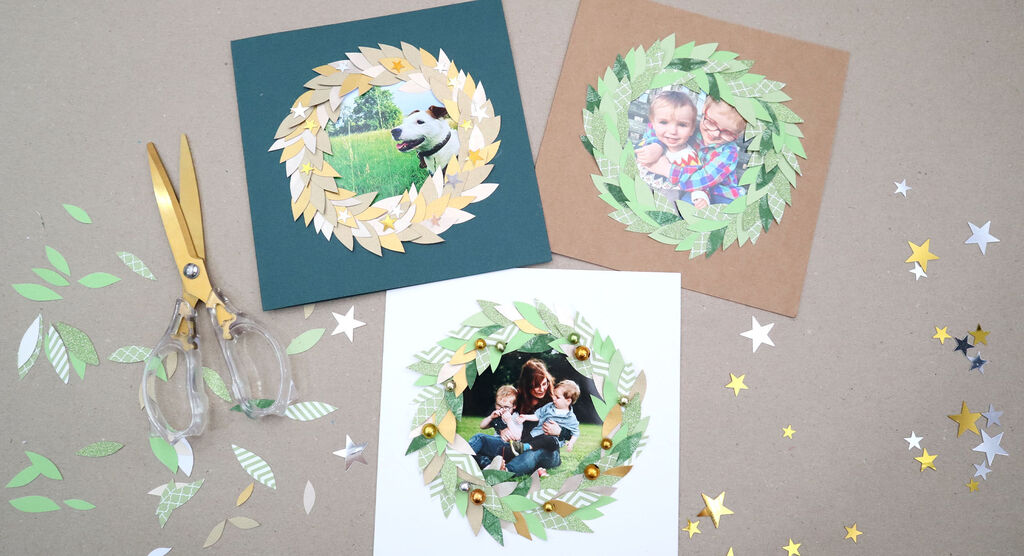
DIY Christmas cards
Use CEWE 6x4 photos with festive templates to print your photo as a circle, cut small leaves from scrap paper, felt, or fabric.
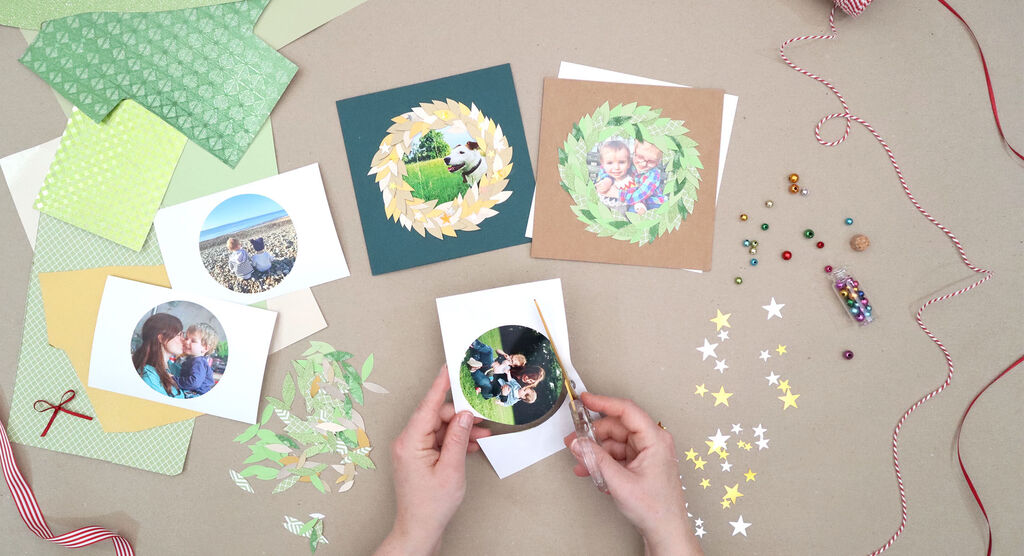
Step 1
Choose your photo and print your circle template at a CEWE Photostation - I used a 6" x 4" with festive template.
Cut the circle photo out from the print out. Alternatively you could print a larger photo and cut to any shape.
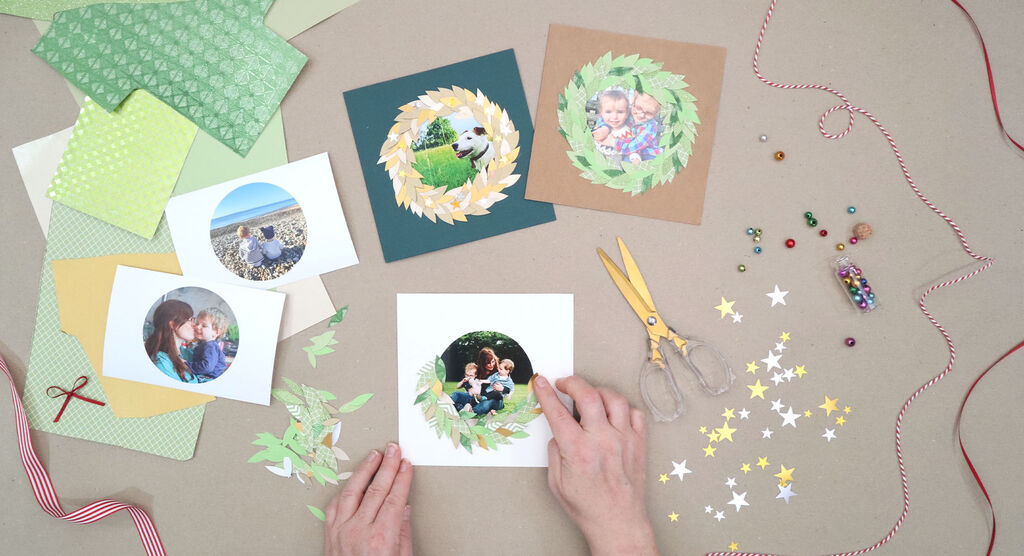
Step 2
Cut out small leaf shapes using scrap paper, felt or fabric. Don't worry about the leaves all being identical shape or size – this will help add to the natural look!
Use any papers or cards you have to hand – or upcycle magazines, old wallpaper, wrapping paper or other greeting cards.
Experiment with colours! It doesn't have to be just leafy greens – why not try golds, reds, whites, or even a rainbow.
Step 3
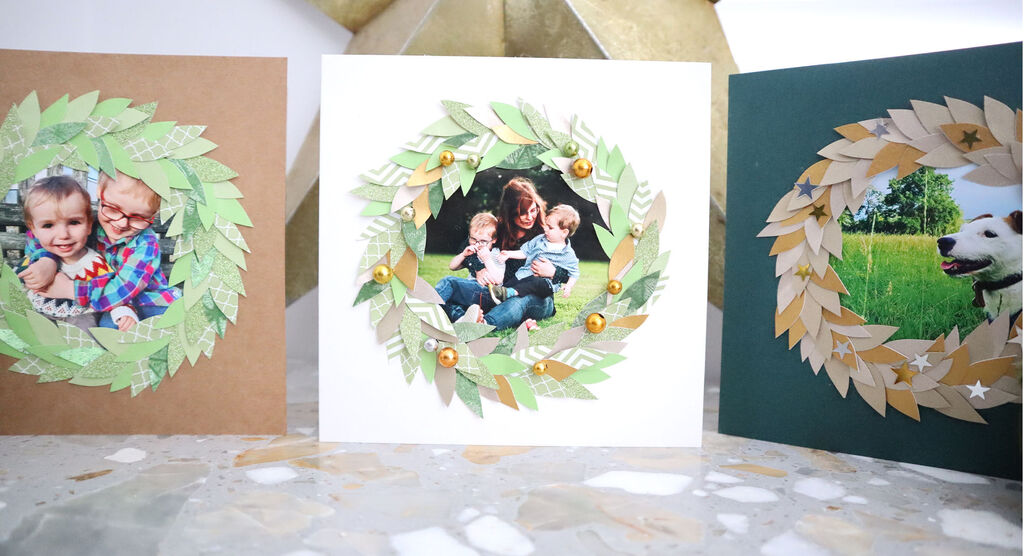
Add your photo to a blank greeting card, then add your cut out leaves, overlapping around the edge of your photo to create a festive wreathframe.
You could also add embellishments such as little stars, beads, sequins, ribbon. I've chosen to use sequin stars on one, and small 'berry' beads on another.
There you have a really special, keepsake personalised Christmas Card.
Now print your photos!
Print your photos at a CEWE Photostation in one of our retail partner branches near you.
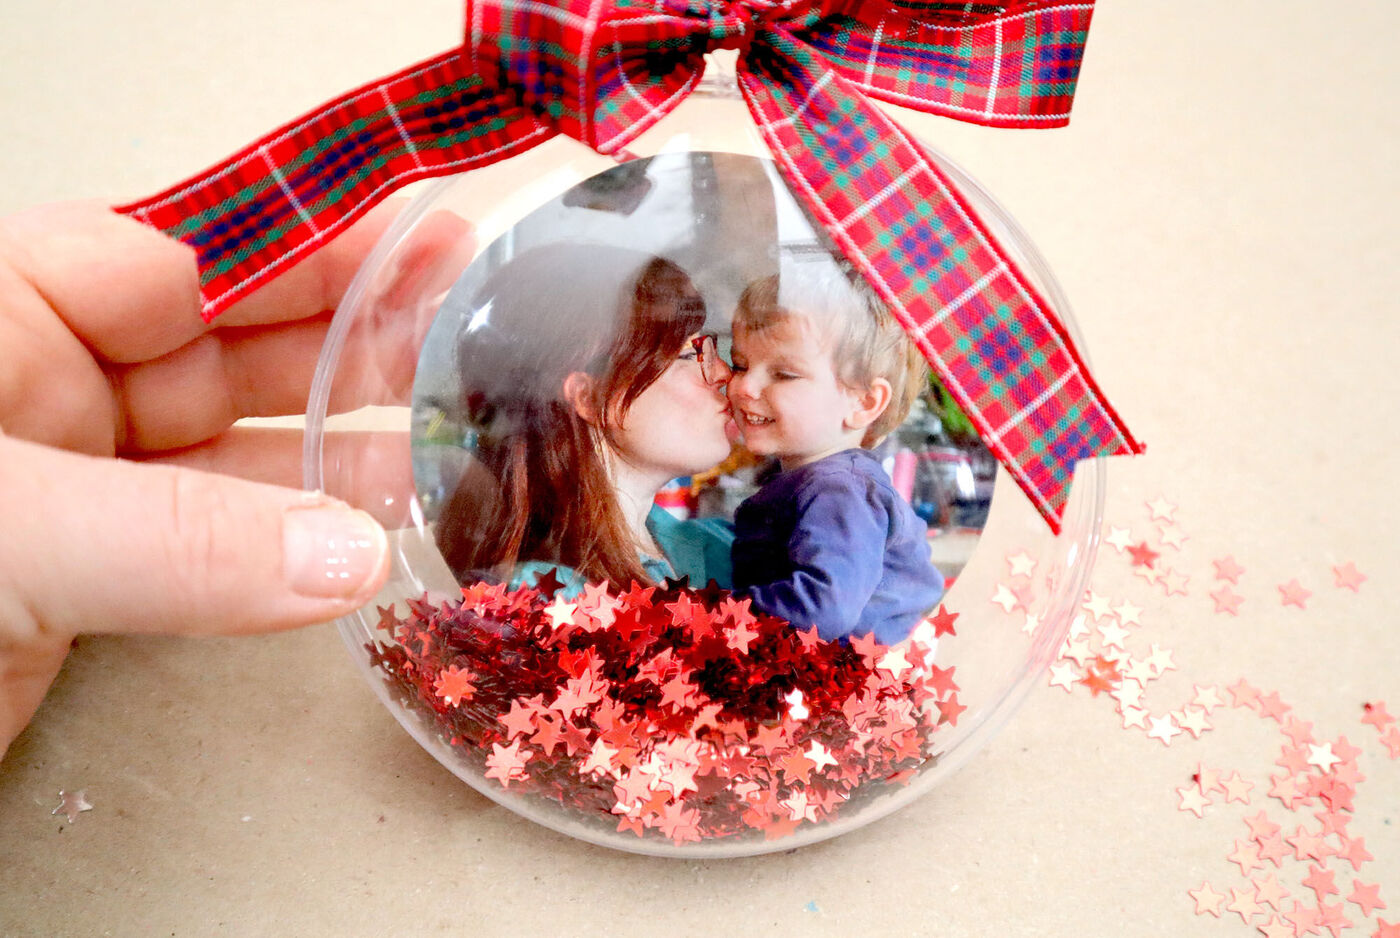
How to make your own photo baubles
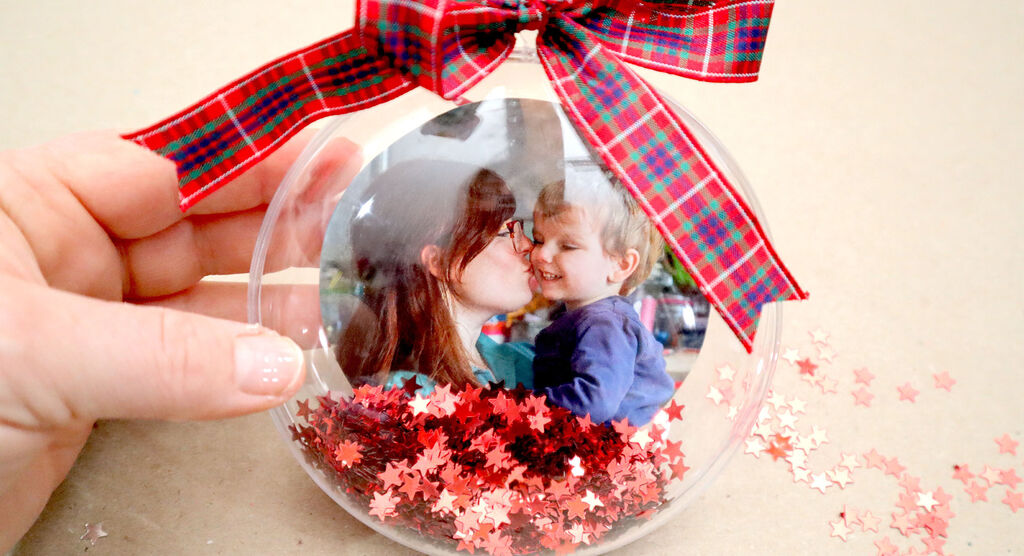
Photo baubles
Use photos with festive templates and text boxes to print, display, and stick your cherished pictures inside clear baubles, before adding stickers and ribbon.

Step 1
Choose your fillable bauble from any crafting store, then print a small photo, or a circle print in a suitable size.
Include photo, alongside additional decorative elements such as stars, trees, feathers, foliage, sprinkles.
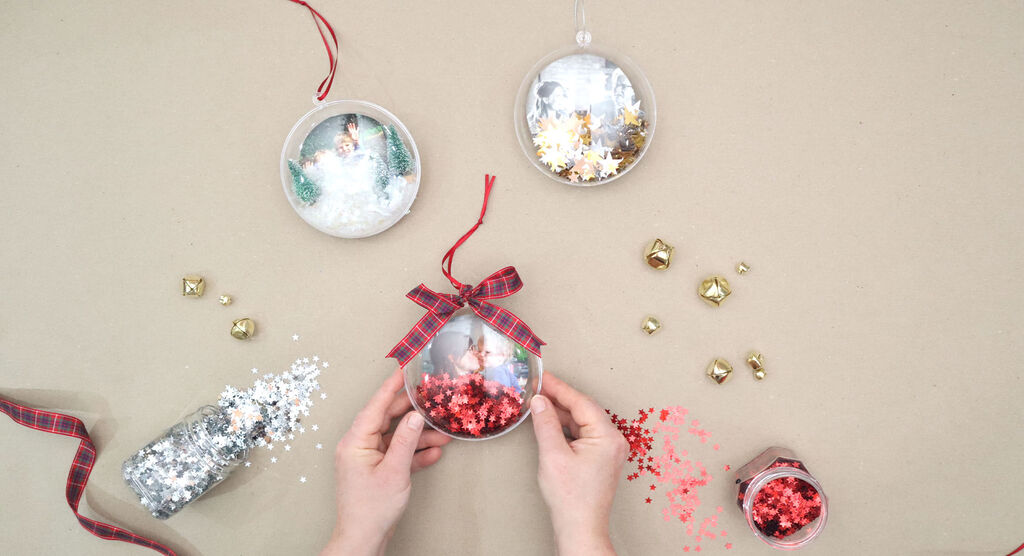
Step 2
You could add two photos together to allow it to be seen both sides when the bauble spins.
Use a small piece of double sided tape if required to 'fix' the photo into position inside the bauble and add some small piece of sticky tape to secure the bauble closed.
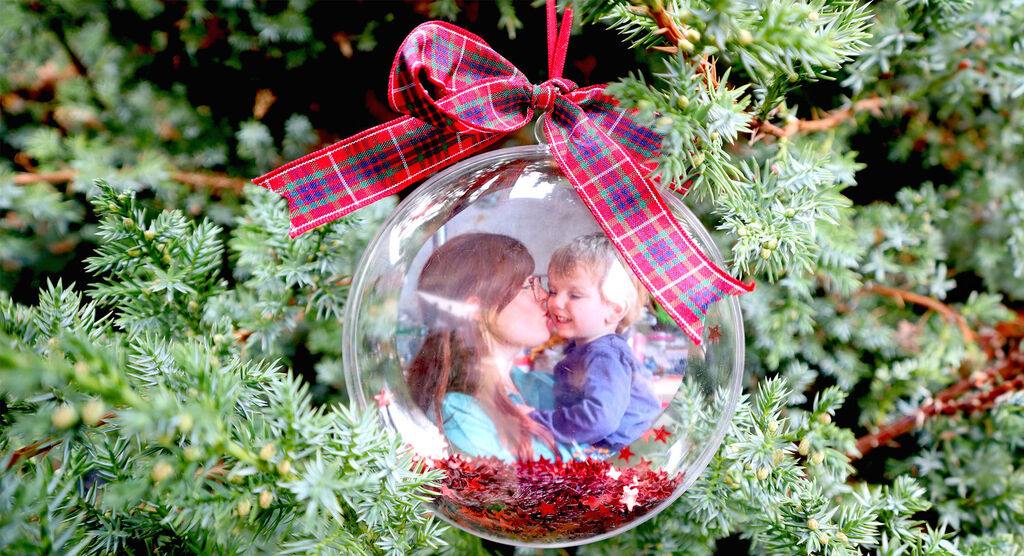
Step 3
Finally add ribbon, stickers, or decorative detail on the outside.
Hang in pride of place on your tree!
Now print your photos!
Print your photos at a CEWE Photostation in one of our retail partner branches near you.


What our customers think about us
Enjoy 10% off Europe’s most loved photo book
- Plus, receive a 10% welcome discount on your first CEWE PHOTOBOOK.
Please check your email
Please confirm your subscription by clicking the link in the email you will receive shortly.
You can cancel your subscription at any time by clicking the unsubscribe button, or by changing your preferences in your Account.
We're sorry
Unfortunately, we were not able to sign you up for our newsletter. Please try again later.


