Photography Tips
How to take photos with sparklers
10th April 2025
There’s something magical about sparkler photography but taking photos like these aren’t as simple as they might look. To achieve stunning light trails, sharp details, and creative shapes, you’ll need to follow a few specific techniques.
Whether you’re using a professional camera or your phone, this guide will walk you through everything you need to know, with a special focus on tips and camera settings.

What equipment do you need for sparkler photos?
Having the right equipment can help improve your photos tenfold, so here is a list of things we recommend you use:
- Sparklers: Using longer sparklers will give you an extended burn time. Making them the perfect sparklers for writing and intricate shapes when shooting.
- Camera or phone: A DSLR camera is the best option, although you can also use a smartphone with manual camera apps to produce great results.
- Tripod: Stability is critical for long-exposure shots. It is important you eliminate camera shaking prevent jagged, blurred or uneven images.
- Remote shutter or timer: Pressing the capture button manually could cause your camera to shake, so using a remote can help you avoid unnecessary movement.
With these essentials, you’re ready to dive into the art of sparkler photography!
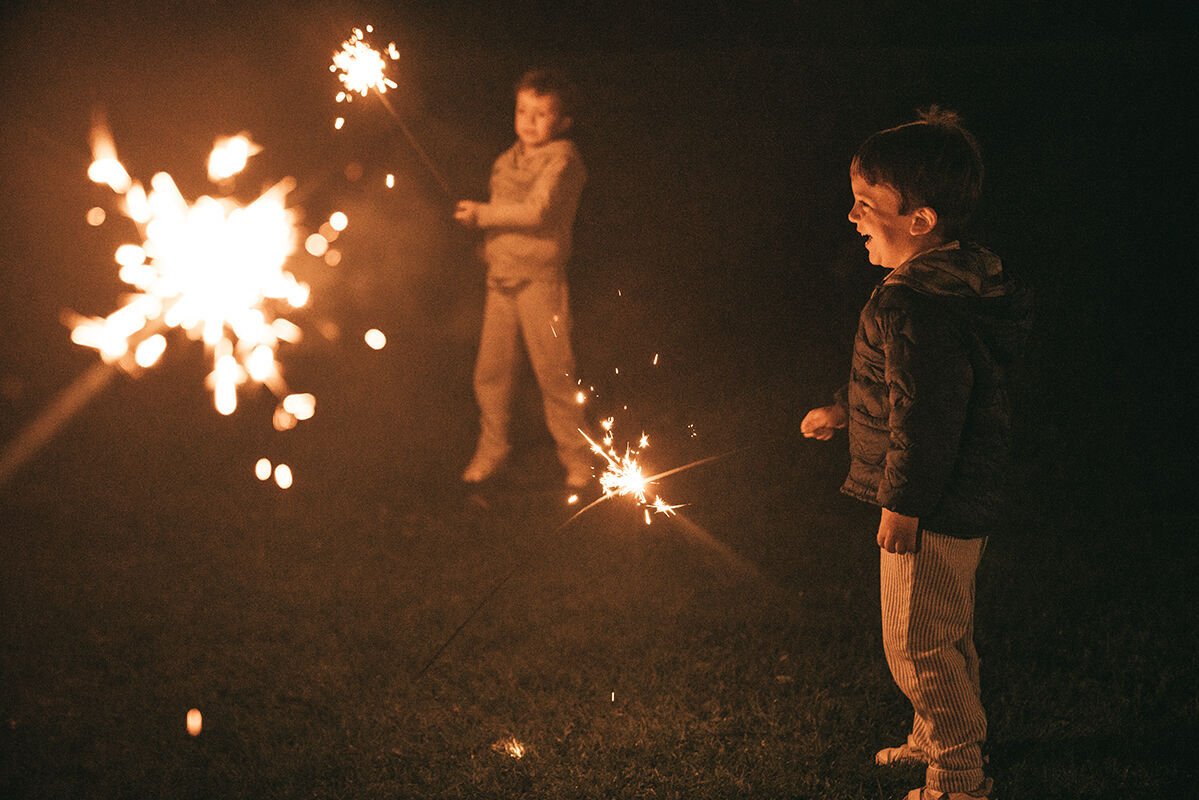
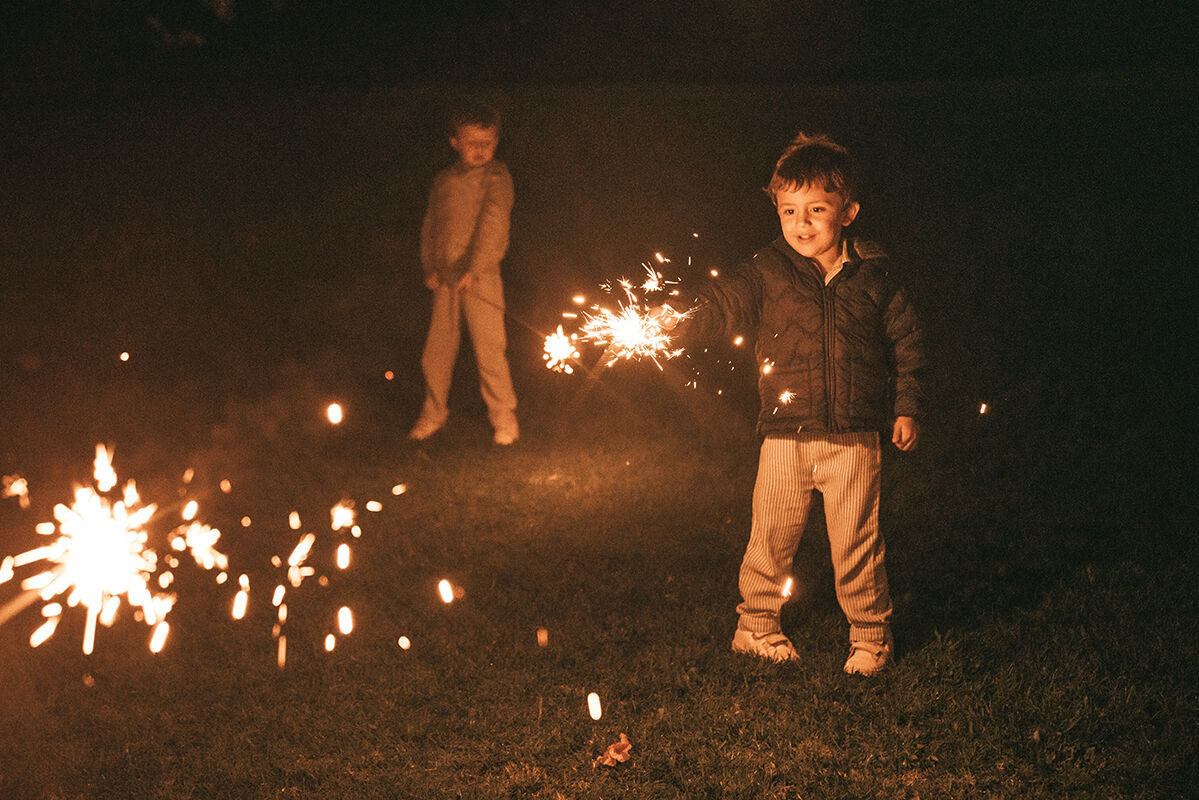
Fun for all the family
With sparklers, even the youngest children are actively involved
Camera settings for photographing sparklers
Before lighting a sparkler, you need to understand your camera settings and what changing them will do for your photos:
- Shutter Speed: Use a long exposure, between 5–30 seconds. Longer exposures create more intricate designs.
- Aperture: opt for a smaller aperture (e.g., f/8–f/16) to ensure both the subject and trails are sharp.
- ISO: Keep it low (between ISO 100 and ISO 400) to minimise digital noise in darker environments.
- Focus on the sparkler: Auto-focus struggles in low light, so opting for manual mode is required. Start by pre-focusing your camera on the subject or area where movement will take place.
- White balance: The sparks often emit light that closely resembles daylight colour temperature, so setting your white balance to the Daylight preset can preserve the sparkler’s natural colour temperature while rendering the trails in a golden glow.
Here’s an example of settings depending on the type of photo you want:
| Scenario | Shutter Speed | Aperture | ISO | Notes |
|---|---|---|---|---|
| Simple sparkler trails | 5-10 seconds | f/8 | ISO 100 | Great for beginners - no complex letters or patterns, just capturing the trails. |
| Writing or drawing shapes | 15-30 seconds | f/11 - f/16 | ISO 100 | Enough time to "write" letters or words in the air. Make sure you write backward for the lens! |
| Portraits with sparklers | 5-10 seconds | f/4 - f/8 | ISO 200 | Open the aperture a little (f/4 - f/5.6) if you want your subject to be slightly brighter. |
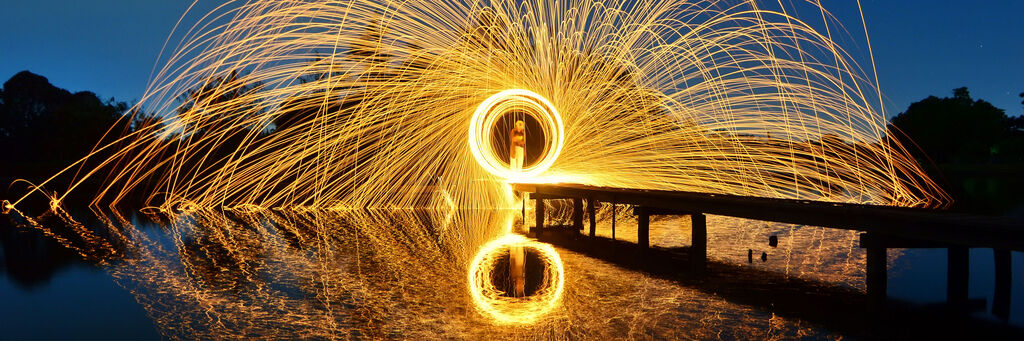
| Steel wool photography | 10-30 seconds | f/8 - f/16 | ISO 100 | Longer exposure is required for dramatic spinning effects. Safety is essential! |

How to take sparkler pictures with an iPhone
If you don’t have a DSLR then your smartphone can still deliver stunning results:
If you’re using an iPhone or any other phone model:
- Use night mode to capture long exposure automatically in low-light conditions.
- Lower the ISO to around 100–200.
- Adjust focus manually, or tap to focus on the exact area where the sparkler will be lit.
Tip: Always hold your phone steady or use a tripod to avoid blur.
The best place for photos
Finding the right spot at the right time is essential for light trail photography. For the best results:
- Use the night sky to maximise contrast.
- Check the weather - even the slightest breeze can distort your patterns.
- Look for clear backdrops, like an open field, empty street, or subtle textured walls to enhance the composition.
By carefully planning your photo shoots you will increase the likelihood of creating the perfect photos.

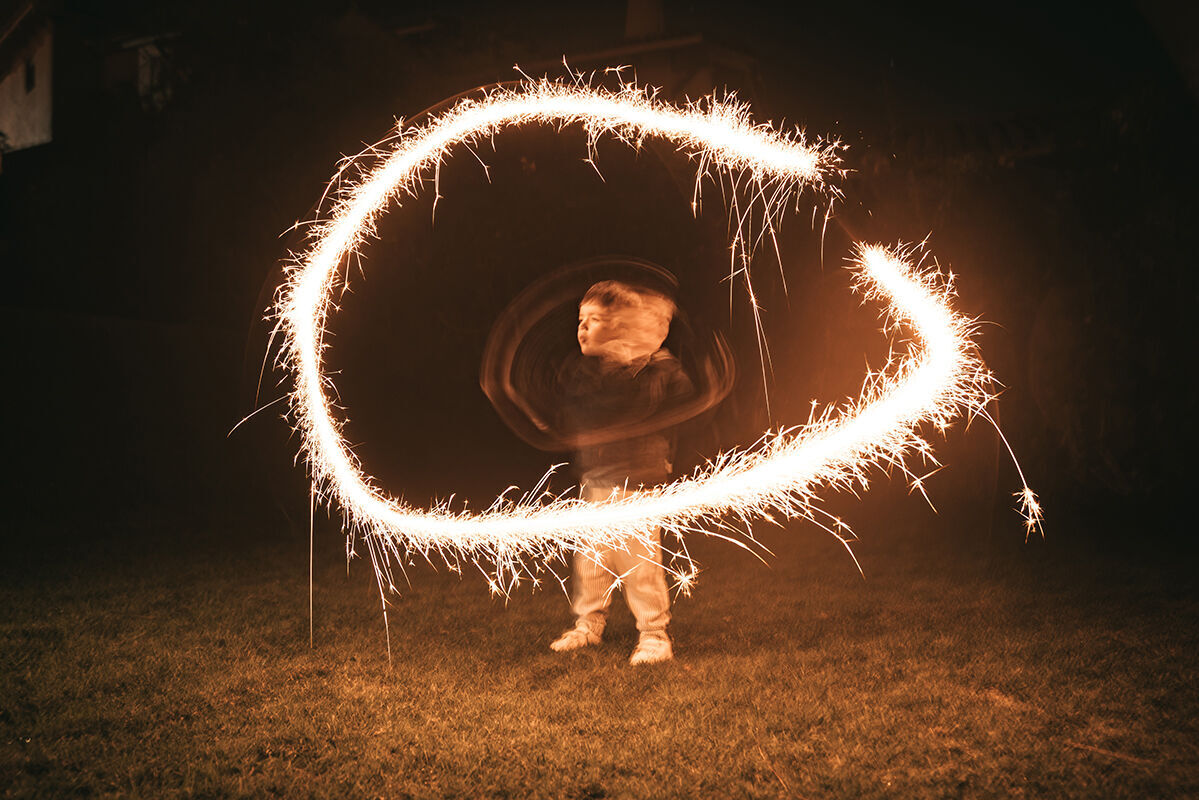
Get creative with movement
Using longer shutter speed times, you can get creative and bring your photos to life with movement in your sparkler photography. Draw festive shapes in the air, like hearts or stars – the result will make a great photo calendar for Christmas this year!
For shapes set your shutter speed between 2-5 seconds to give your subject enough time to draw whatever they wish, along with a high aperture (f/2.8) and low ISO (100) settings.
Tip: Use a timer to ensure your camera is perfectly still as it shoots. Let your model know when it’s time to start drawing, repeating the shape in the air over and over until the shutter closes again.
How to capture writing with sparklers
Writing is one of the most popular techniques in this type of photography. However, achieving clean, polished results isn’t the easiest. Here’s how we suggest you do it:
- Use a tripod and set the shutter speed between 2 - 5 seconds, depending on the complexity of the word.
- Place your subject in front of a plain, dark background for better contrast.
- Rehearse writing letters or shapes before lighting up.
- A faint flashlight or dim light can make the subject visible without overpowering the trails.
For smartphone users, apps with manual settings or night modes will help you achieve clean, long-exposure shots.
Tip: If you want clean dotted i’s and neatly crossed t’s (or spaces between characters), the photographer can cover the lens whilst the sparkler is moved into position. Remember that you will need to do all these movements whilst the shutter is open – if you don’t have long enough, increase the shutter speed and vice versa.

Mistakes to Avoid
Even with the correct equipment and settings, it’s easy to make mistakes. Here are a few common mistakes that should be avoided:
- A shaky camera can ruin long-exposure photos. Stabilise your camera with a tripod.
- Sparklers produce intense light, which may wash out details. Lower the ISO or adjust brightness settings to maintain balance.
- Practise your shapes or writing beforehand to prevent uneven or incomplete results.
Pro Tip: Continue by burning steel wool
Anyone who has discovered their passion for sparkler photography will also love experimenting with steel wool. Start by placing the fine steel wool into a metal whisk or metal basket, then ignited and spin on a non-flammable string.
When using steel wool make sure you remember:
- Find a suitable location where you won't endanger anyone - an empty park is ideal.
- Don't attempt this in very dry conditions. It's best to have a fire extinguisher handy.
- Always wear safety glasses to protect yourself from sparks. Wear old, non-flammable clothing.
- Screw a UV filter onto the lens to protect it; cover the camera with a damp cloth.
- Select the same camera settings used with sparklers.

Sparkler shots combine technical skill and creativity to produce magical, glowing images that deserve to be seen often. Print your photos as high-quality Wall Art and showcase your work in your home, office, or at an exhibition.
We hope you feel inspired to capture the magic of sparklers and try out some of our sparkling photography tips! If you do, don’t forget to enter your favourite shots into the world’s largest free photography competition, the CEWE Photo Award.
Showcase your sparkler photography in the highest quality
Enjoy 10% off Europe’s most loved photo book
- Plus, receive a 10% welcome discount on your first CEWE PHOTOBOOK.
Please check your email
Please confirm your subscription by clicking the link in the email you will receive shortly.
You can cancel your subscription at any time by clicking the unsubscribe button, or by changing your preferences in your Account.
We're sorry
Unfortunately, we were not able to sign you up for our newsletter. Please try again later.


