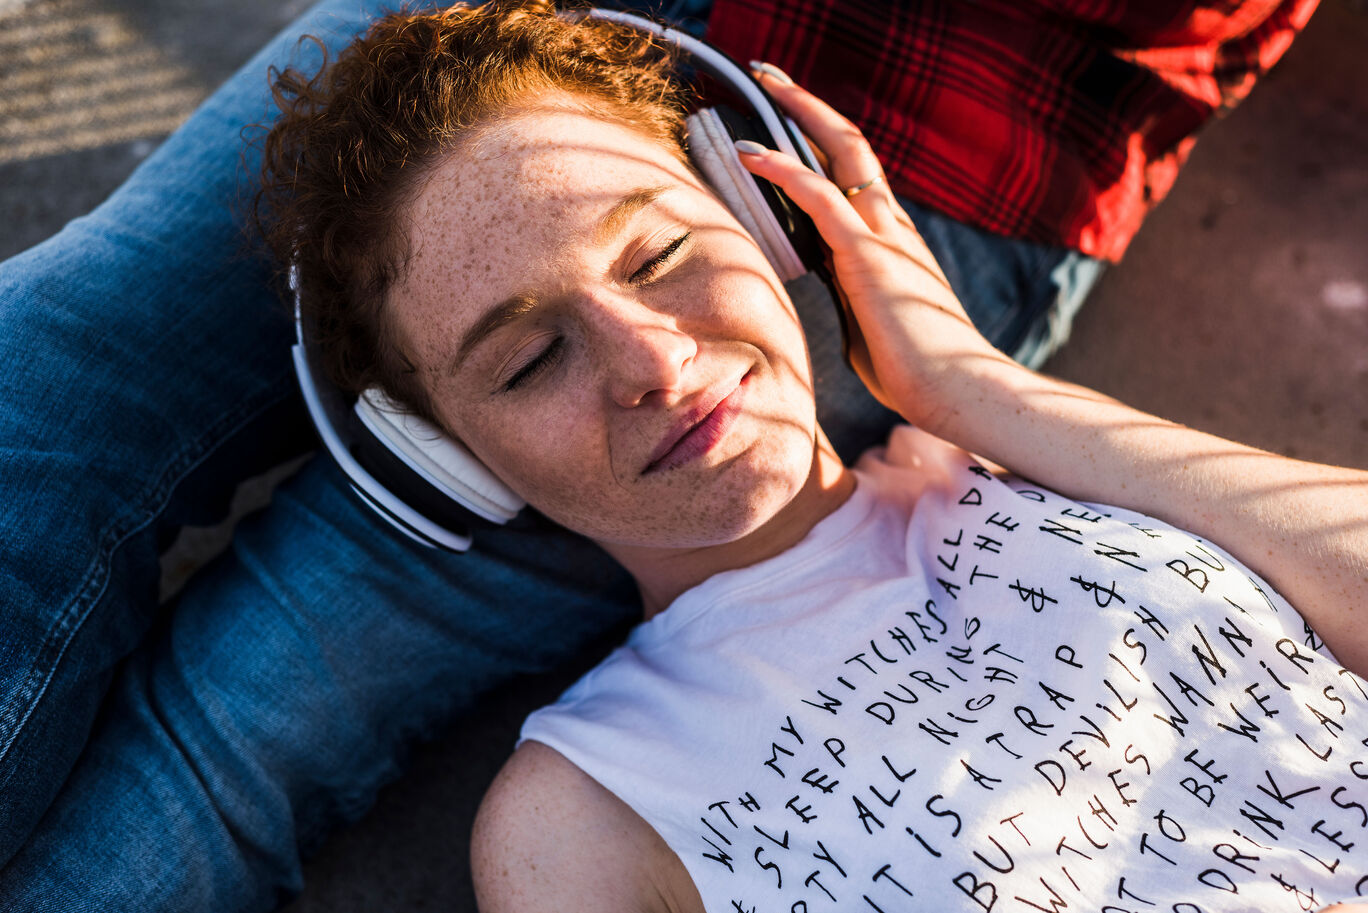
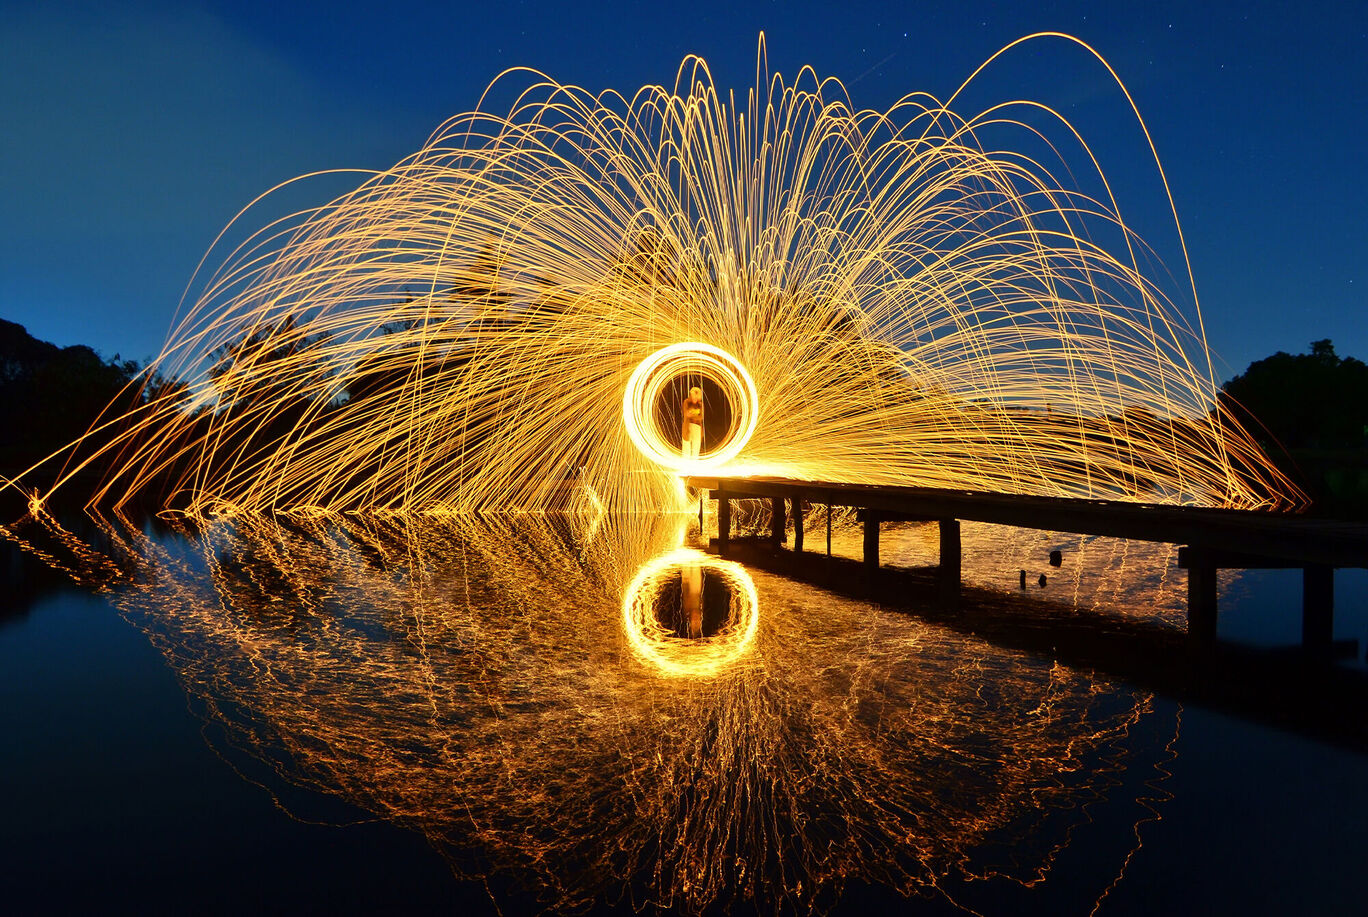
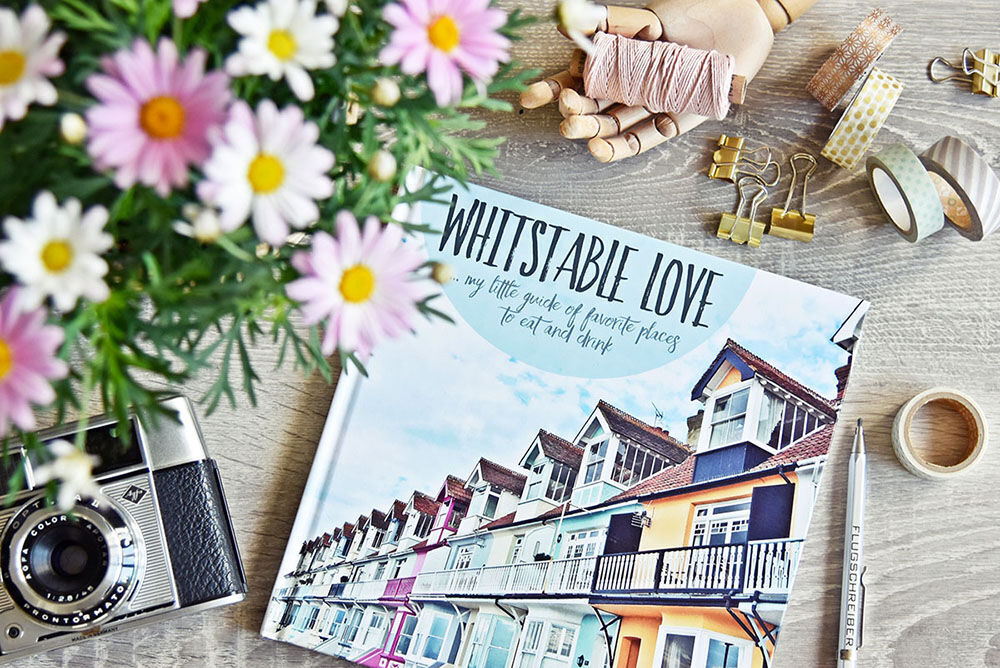
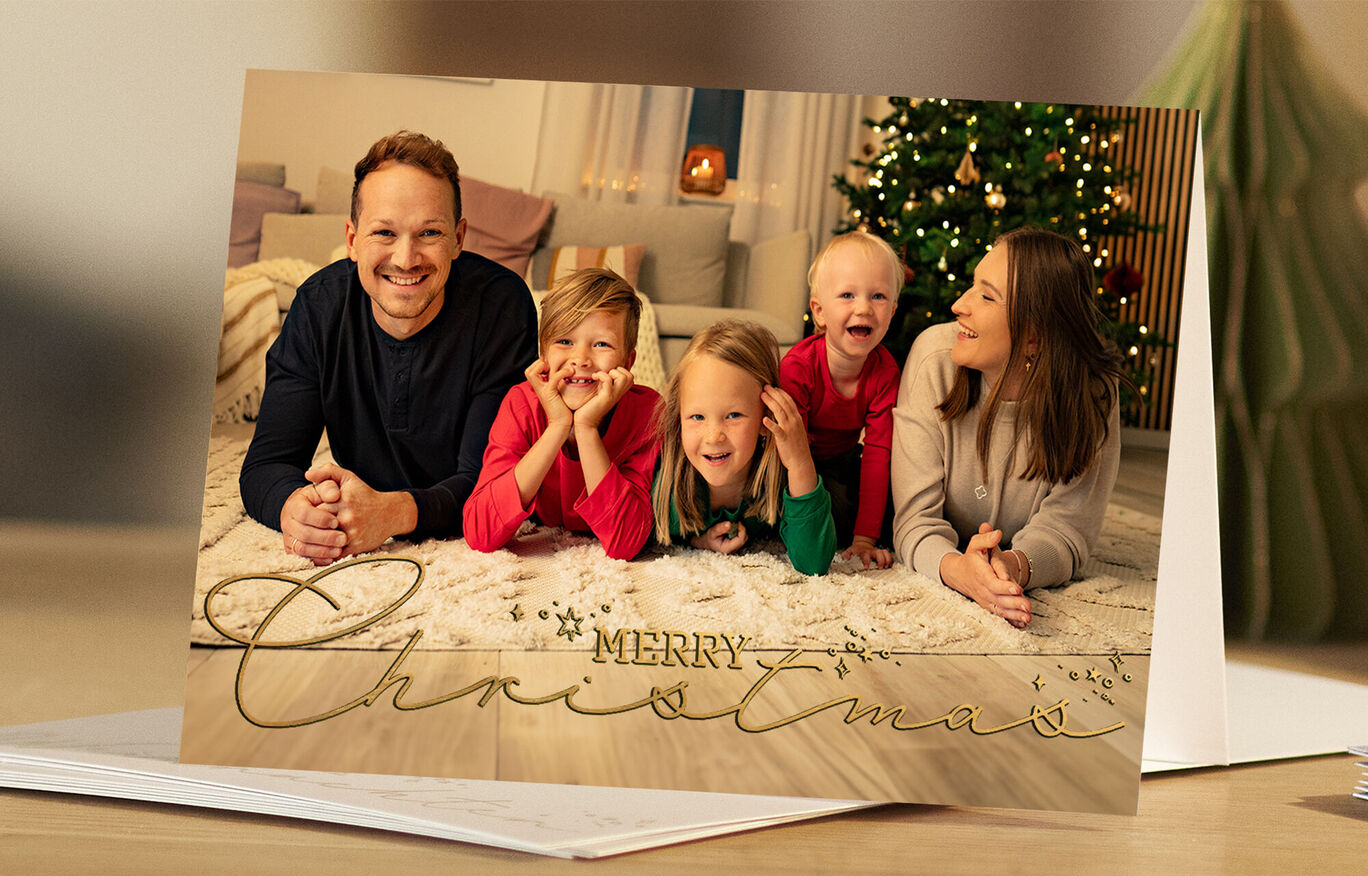
Tips on taking photos
Tips and tricks for capturing memories with the perfect photo.


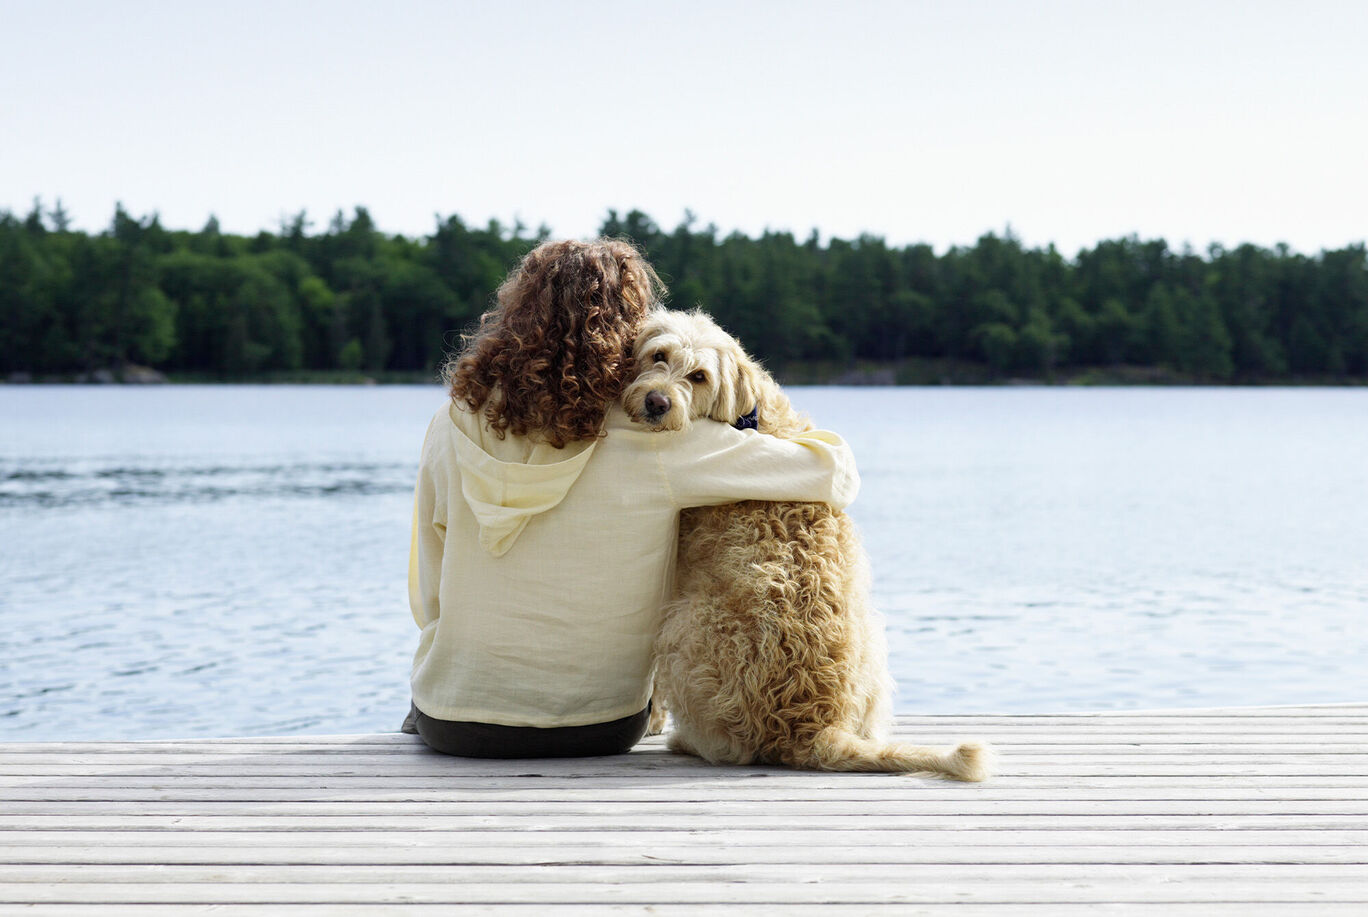
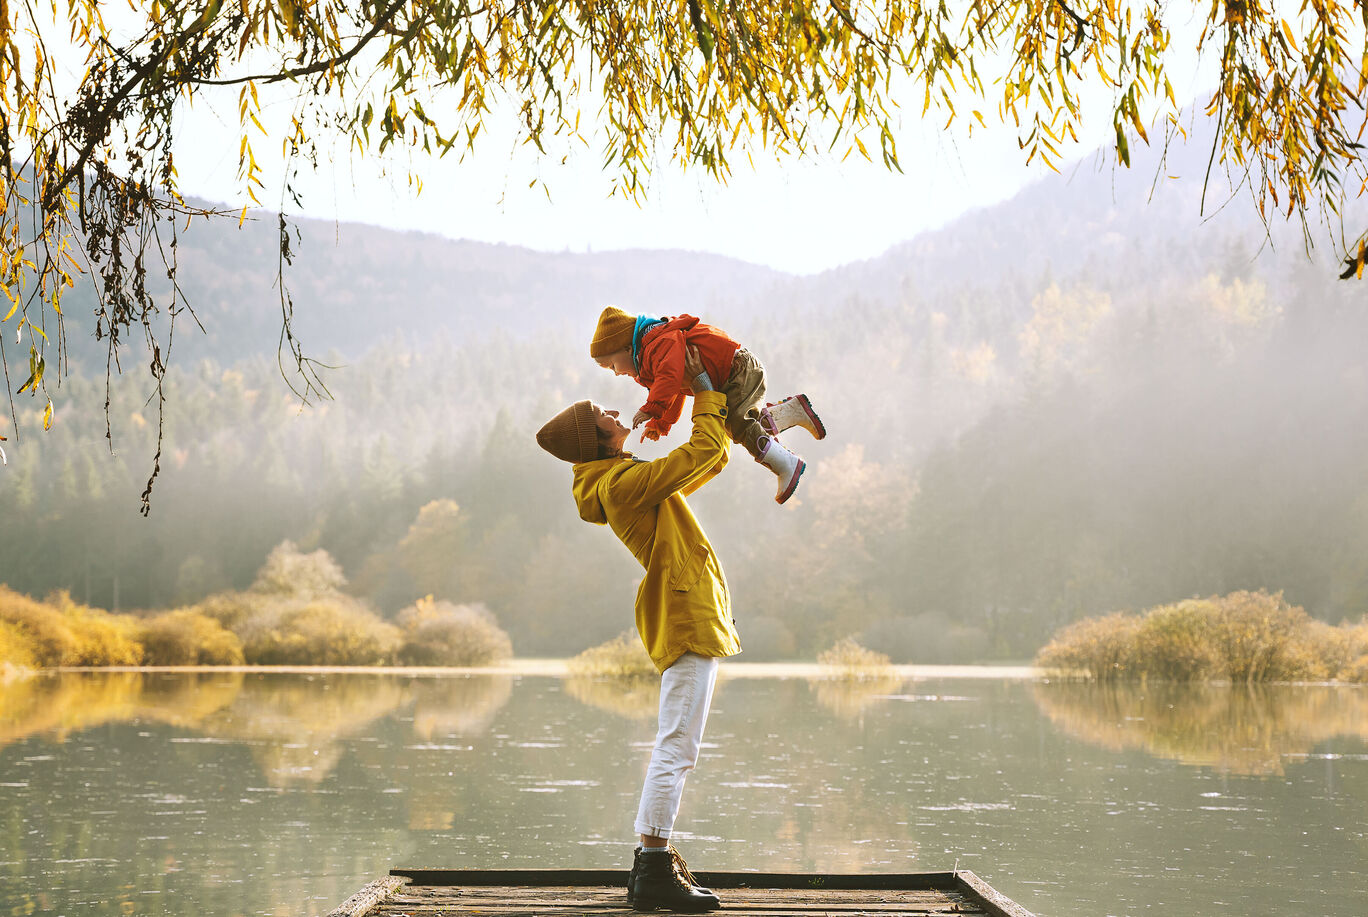
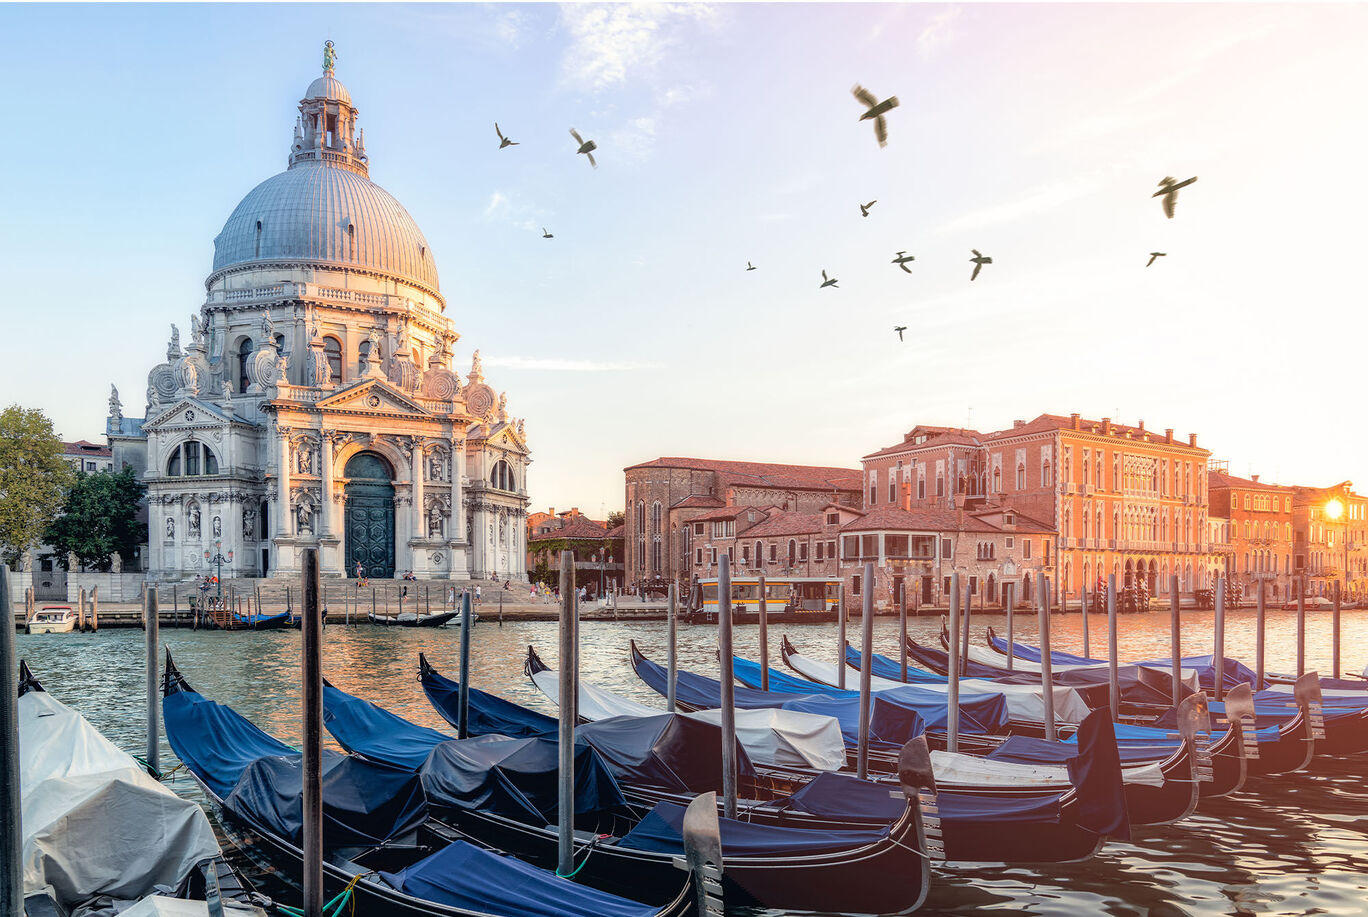
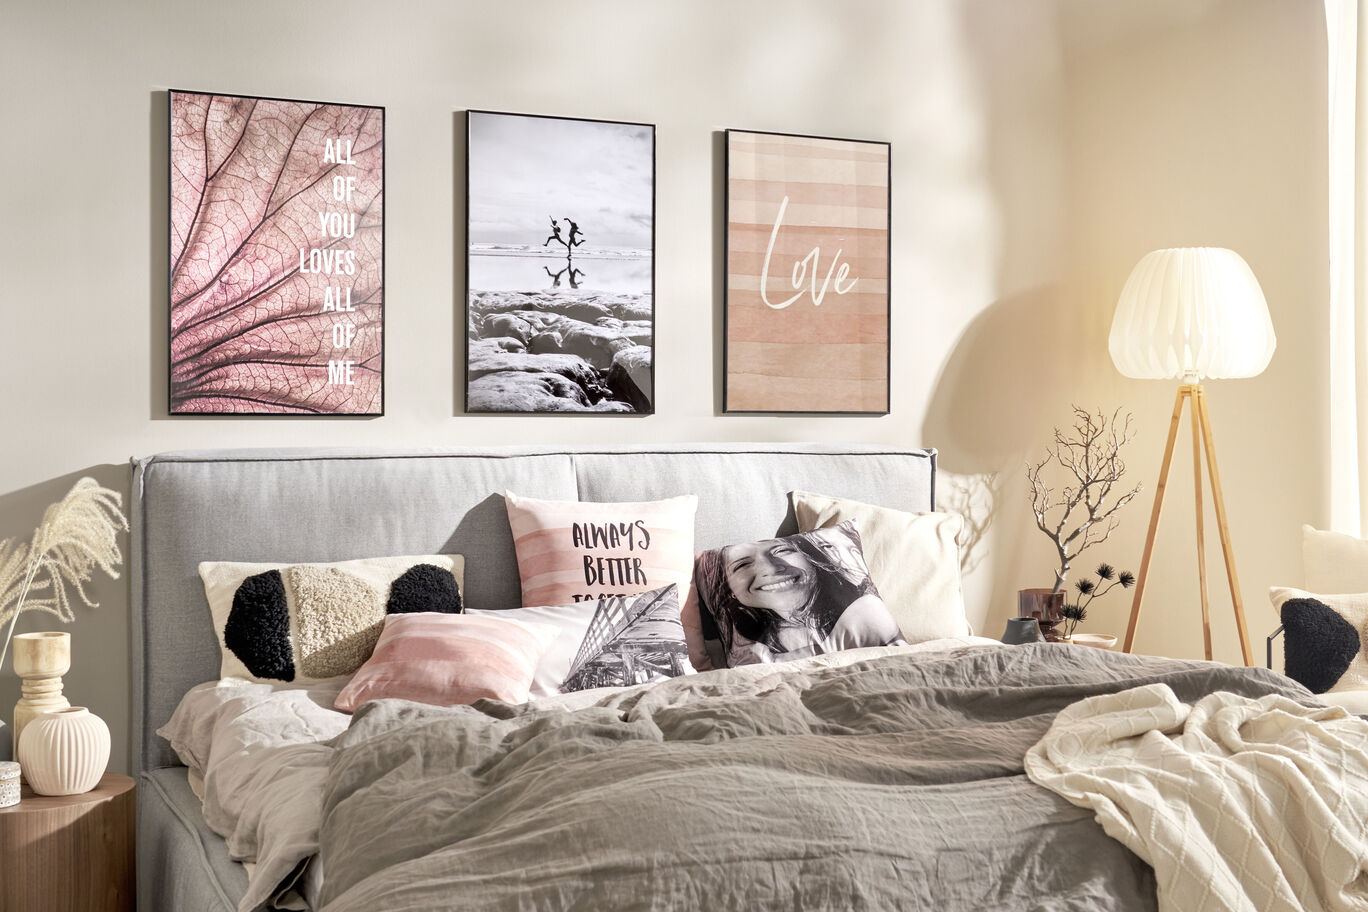
Tips on editing photos
Once you’ve taken the perfect photo, the next thing you’ll want to do is edit it so that it’s fit for printing.

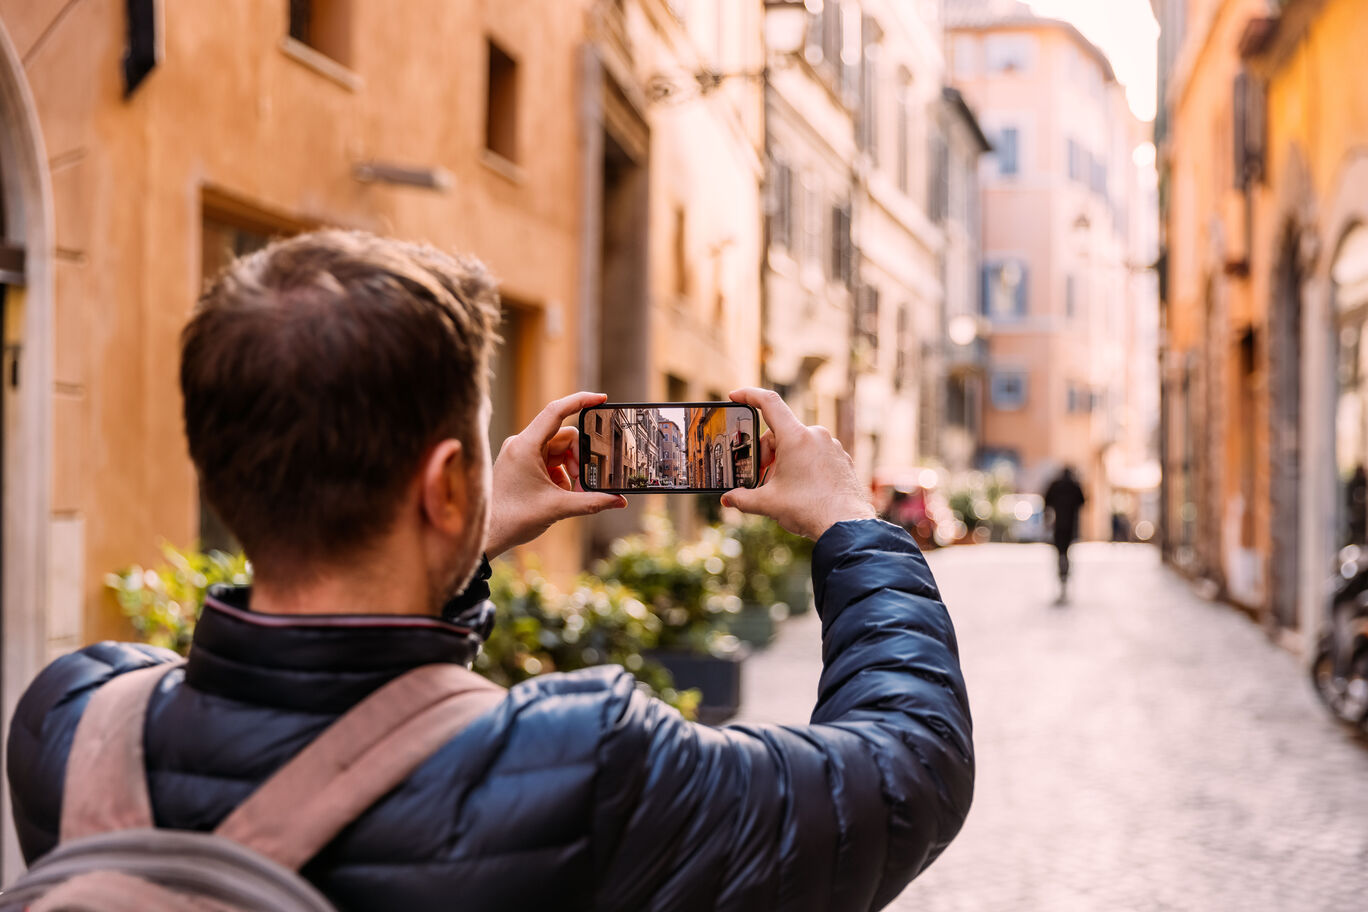
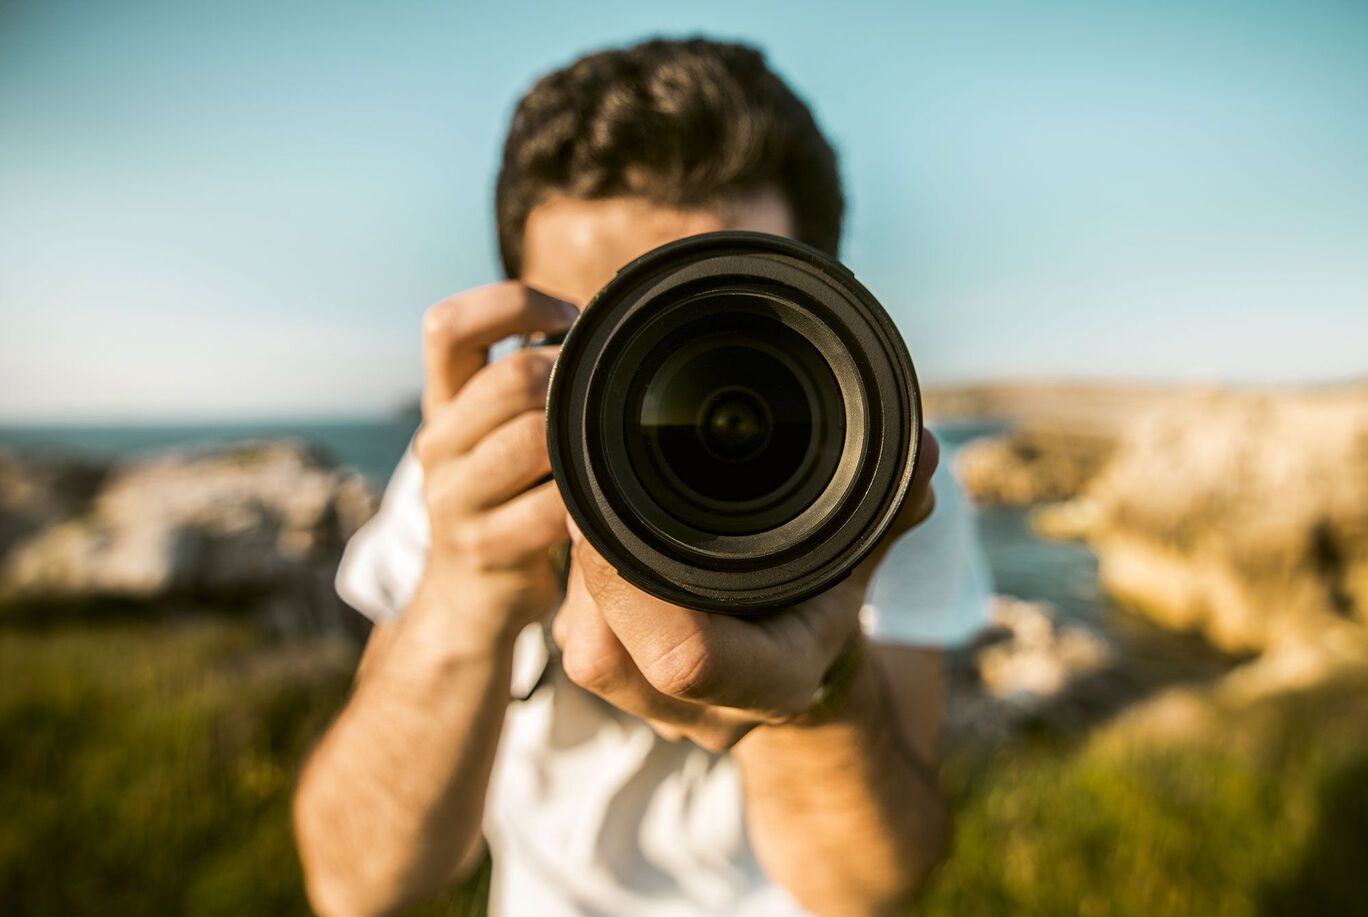
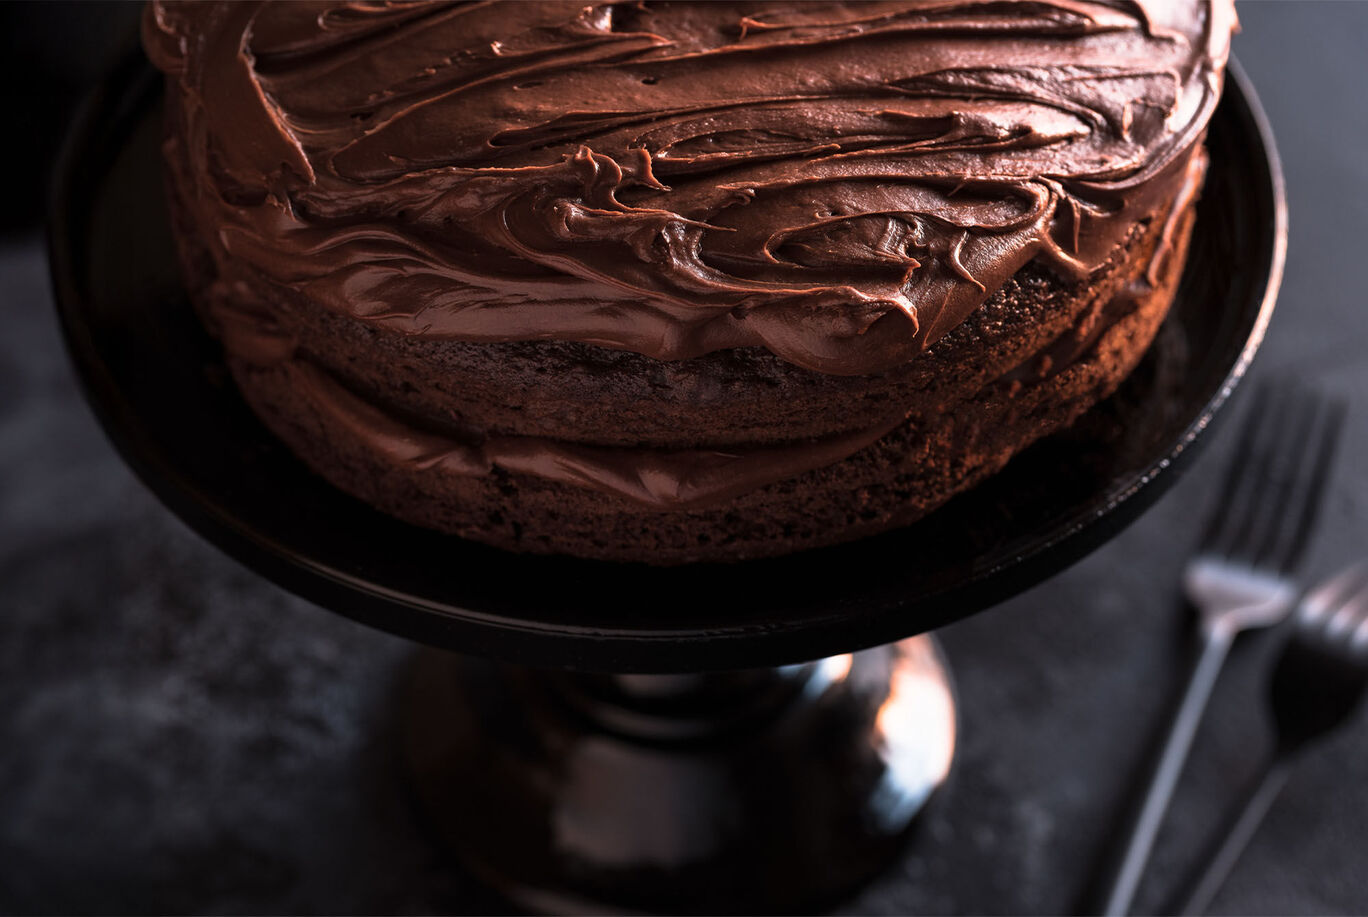
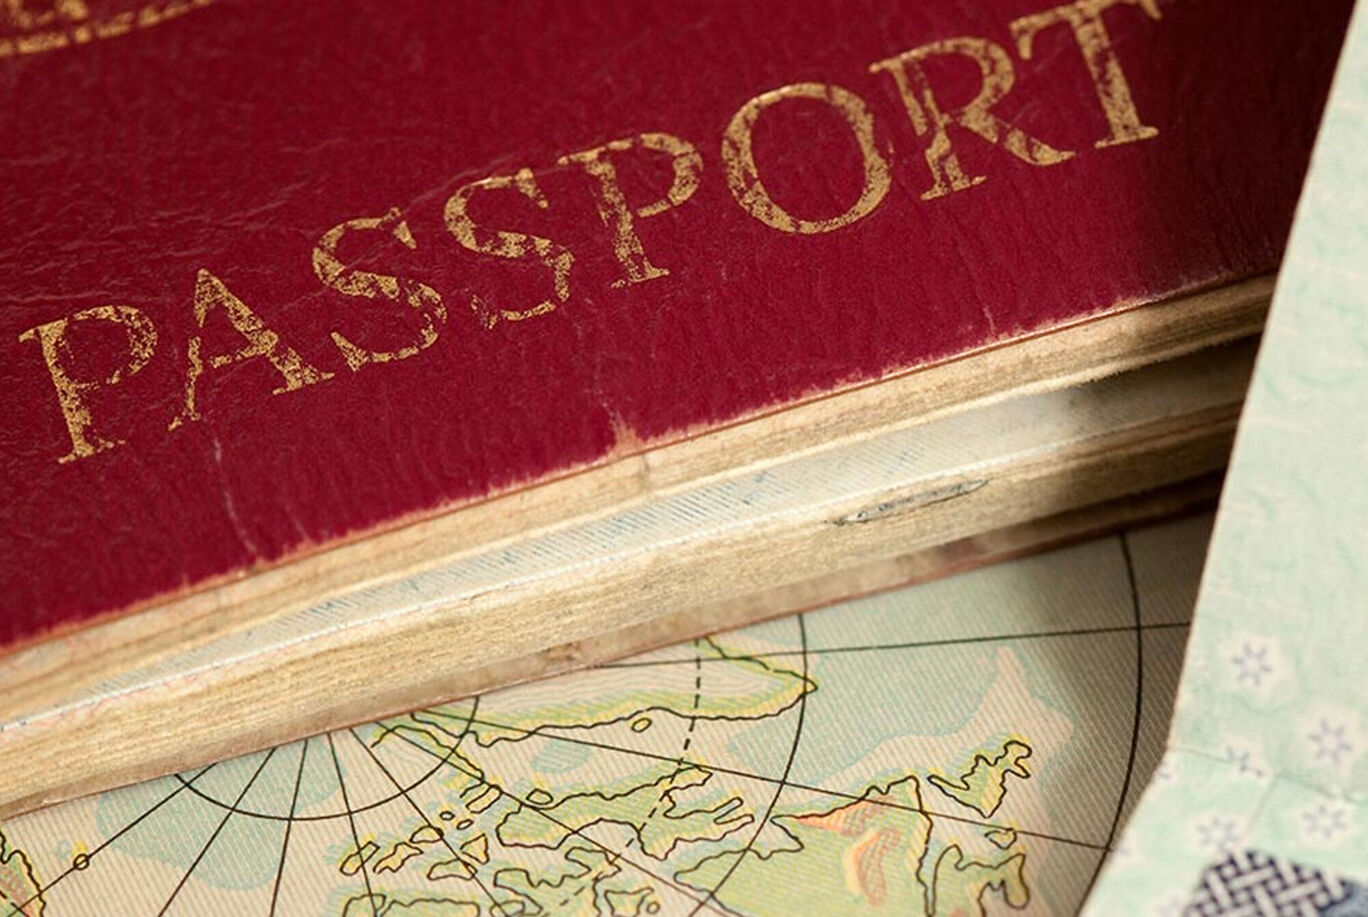
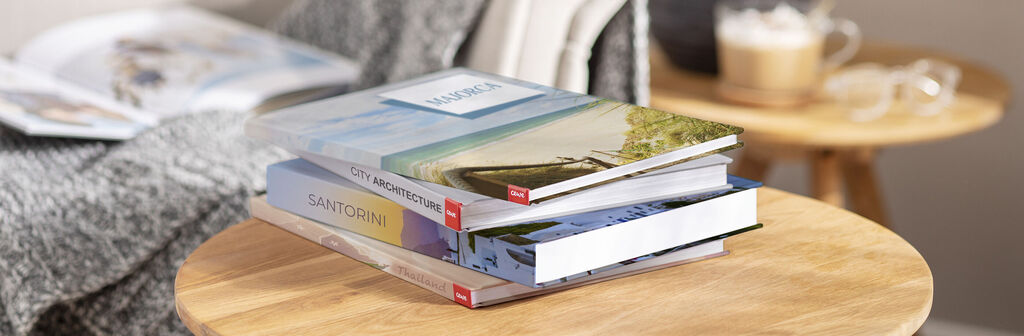
Tips on topics
Whether it’s food photography or how to take a passport photo at home, we’re here to support you with our shared love of photo.

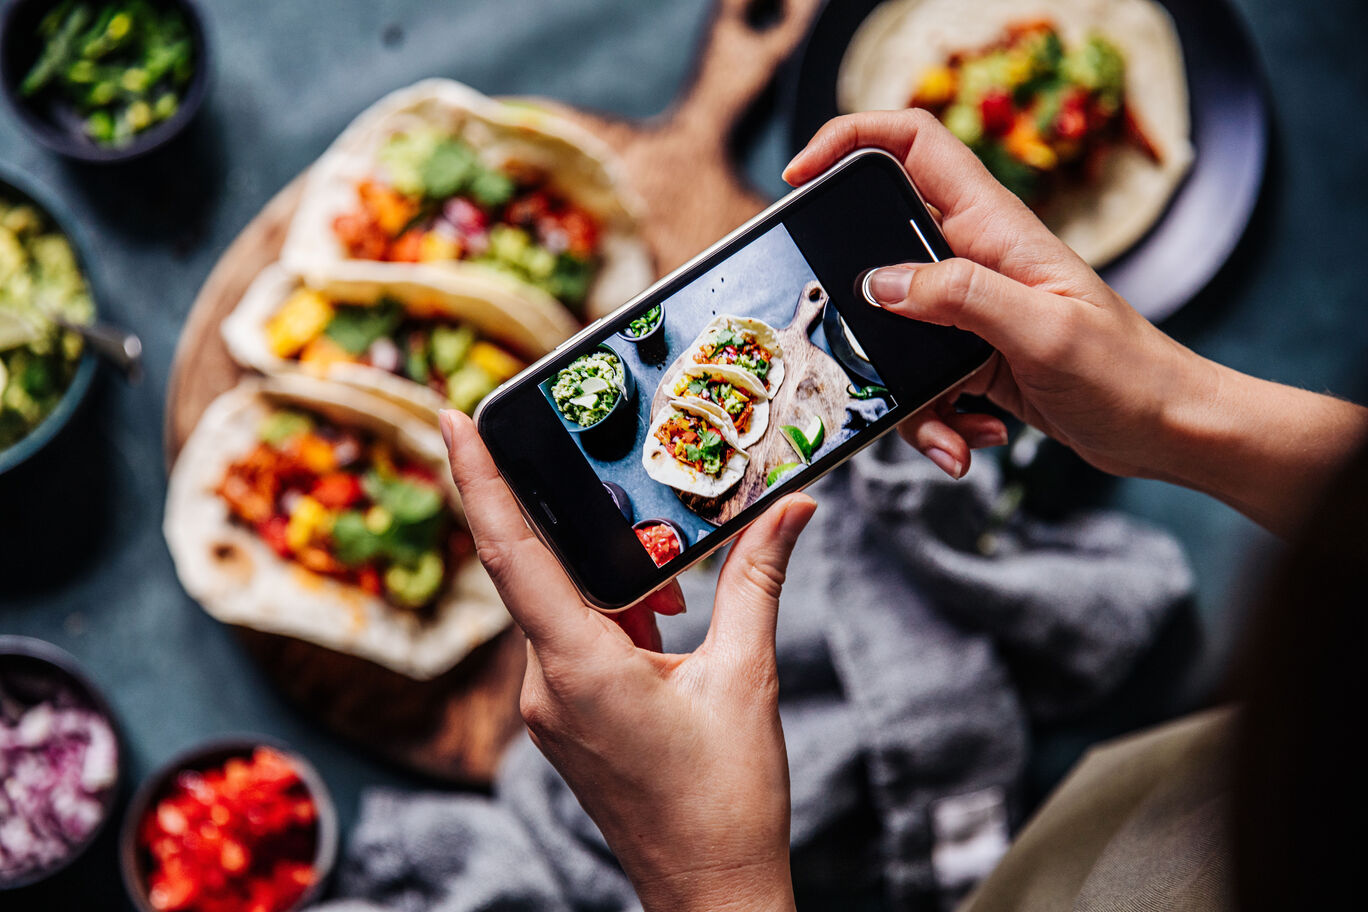


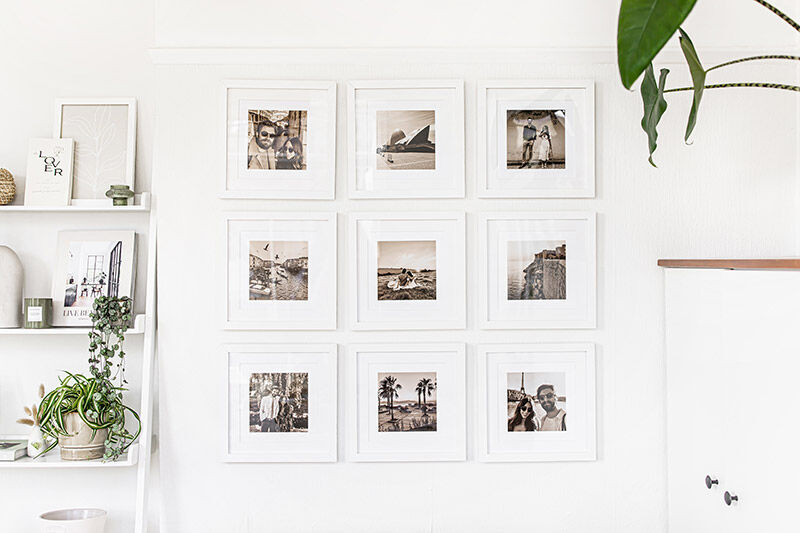
Get inspired with CEWE
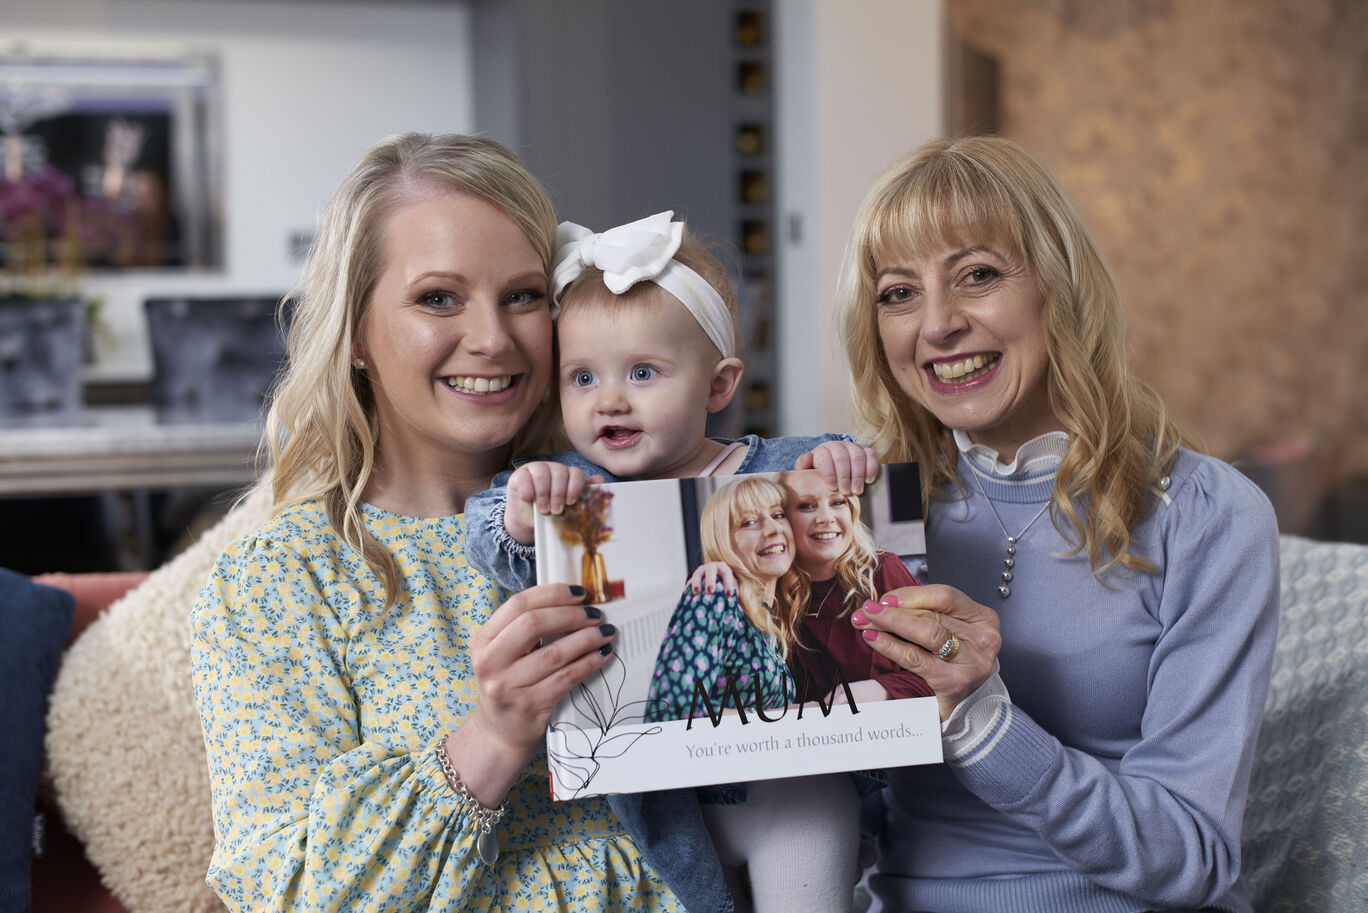
Discover the CEWE community
Enjoy 10% off Europe’s most loved photo book
Be the first to know about new products, competitions and inspiration.
- Plus, receive a 10% welcome discount on your first CEWE PHOTOBOOK.
You can unsubscribe from our newsletters and postal mail at any time by clicking the link at the bottom of any newsletter or by logging into your account.
Please check your email
We have sent you an email with a confirmation link to complete your registration.
Please confirm your subscription by clicking the link in the email you will receive shortly.
You can cancel your subscription at any time by clicking the unsubscribe button, or by changing your preferences in your Account.
We're sorry
Unfortunately, an error has occurred
Unfortunately, we were not able to sign you up for our newsletter. Please try again later.


